A Small Mod and A Bit of Paint
Pretty sure I mentioned in the last section, yesterday, that I was going to separate that skirt armor. Well, I did. Then I got to work painting. For this job I used Gundam Marker "Gundam Gunmetallic" (that's what the katakana says anyway) along with Testors Brand enamels; flat black, flat white, flat yellow, and flat red. For the eyes, cameras, and targeting scope I laid down a base of Model Master enamel Chrome Silver and over that I used Model Master acrylic clear blue for the head cameras front/back and targeting scope and used Tamiya clear yellow for the eyes.
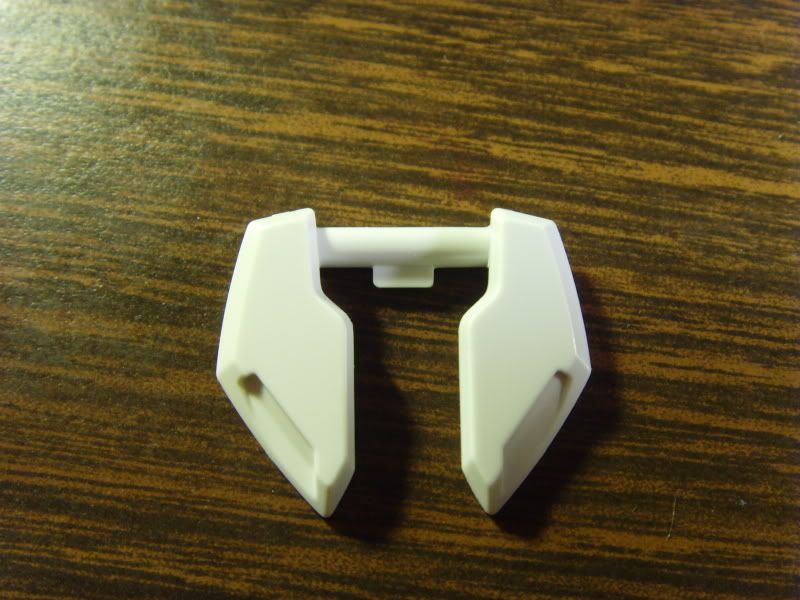
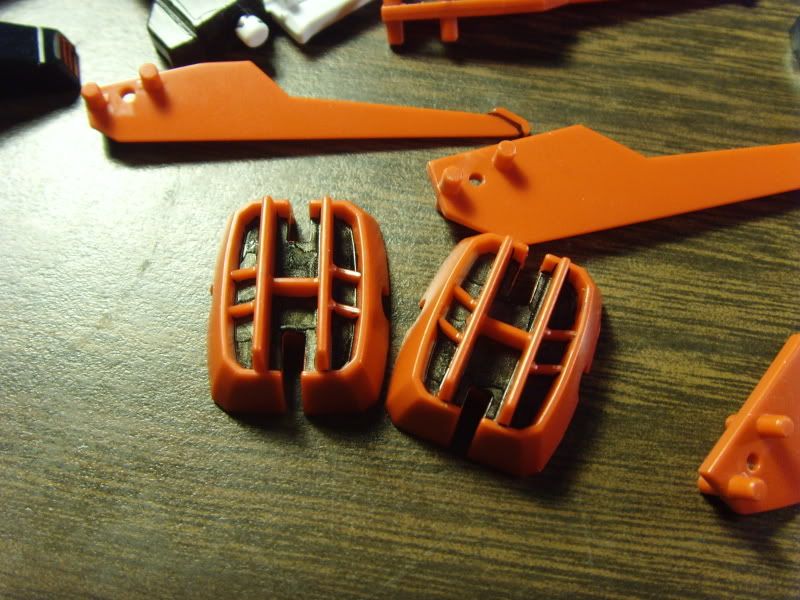
The skirt armor has a rectangular tab in the middle of the rod connecting the two front skirt pieces.
This allows for easy modification to separate the two front skirts armors.
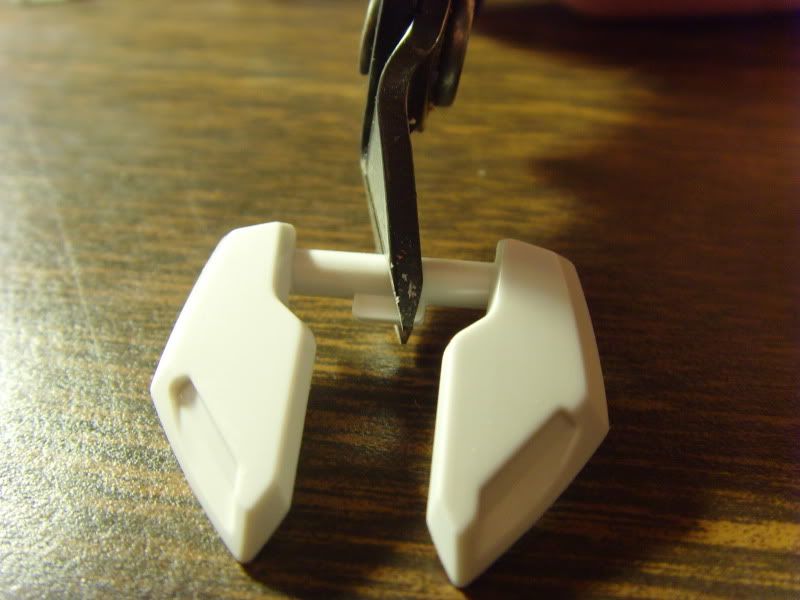
This allows for easy modification to separate the two front skirts armors.
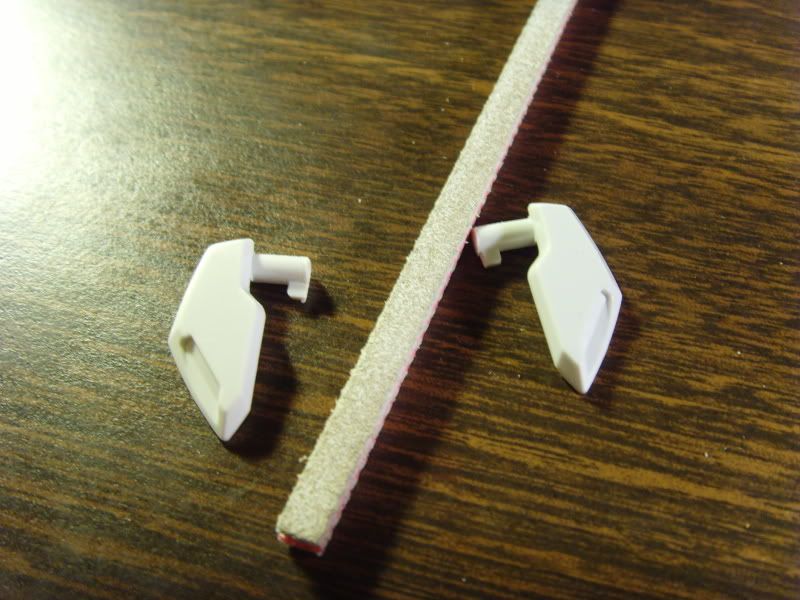
Simply use your nippers to gently cut into the rod in half. I will usually just make a dent right in the center and instead of cutting it all the way through leaving one cut smooth and the other pinched because of the nippers; I'll gently bend the piece back and forth until it snaps. Then with a rough sanding stick (it doesn't have to be pretty) I sand down the ends to make the smooth and get rid if friction or any catching between the newly divided parts.
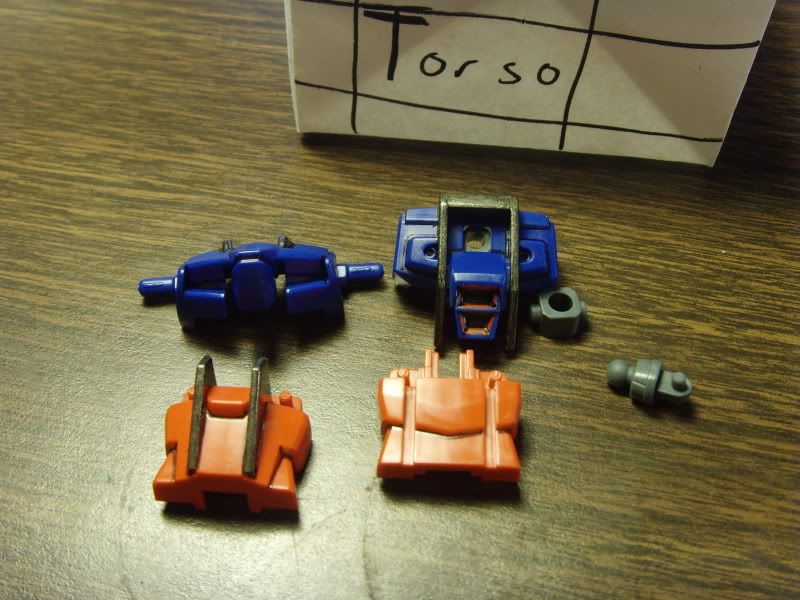
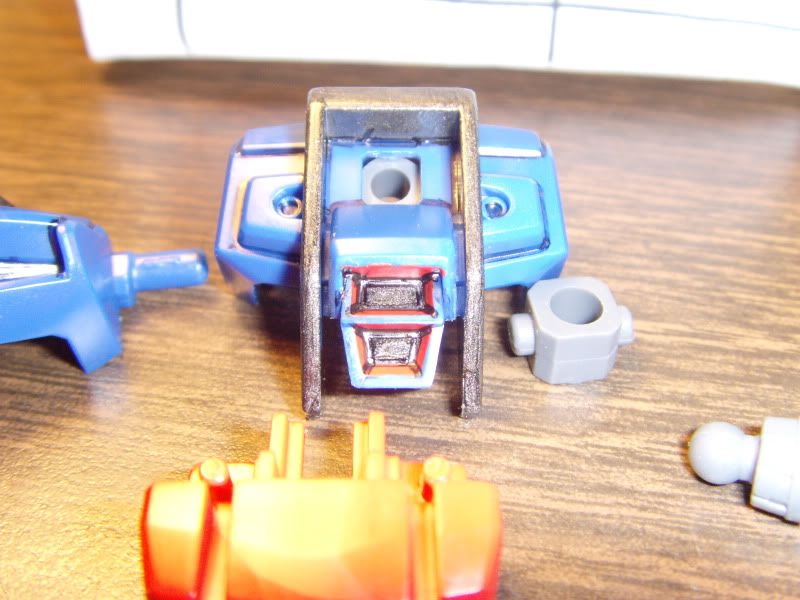
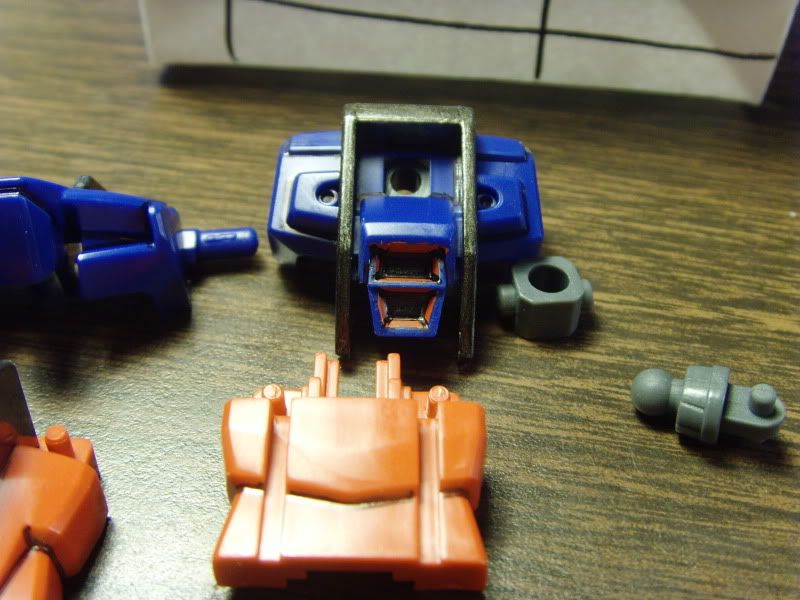
After the surgery, it was time to paint, starting with the torso.
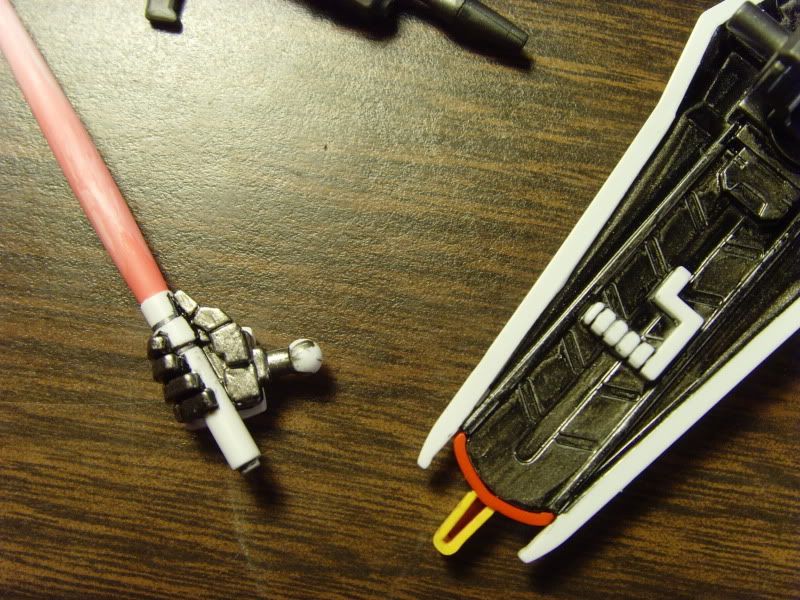
I tried to capture the interior of the thrusters with a flash. I may have just washed it out with too much light though. I always liked the way the Strike had frame bits jutting out everywhere.
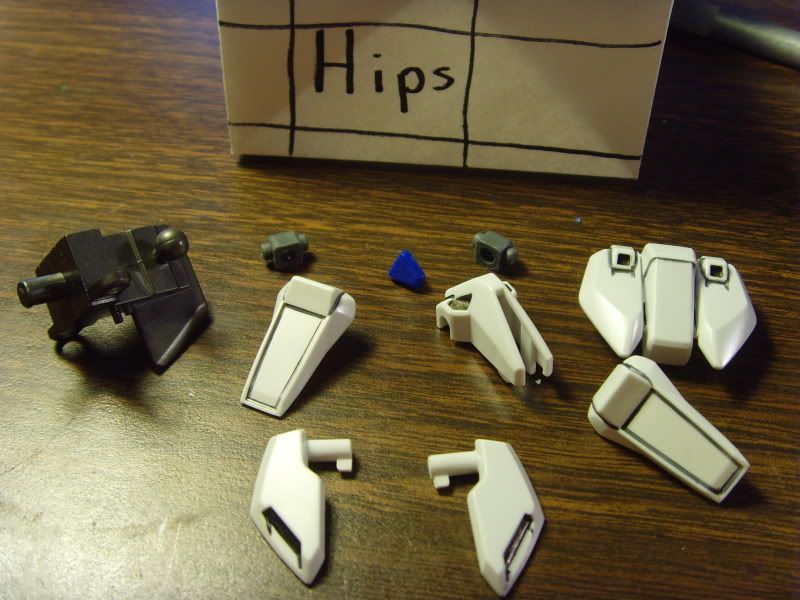
Here are the hips and skirt armor.
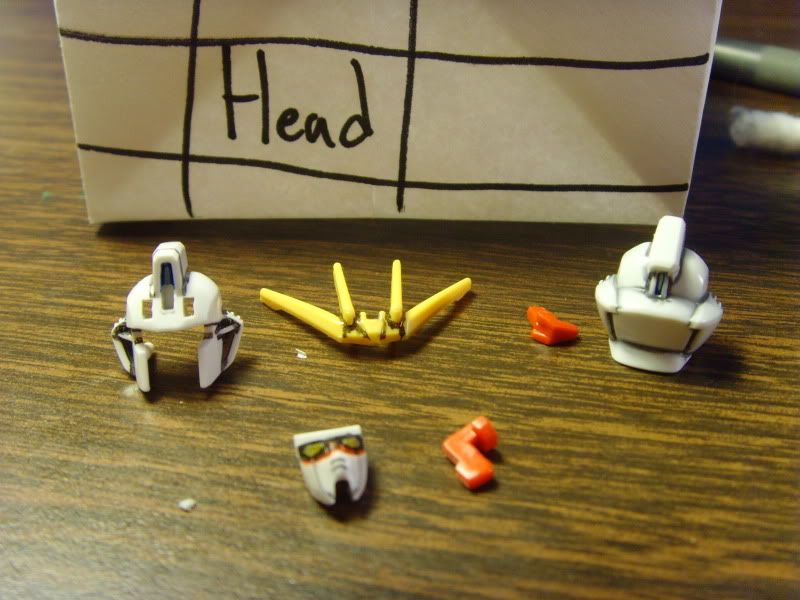
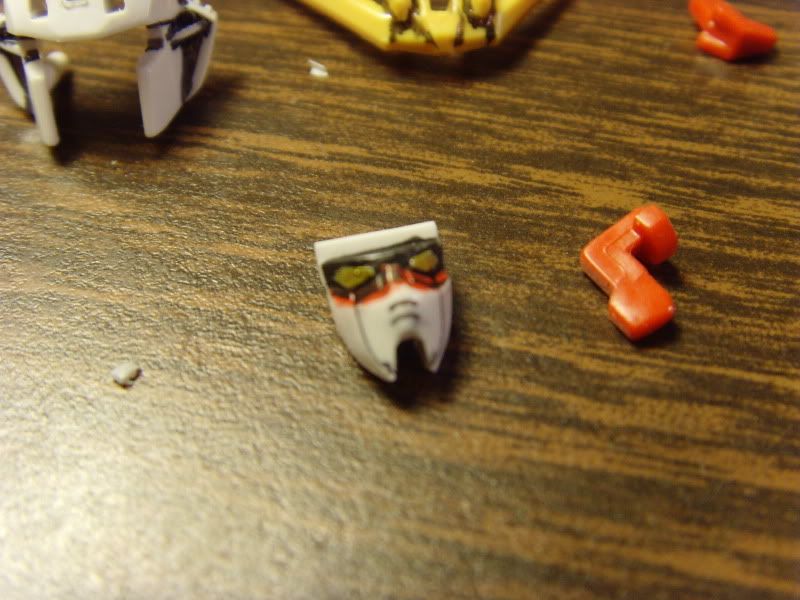
The head.
A lot of people will ask me how I paint the eyes. I just use a very tiny brush and a stead hand. The black rim is first, trying to leave the eyes white so I can see them. Then I paint the red under the eyes followed by the actual eyes getting their silver base. I let that completely dry for at least a day and I go over the eyes with the clear color. Then I panel line.
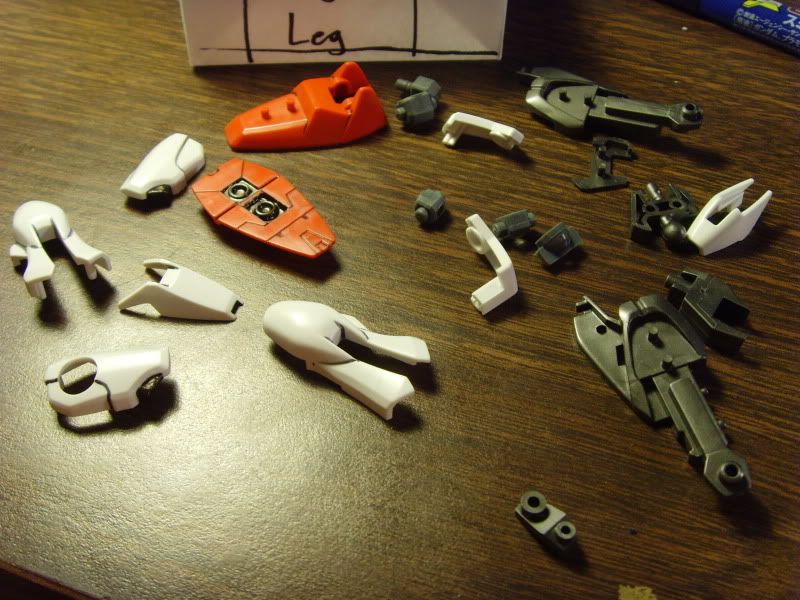
Part for the leg. not too much was needed here, some metalic grey/gunmetal on the back of the thigh and some on the bottom of the foot.
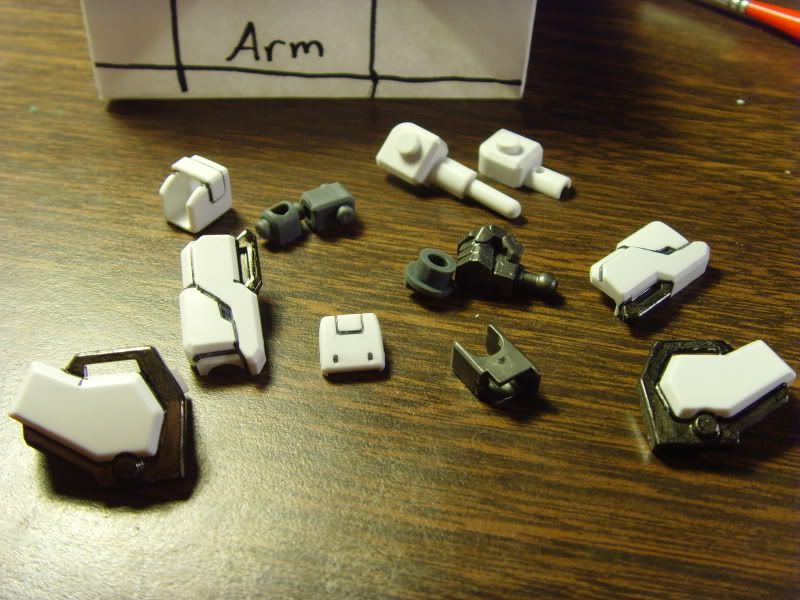
The frame of the shoulders and the elbow needed to be painted for the arms.
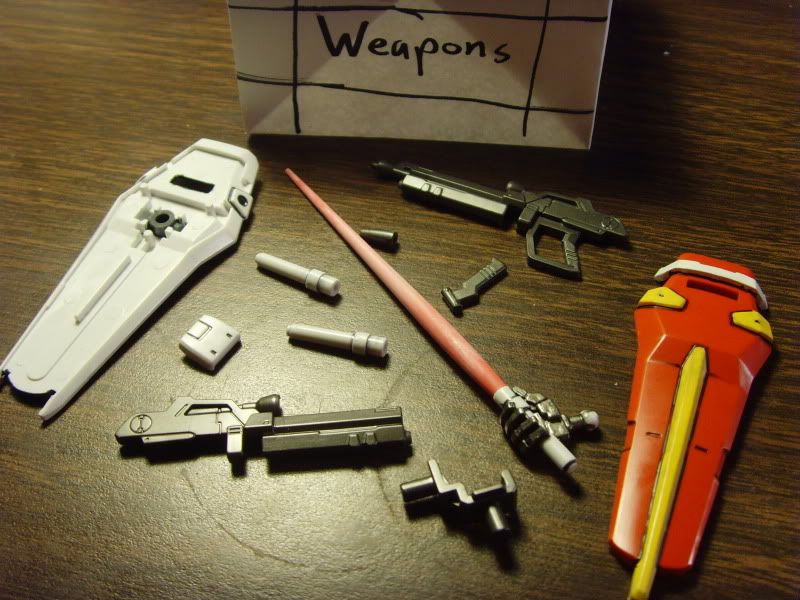
The front of the shield needed yellow and white, the rifle needed it's scope done, and the beam saber hand needed to be painted to match the other hands and the beam also needed some paint.
I painted the inside of the shield with the Gundam Marker and I had a bit of scratching away to do to clean up the Beam Saber handle in the hand. For the beam blade I started with a dark pink at the tip and at the base and went about a third of the way up from the bottom and a third down from the top. I blended in more pink a shade lighter, then another shade lighter, then another shade lighter working toward the center always leaving a bit of the previous darker color on the outside. The effect given is the beam looks like it gets brighter toward the middle of the blade.
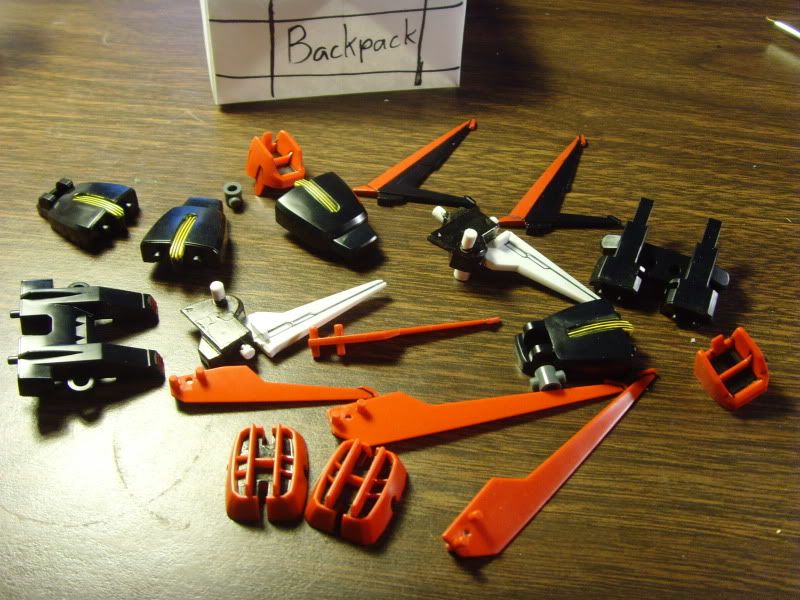
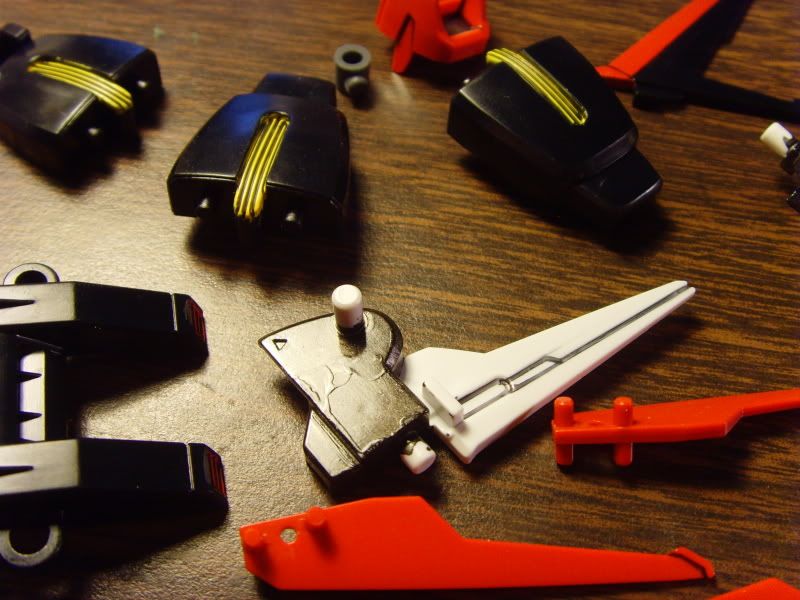
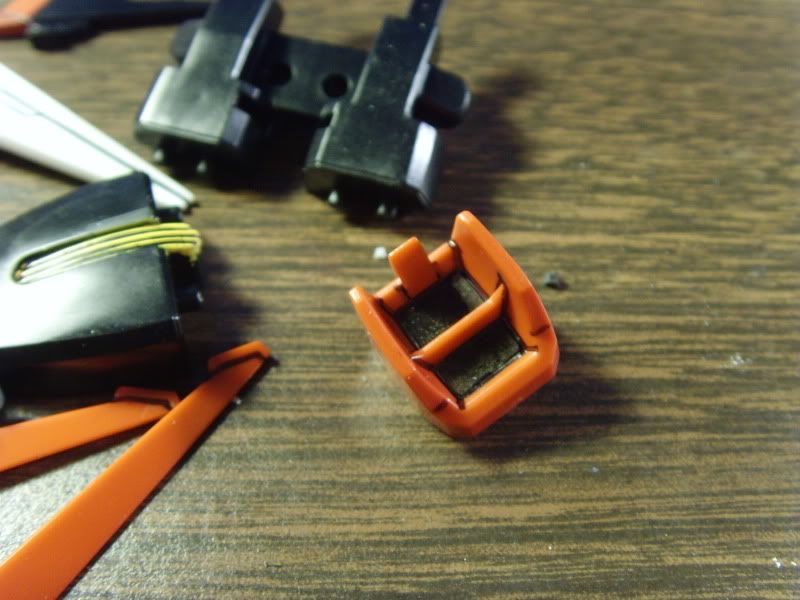
Last, here are the parts for the Aile Striker Pack.
Painted the center block "gunmetallic" and the vents yellow.
Painted the inside of the thrusters "gunmetallic".
Ditto
Okay, painting is done, next up will be some assembly and going over the various parts!
Until Next Time: Happy Building!

No comments:
Post a Comment