Could it be? A Local Gunpla Friend?
When Deathscythe Hell EW was announced and I started talking about it at work, a friend of mine (also named Joe) got very excited and want to get one. We pre-ordered them together and we are building them now. He's working on this kit nearly everyday, I'm only working on it once a week, so he will most likely be done before me. But he is going for a custom paint scheme. He wants to do urban camo on the wings. Could be cool!
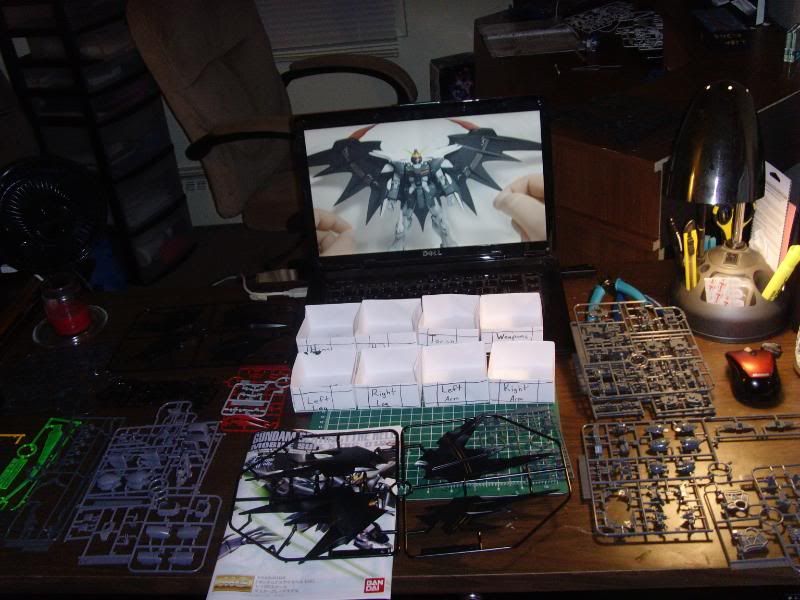
During the first part of set up, you'll notice the picture on my laptop is actually Vegeta8259's Video Review of his MG Deathscythe Hell EW. I was watching it while snipping parts.
Got everything all set up first.
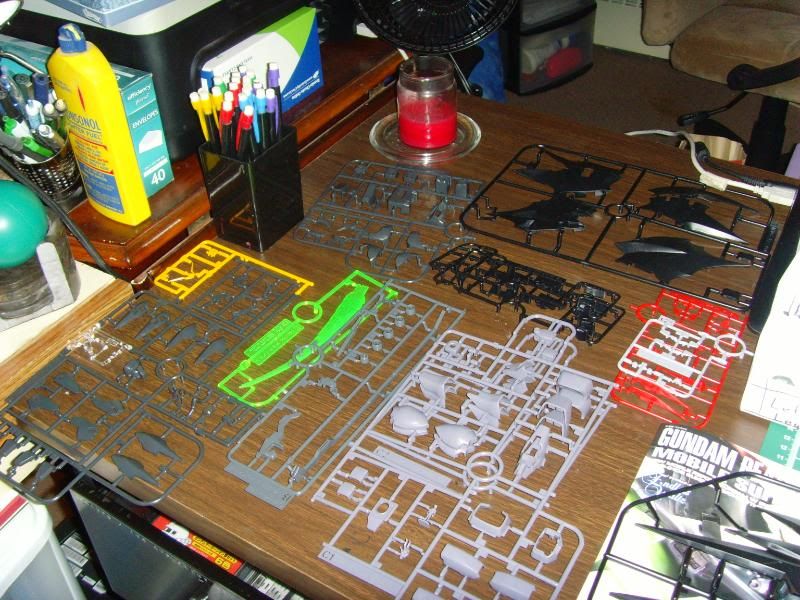
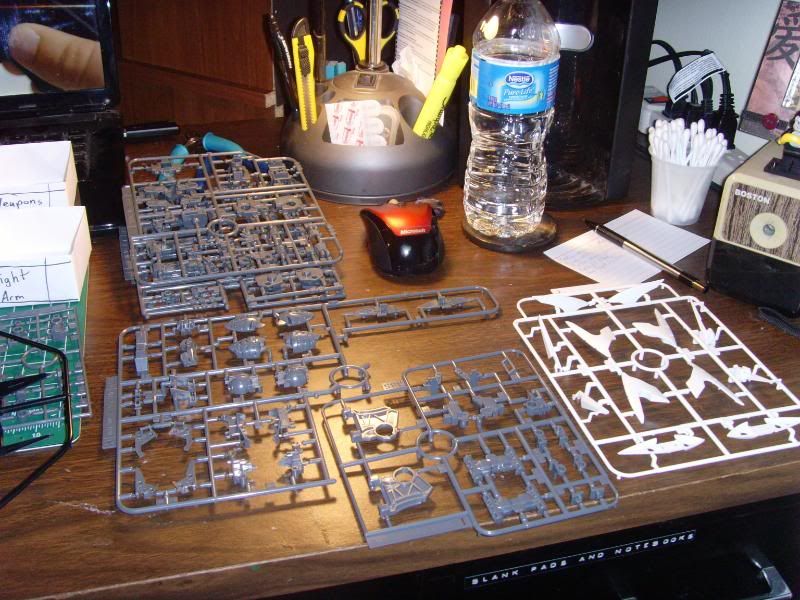
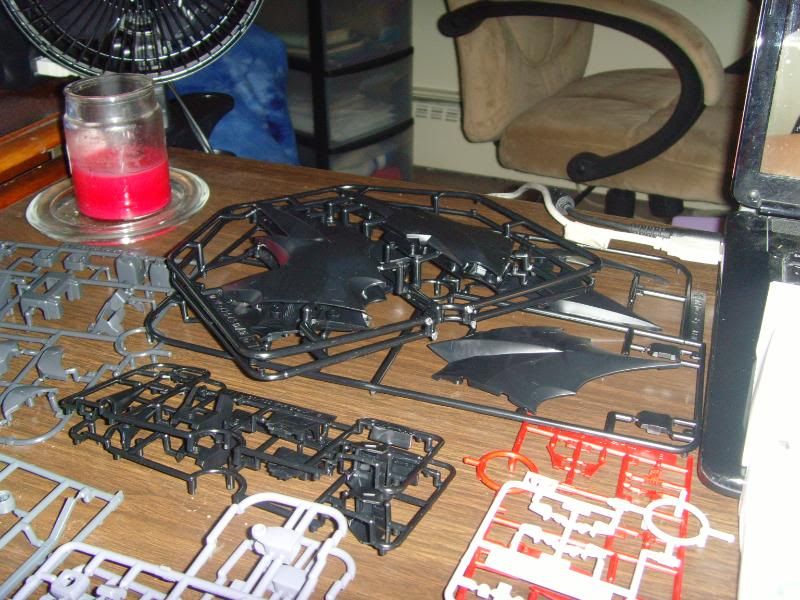
I laid out all of the runners as usual.
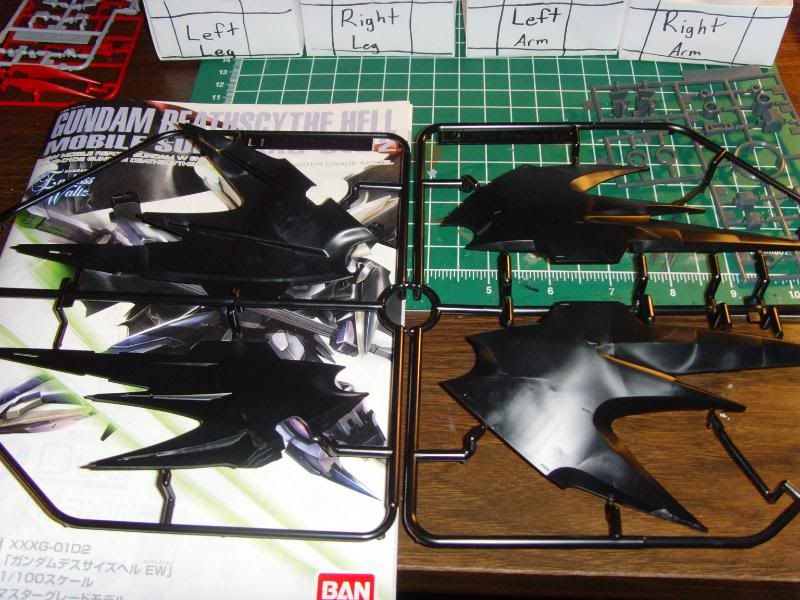
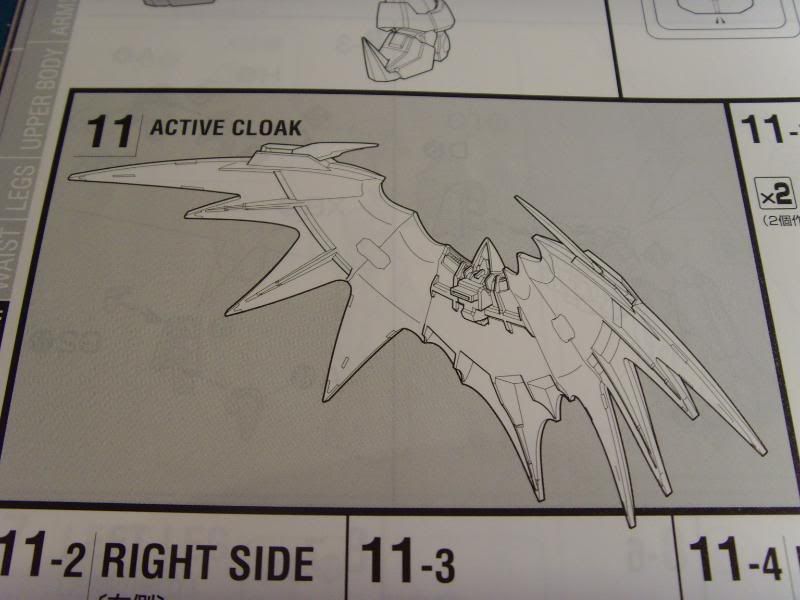
Those wings though... so big and in the way.
Mostly frame parts on the right side.
What to do about the wings?
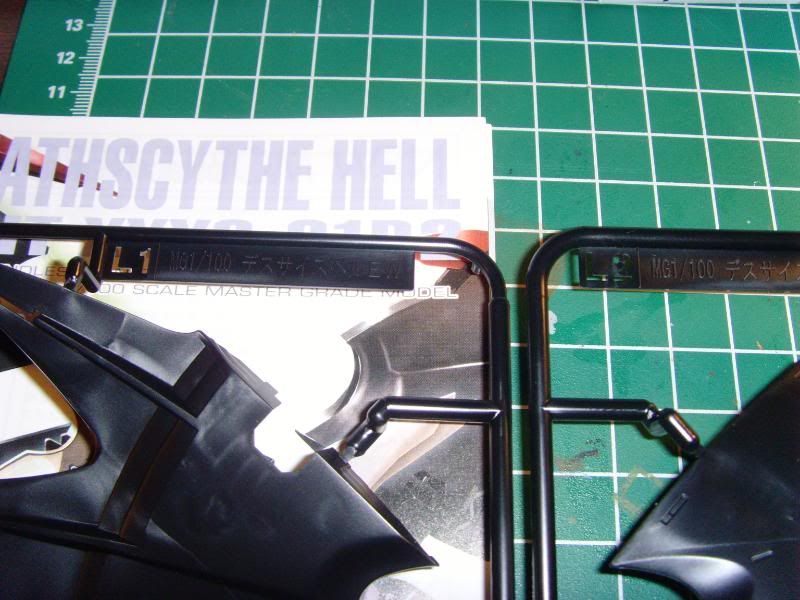
L1 ... L2...
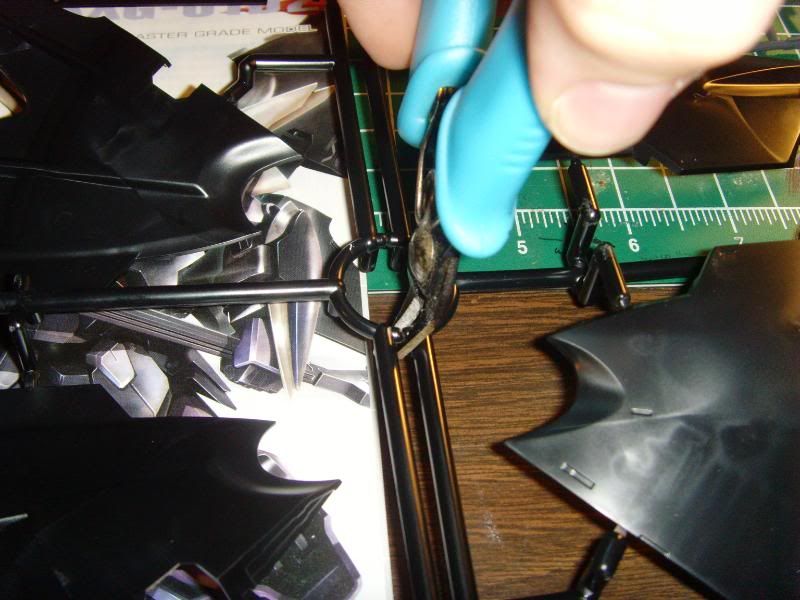
REMEDY!
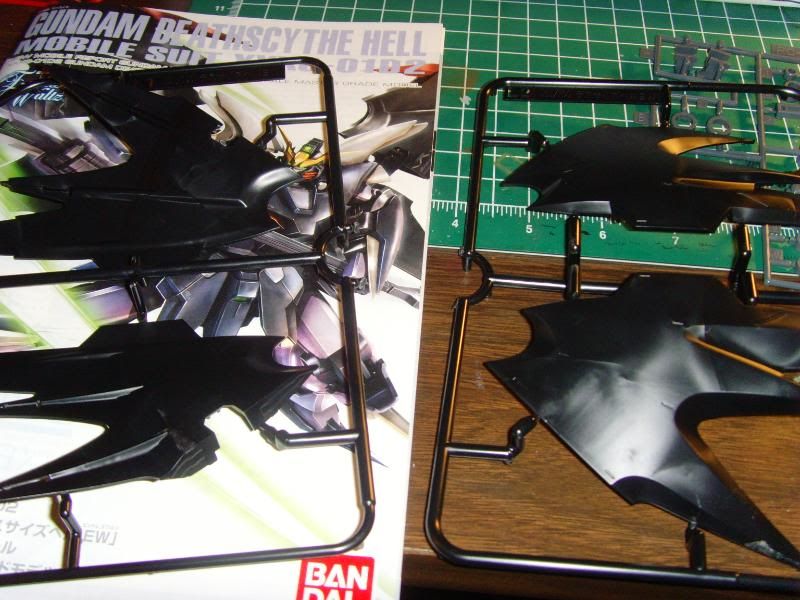
Much more manageable.
And they go with the rest of the wing parts.
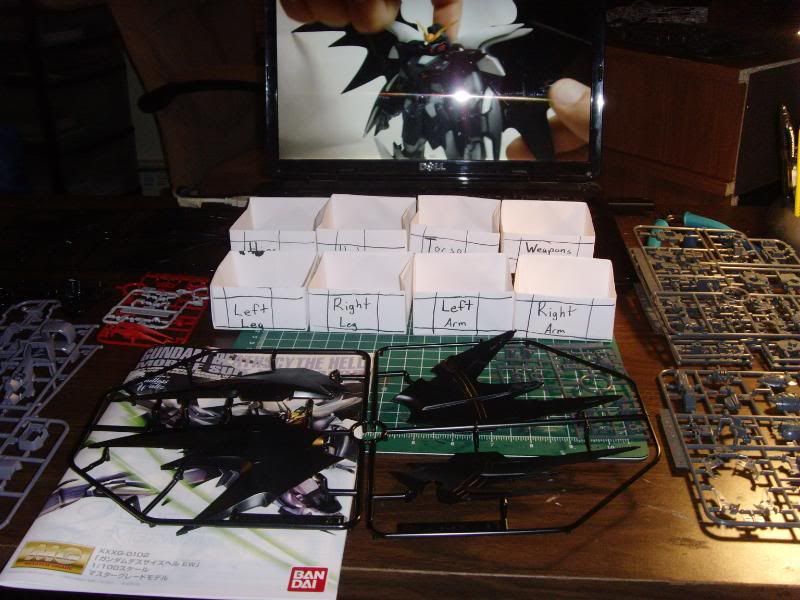
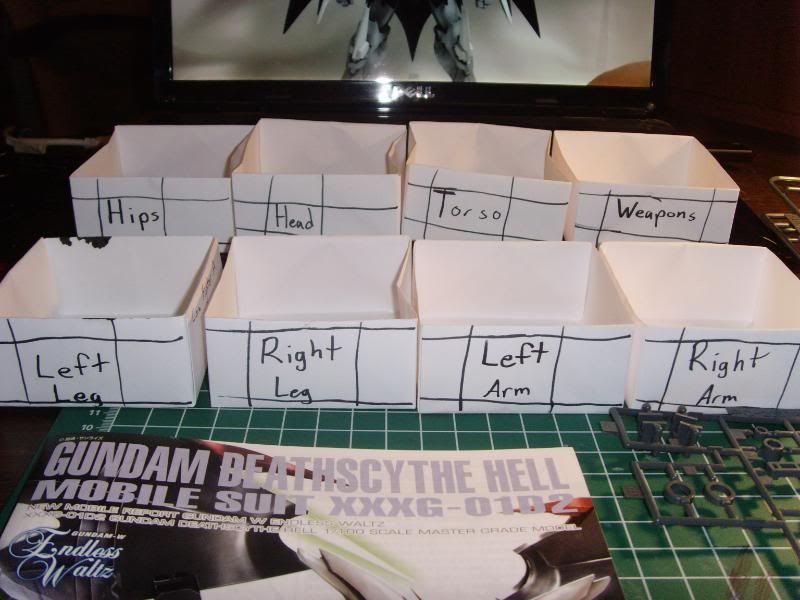
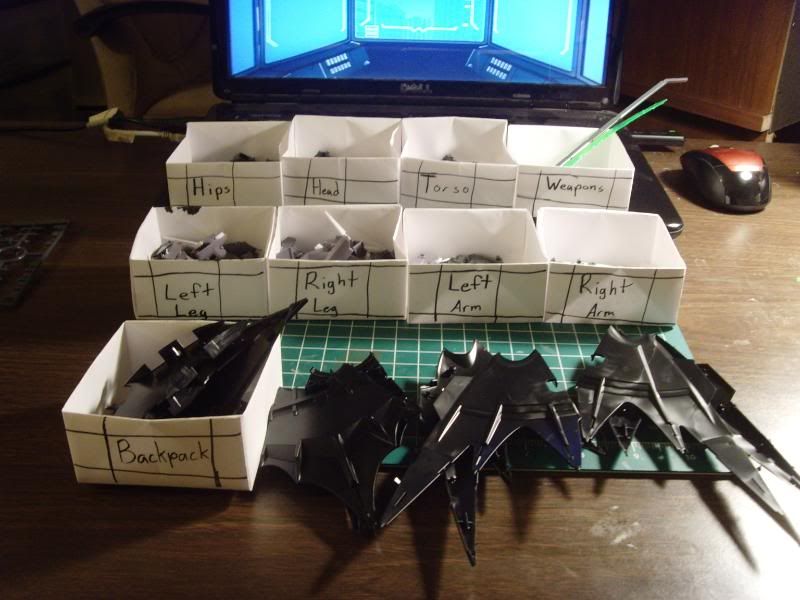
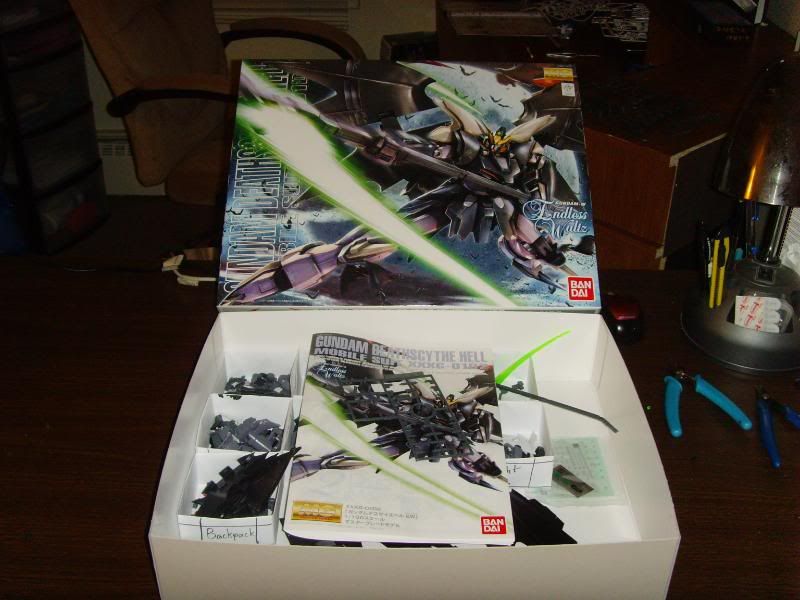
Since this post is mostly for the Other Joe, I'm going to go over my method in this posting. I lay out all of these "Parts Boxes". I have here one each for the head, torso, hips, weapons, left leg, right leg, left arm, and right arm. I have other boxes for times when I have extras in a kit, or whatever, but this is mostly my usual batch of boxes.
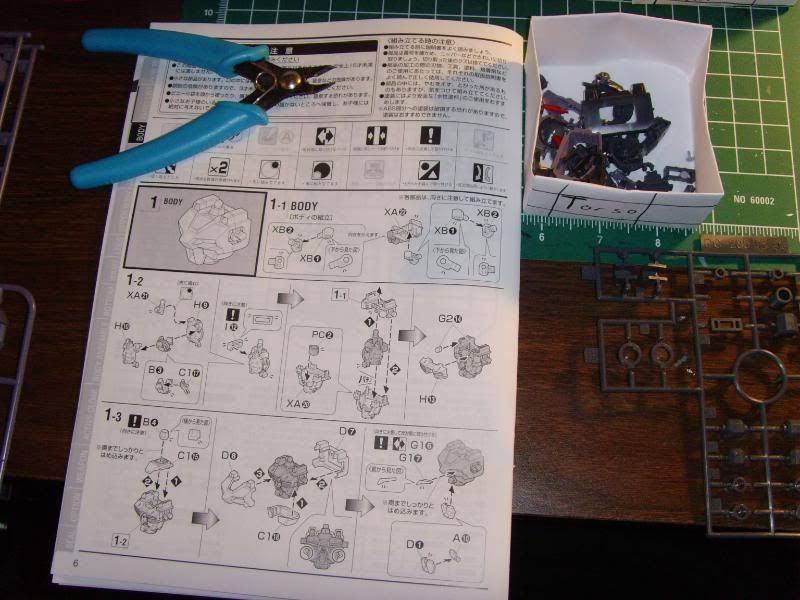
I follow the instructions once through just clipping parts from the runner, I don't trim the excess plastic off yet. Just clip the parts and put them in the corresponding box.
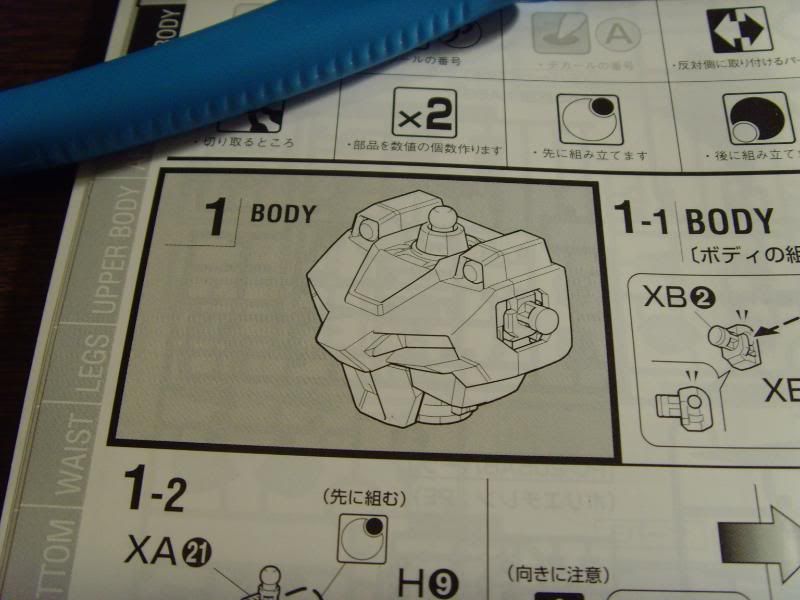
Body or torso.
All the parts for the Torso.
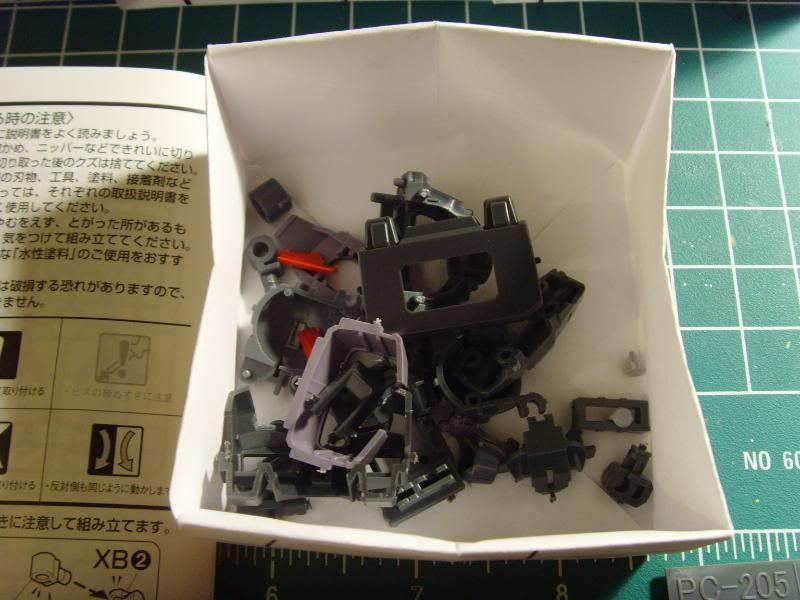
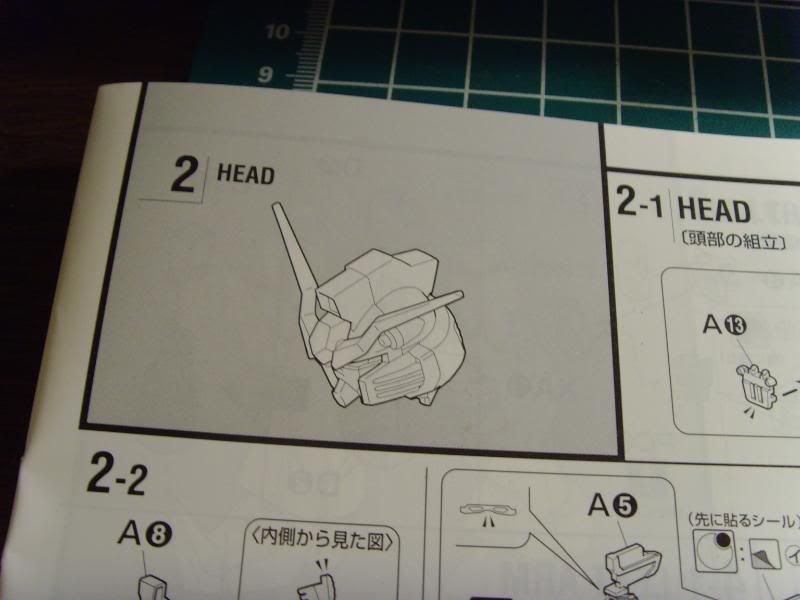
Head
All the parts for the Head
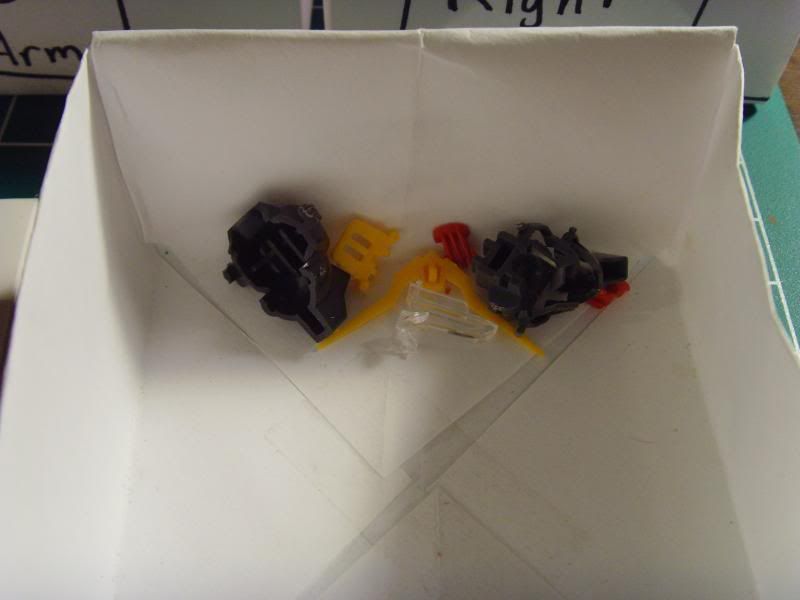
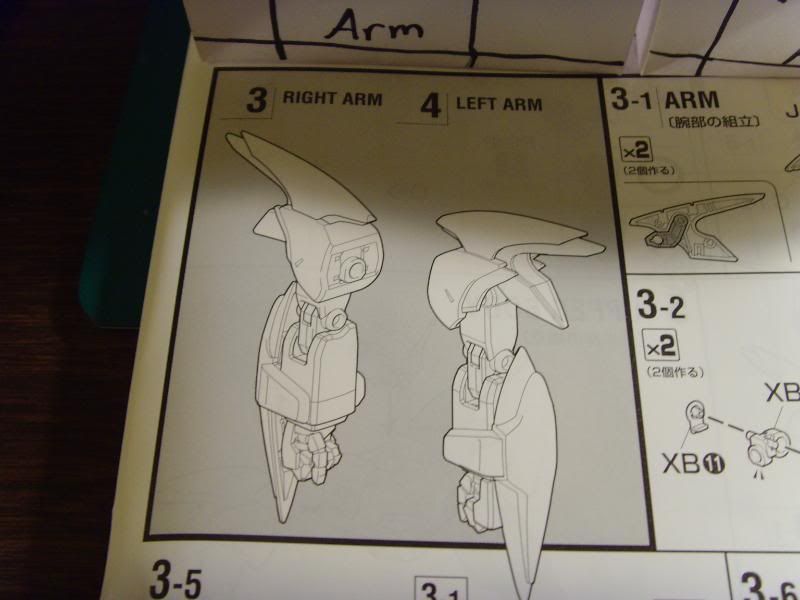
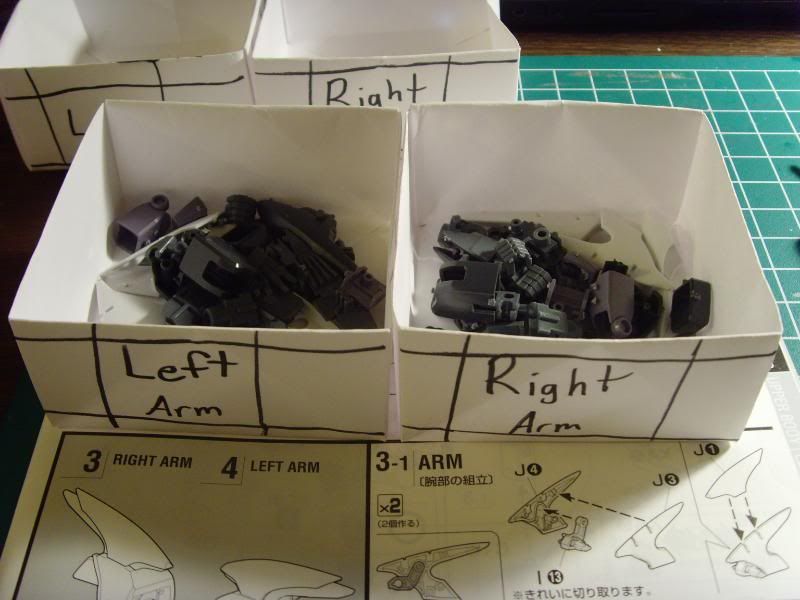
Arms
All the parts for the Left and Right Arms
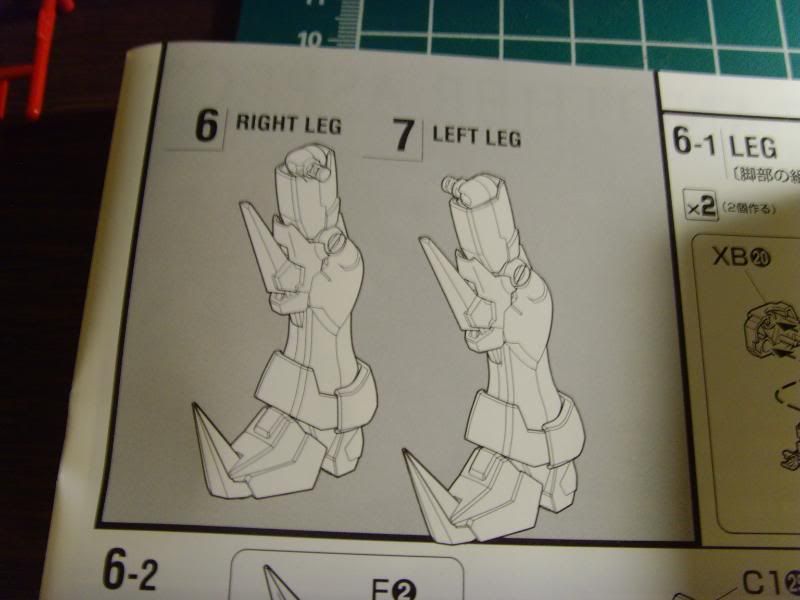
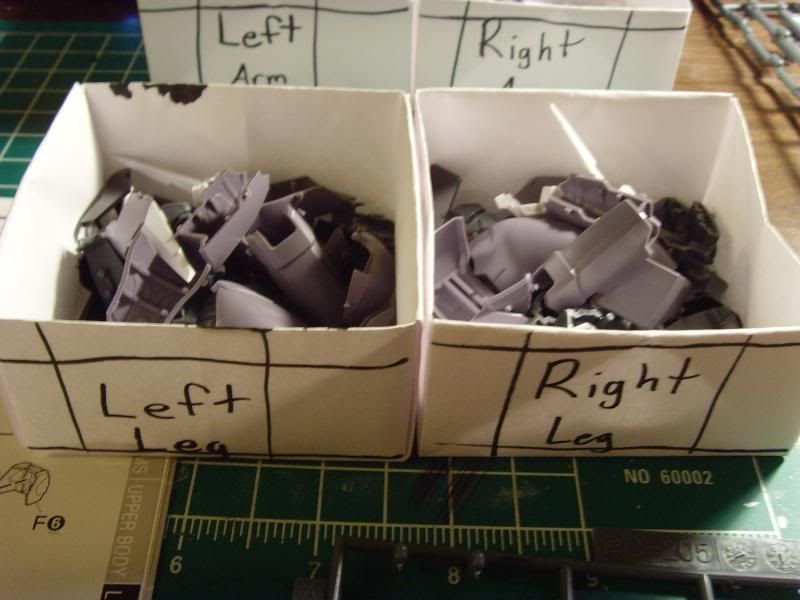
Legs
All the parts for the Left and Right Legs
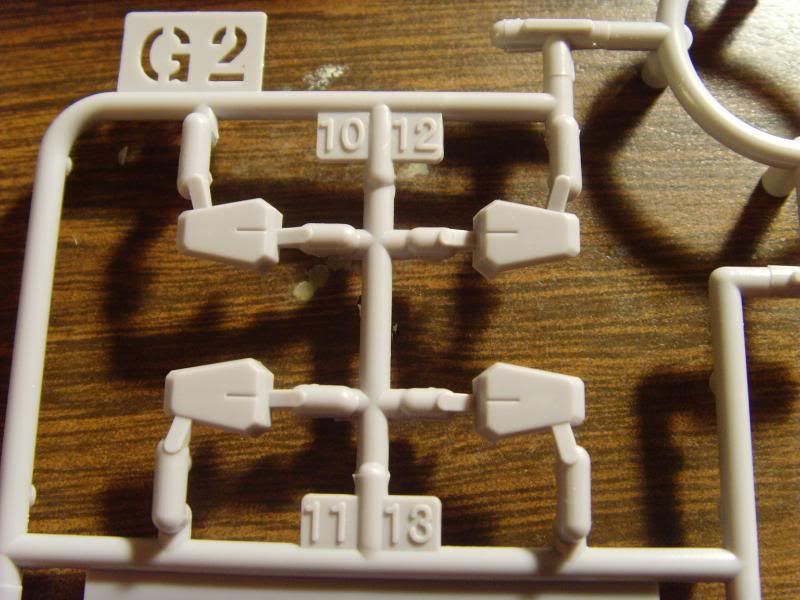
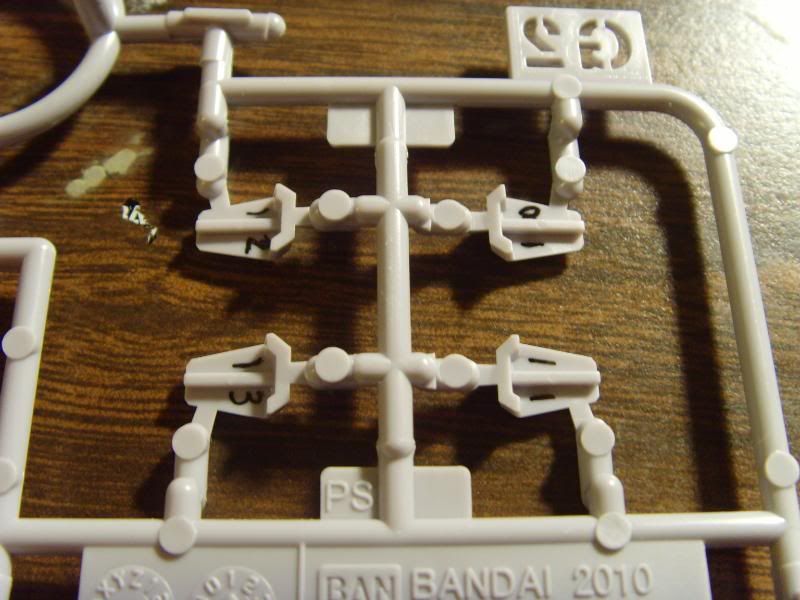
When I got to the skirt armor, I saw that these parts look almost identical, but are labeled different.
I flipped them over and marked their numbers on the back where they wouldn't show. This way I don't have any problems later during the build.
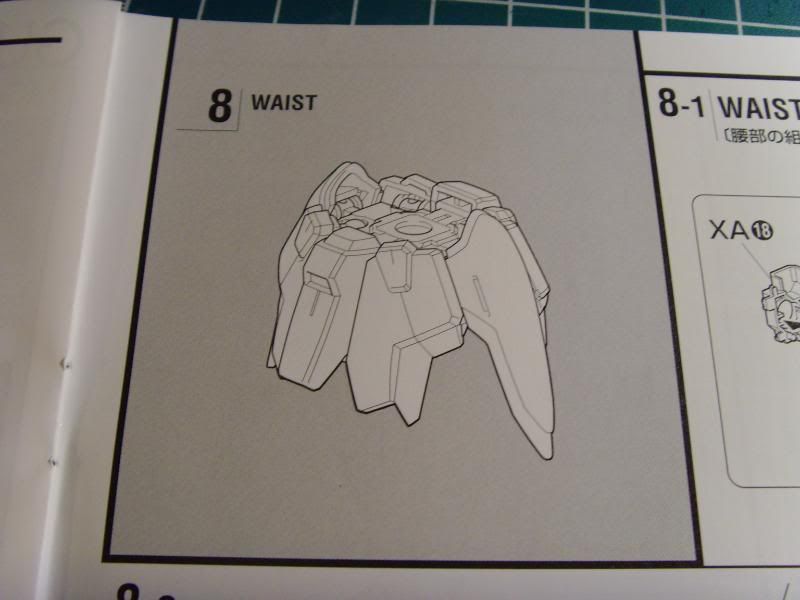
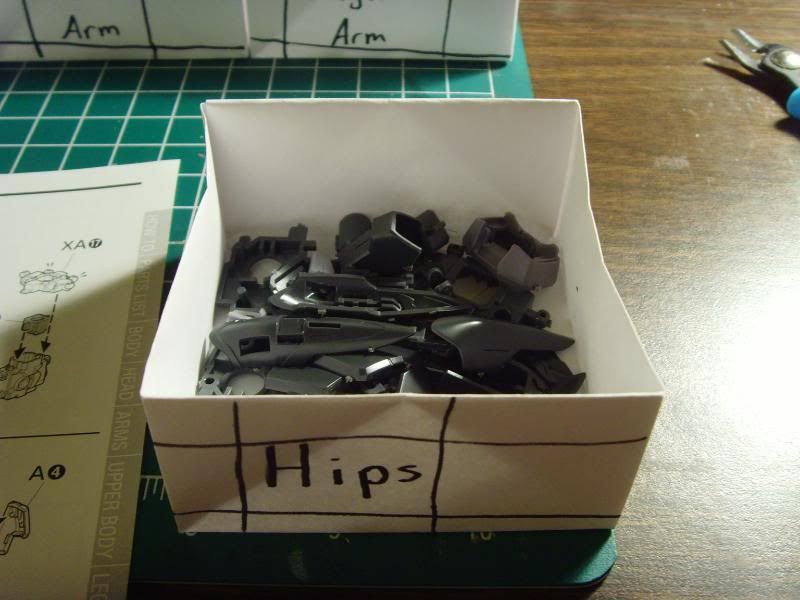
Hips or Waist
All the parts for the Hips
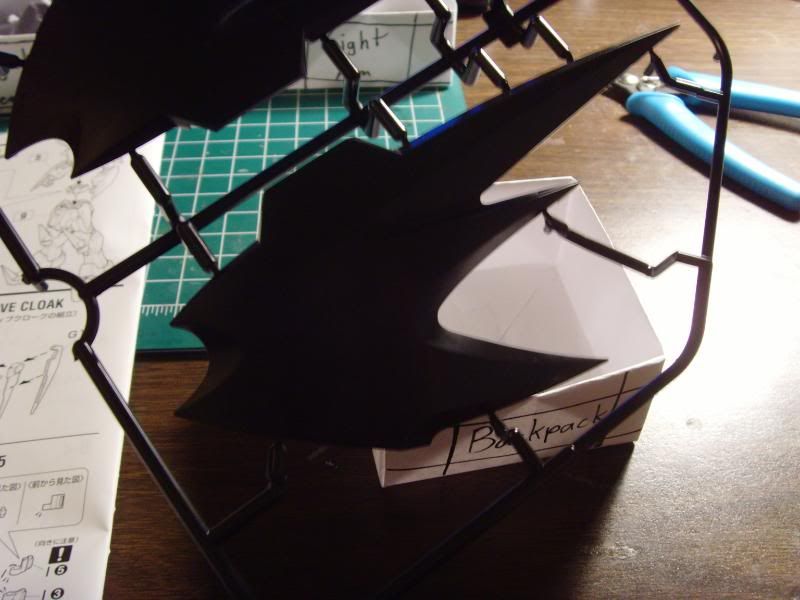
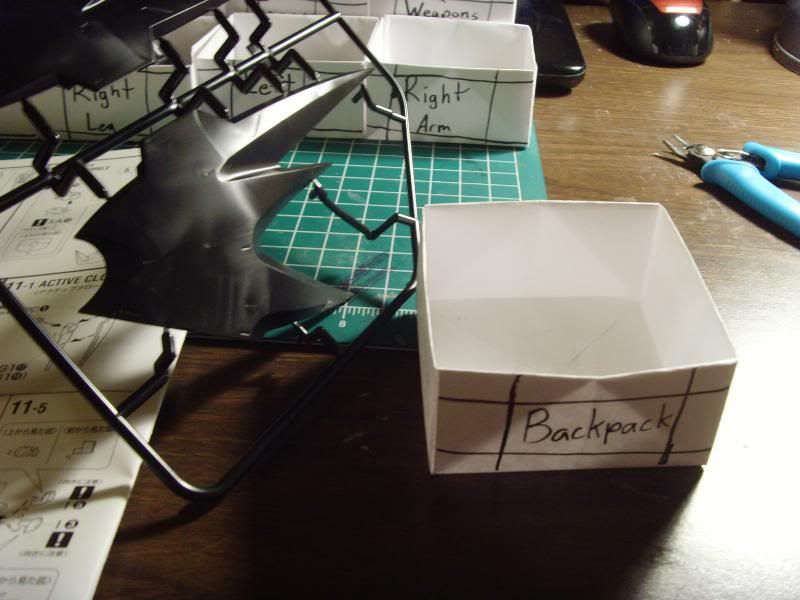
Here's the box I left out in the beginning. I always use this box too, but it's causing issues when it comes to this kit...
These wings... are just... so big...
Yup, no way they'll fit in that box.
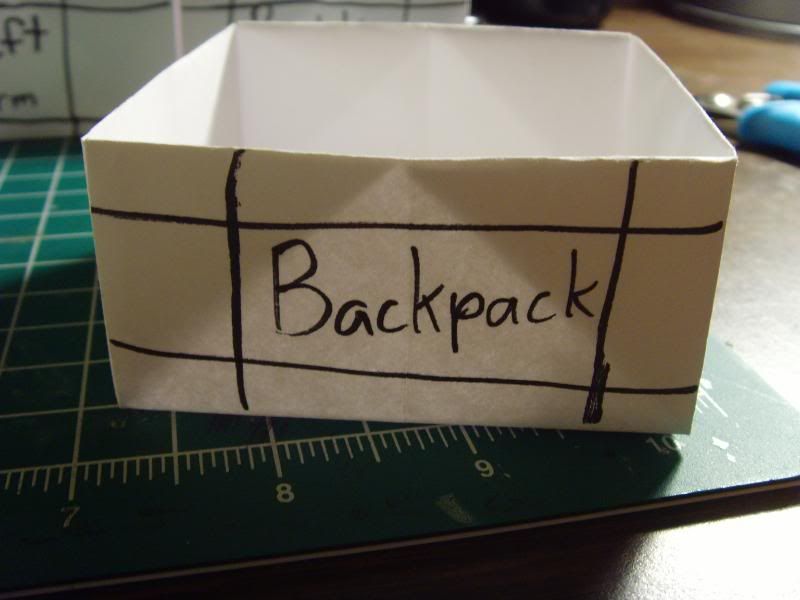
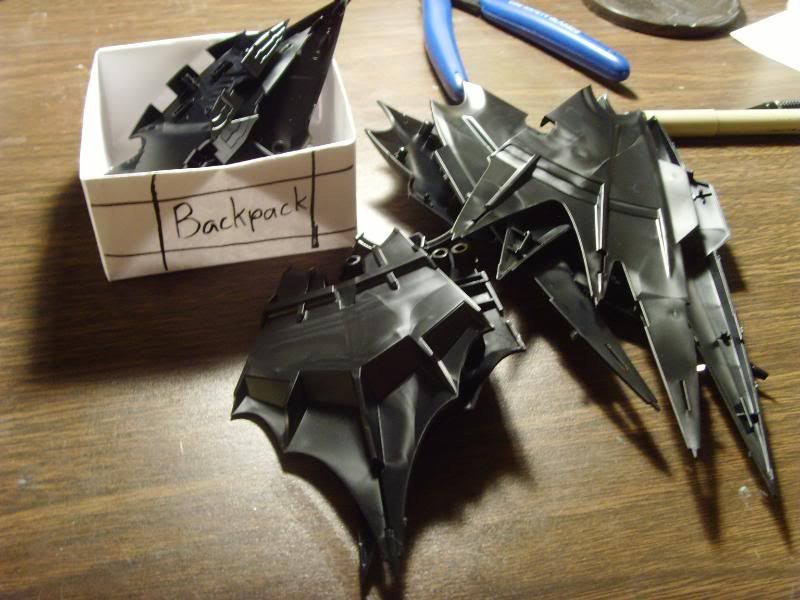
Backpack
All the parts for the backpack. I decided to put what I can in the box, and then leave the six largest parts out of the box.
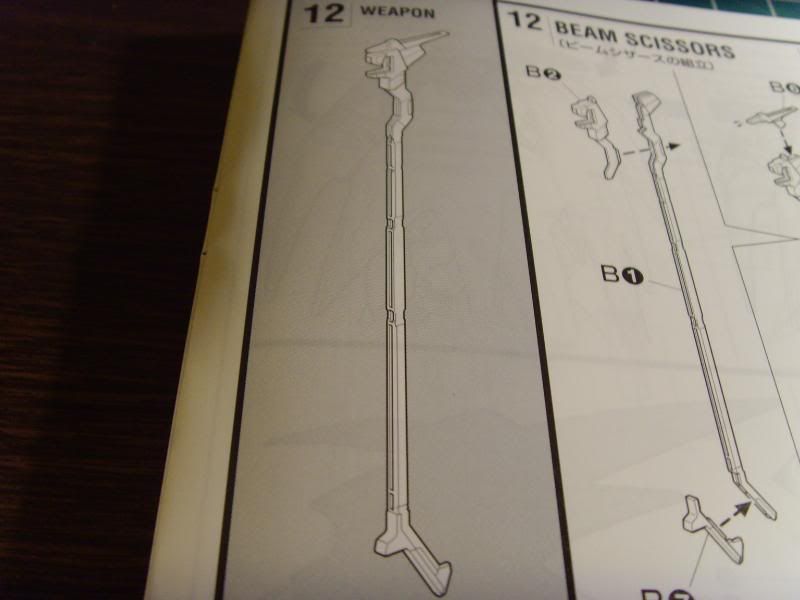
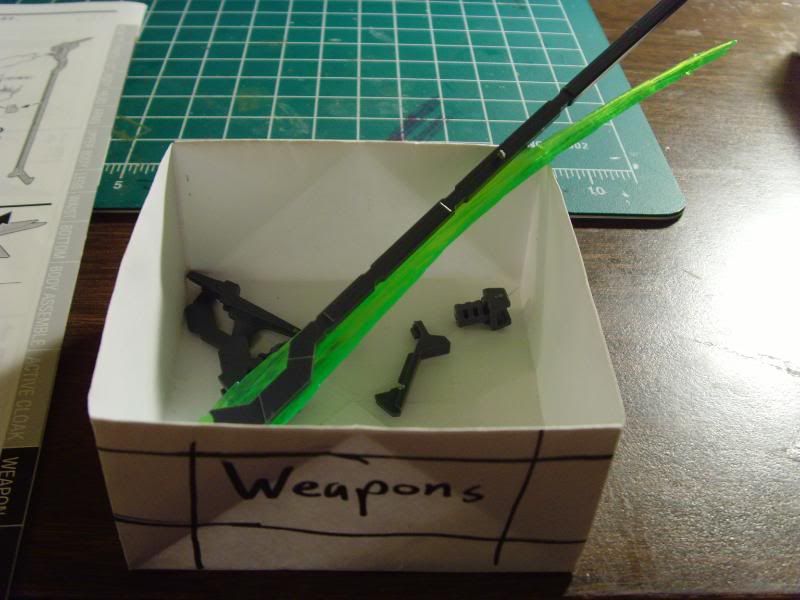
Weapon... Uhm... Weapon
All parts for the Weapon
There you have it, all of the parts are cleared from the runners and placed in my Parts Boxes. Thanks again, Ngee Khiong for this organizational method.
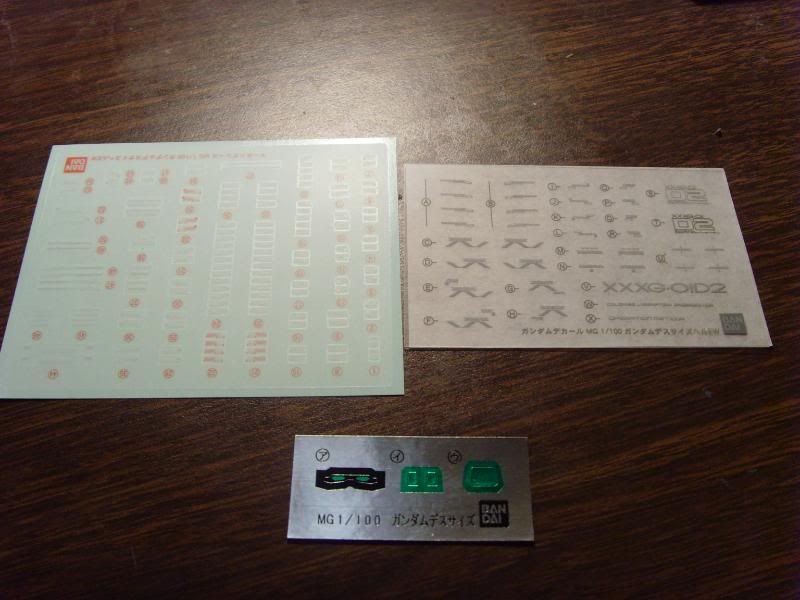
The kit came with a sheet of clear stickers, a sheet of dry transfers, and the foil stickers that I never use.
That's it for this week! I'll pack everything away and trim up parts and do some painting next week on one of my days off.
Until Next Time: Happy Building!

No comments:
Post a Comment