
All the clipping and trimming of parts, the cementing, the sanding, the painting and building is completed (and has been for some time actually). All that was left was panel lining.
Progress Posts are here:
Intro
Part 1
Part 2
Part 3
Part 4
Part 5
Part 6
Part 7
For this model, I used Faber Castell Brush Pens of various shades. These, I feel are one of the best markers to use for panel lining on lighter colored areas. For darker areas, I almost always use a solid black ultra super fine marker of some kind; Micron is a wonderful brand. But this model has only lighter colored areas, so the brush pens worked out great.
 You should be able to pick these up at any craft store. Like I said, they are amazing. They practically do the shading for you, if you know how to use the spill over effectively.
And now, without further a due, here it is, the completed HG 1/144 Gundam!
 I wanted this model to look as good or even a little better than the 1/1 statue it is based on. It may not look better when comparing the two in person, but in the pictures, I think the model looks pretty darn good!
 I was very excited when I found out that the kit was going to have not only the epic Gundam Hammer, but a REAL METAL CHAIN as well! And it is quite impressive, however, it only comes with one open hand and one trigger hand. AND they are both for the right hand. The left hand only has a closed fist option. So, really, the Gundam Hammer can't be held in any really cool poses. I'm sure there are some hands out there that will be compatible with the kit though.
Gundam Fully Loaded! The bazooka of course has a clip for it on the back skirt armor.

I think the back of this model looks more interesting than the front sometimes...

The RX-78-2 Gundam. I didn't think the pinkish color scheme depicted in the painting guide was going to look so great, but it really does work for this model.

I shot this one from below. I doubt I'll ever make it to japan to see the 1/1 scale, but at least looking at the model from this angle makes me feel a little better ^_^

All the detail we used to expect only from MG kits back in the day. There are panel lines galore! A lot of surface detail from such a small model.
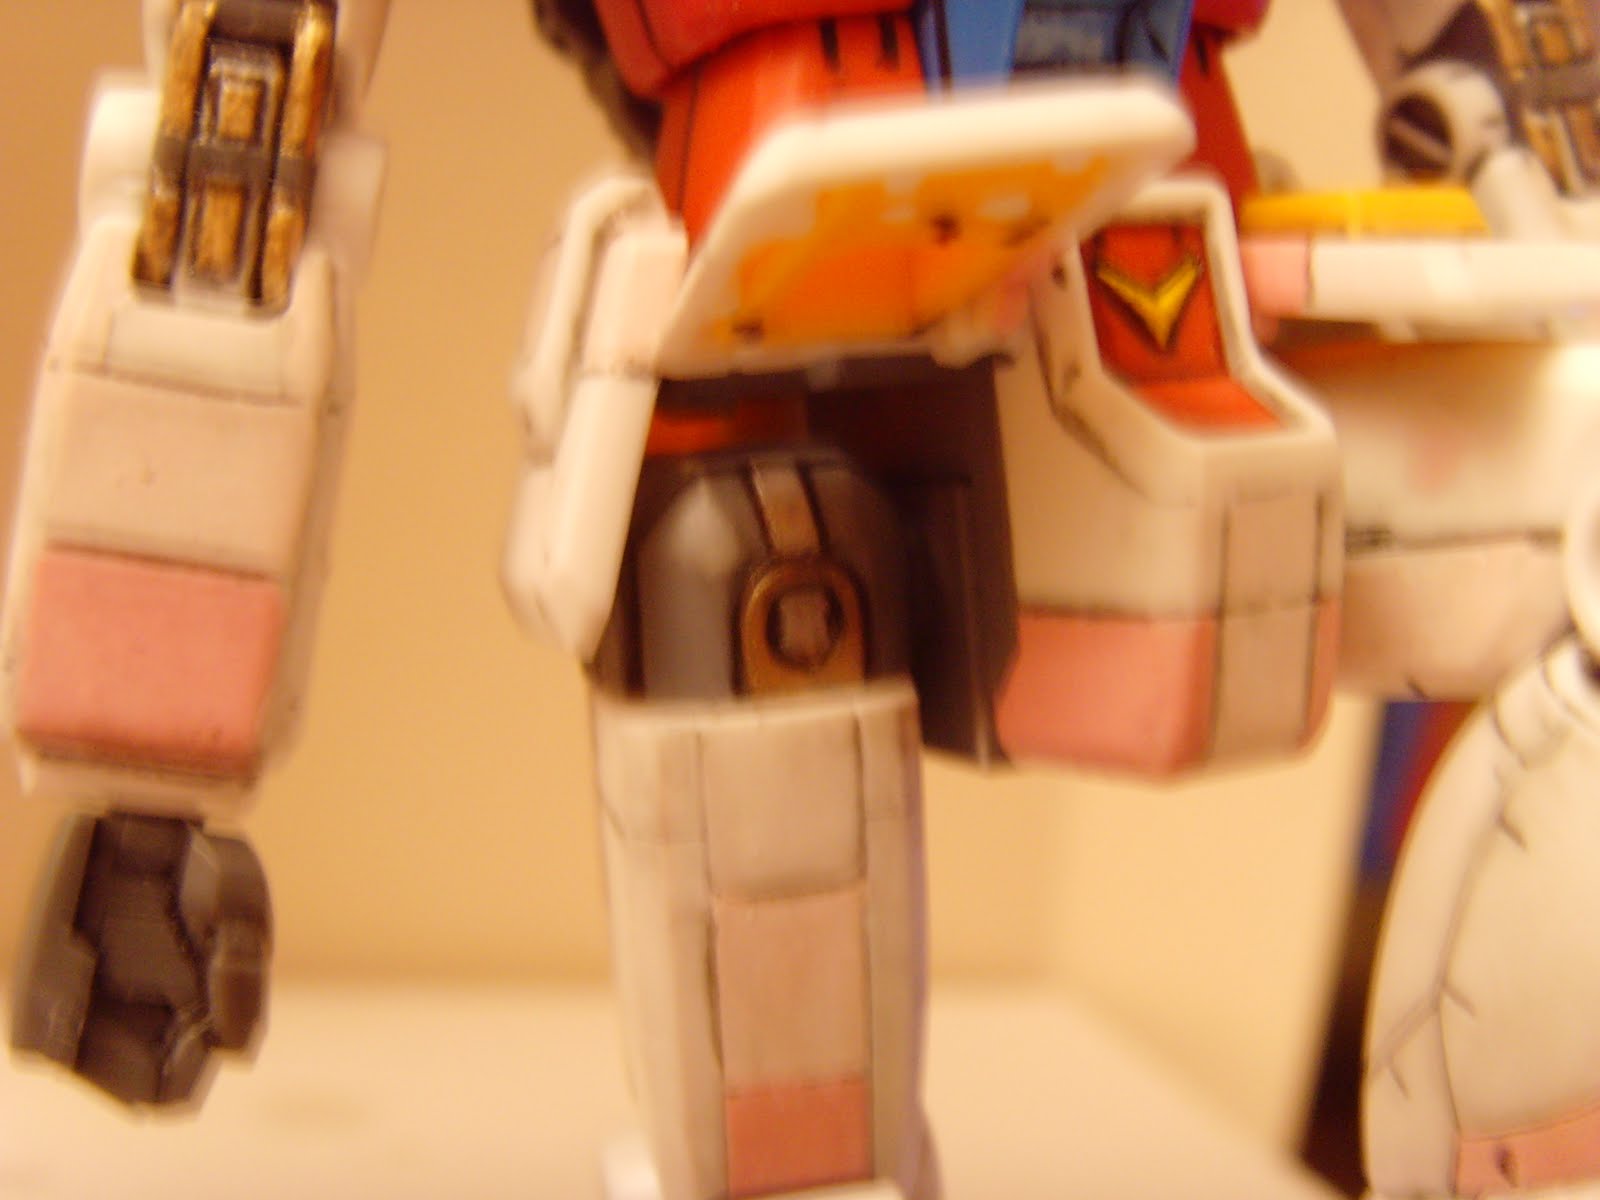
Even the hip joints have a lot of detail in them.

The knee joint has quite a bit of detail as well, the back of it has more though.
 And the pistons of the ankle joint, while immobile, are still molded very crisply!
 The elbow joint has a really cool design, and I wanted to accentuate the details of it.
 There are lighter blue patches on the sides and on the cockpit of the torso. And even the red midriff has a spot of lighter red.
Tons of detail on the backpack. Like I said, I really like the details on the backside of this model, almost more than the front!

The back of the knee looks really interesting. Originally I was only going to paint the gold portion, but I thought that the added silver details help give it a more mechanical feel.

The ankle joint also has a lot of details on the sides. I'm glad they show through between the armors.

More details on the back pack. The thruster nozzles I decided to paint silver and gold to really make them pop.

Posing with the refile and shield.

I wanted the shield to be anime accurate with a red backside.

The bazooka fits nicely over the shoulder. The handle is hinged to allow for this.

I honestly had a hard time deciding on whether or not to paint the bazooka barrel white or leave it gray! It switches back and forth int he anime so I'm not sure which is official, it even switches from MG to MG! Ultimately I went with white because of the MG 2.0 having a white barrel. Since that is the newest incarnation, I figured that's the most official representation up to this point...

Surprisingly, with the new joint system it can reach back for it's beam saber...

And deploy it dramatically!

Bwwwaaaaaahhhh! IGNITED!

While small, this guy can pack some dramatic poses!

Same pose, different angle. The knees can bend just past the 90 degree mark.

The ankle is pretty sturdy and has a pretty wide range of motion. Again, the amount of panel lines and detail on the legs of this model are very good!

CHAR!!! I'll get you!

The top of the shoulders even have quite a bit going on there.
I had a lot of fun building this model, so much fun, in fact that I had to building something else to go with it!
 I dug out an old 1/144 Core Booster from the first ever Gunpla line! It doesn't have as much detail as the modern high grade kits, but given proper attention, they can look very nice!
The Gundam Can even stand on the top of it and ride around! The best part about a design like the Core Booster is it's pretty difficult to screw up the proportions. I think this old kit stands up to the test of time!

I tried to add the same type of coloring scheme for the core booster as is on the Gundam. I think I did an okay job.

I tried also to add a little bit smudging and shadowing with the ink from the pen I used. Again, this kit doesn't have nearly as much surface detail as the Gundam, but for it's time, the model holds up.

As with the Gundam, I think the back or underside of this model looks more interesting that the top or front...

I gave the thrusters the same silver and gold treatment as the Gundam's.

I painted the wheels and adjoining mechanical details. I hoped to make them look as realistic as possible. I like the gold and silver combination for the landing gear.

The back wheels and landing gear got the same treatment of course!
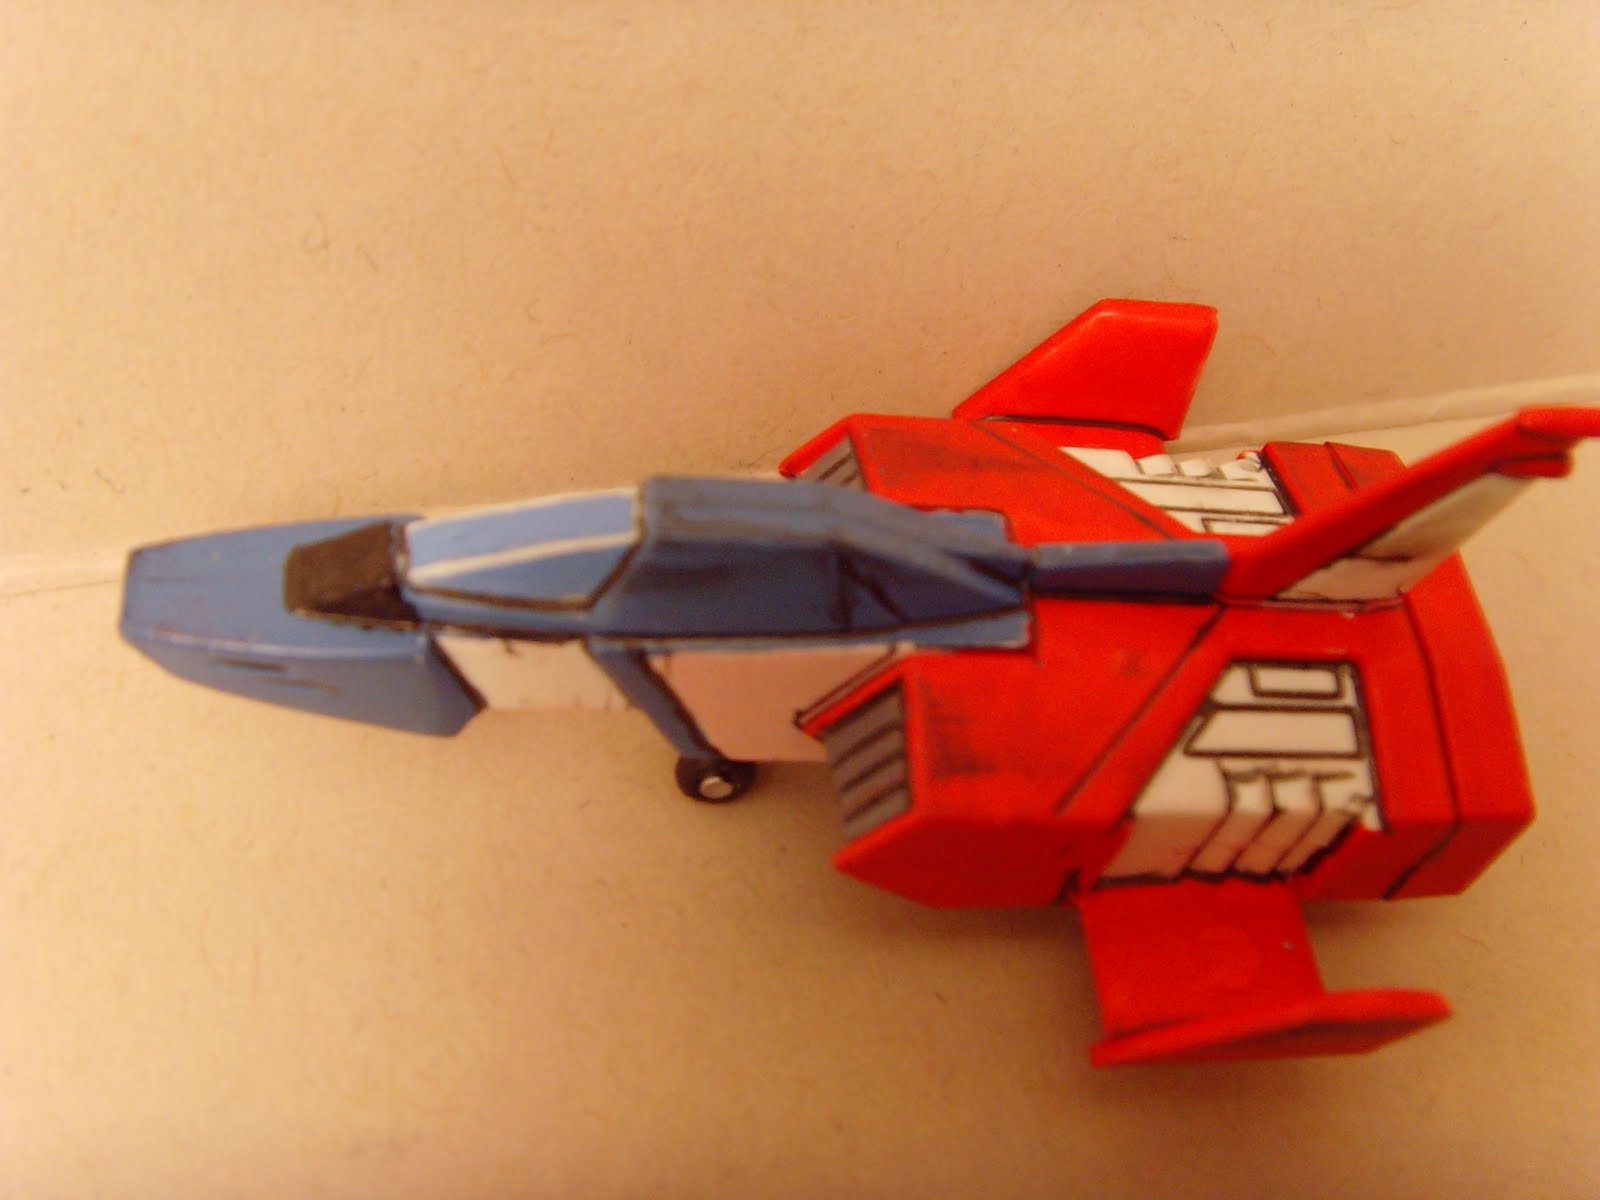
And of course the core fighter itself. The cockpit was one of my favorite parts to paint. I was trying to figure out how to paint those little white lines from the frame and inspiration struck me! Why not just run the exact-o blade on the edges and around the cock pit and scrape the paint off and it worked perfectly! I also painted a few of the white portions in the pinkish hues used on the Gundam.

The Core Fighter's landing gear was also given the gold and silver treatment.

And the thrusters were painted silver and gold.
This Model took a lot out of me. But it turned out very nicely. I hope you enjoyed the pictures and this incredibley long post. For now...

It's time for a break!


