Armor UP!
I apologize for the delay! This will be the final part of the review. Here are the rest:
Part 1
Part 2
Part 3
Part 4
Part 1
Part 2
Part 3
Part 4
Let's get some armor on on the duel and salt it up a little! (Haha! A salt shroud...)
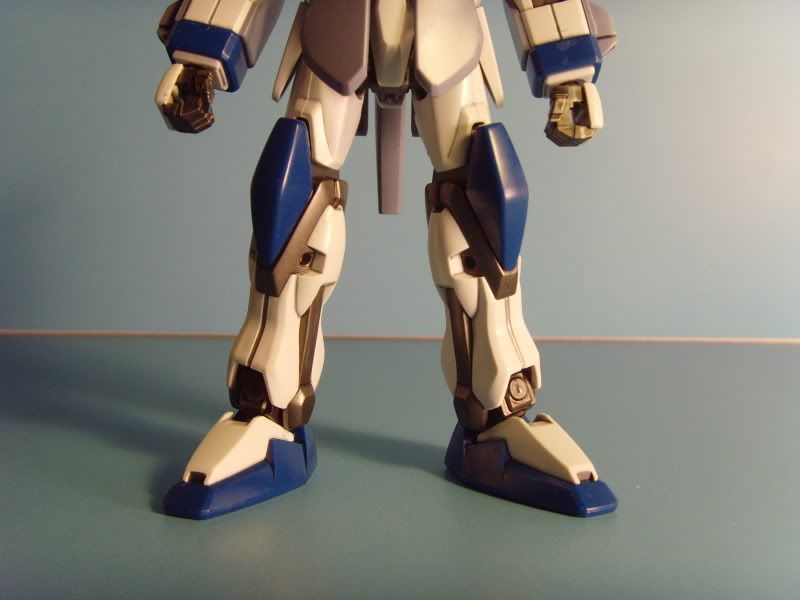
Ready, Duel Gundam?
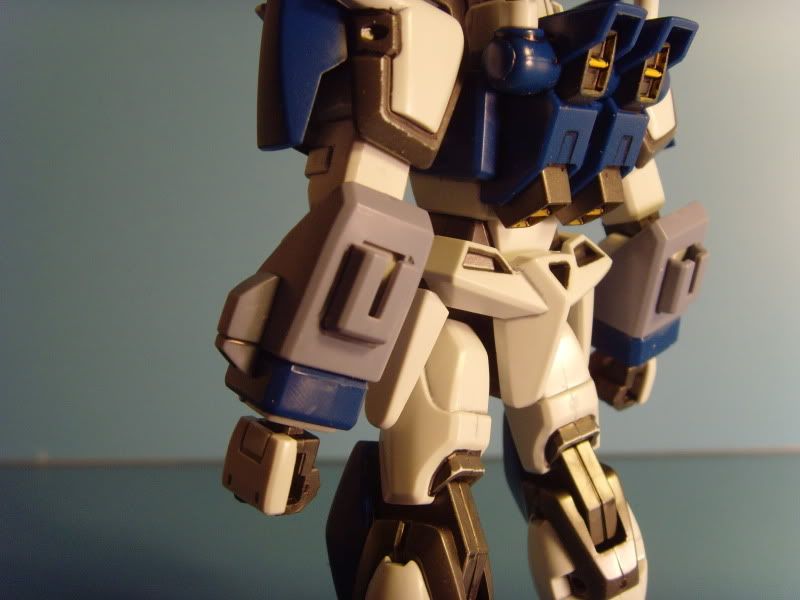
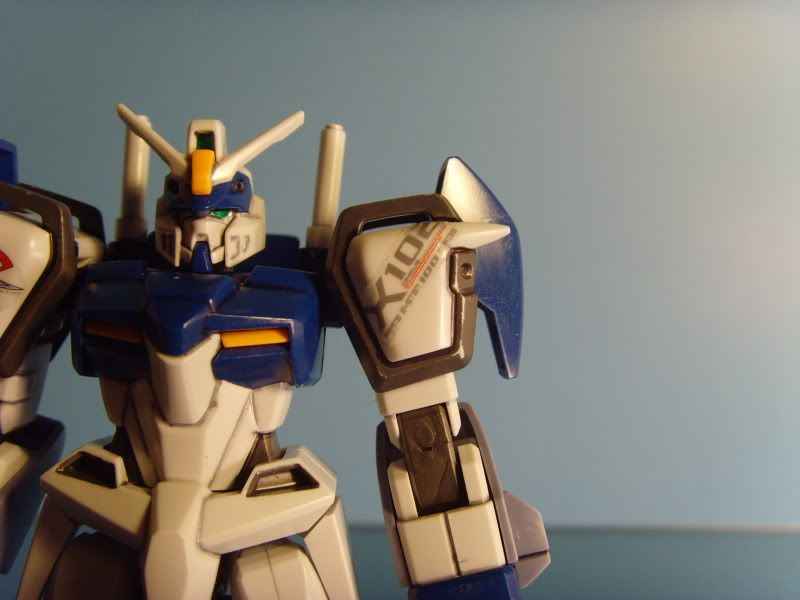
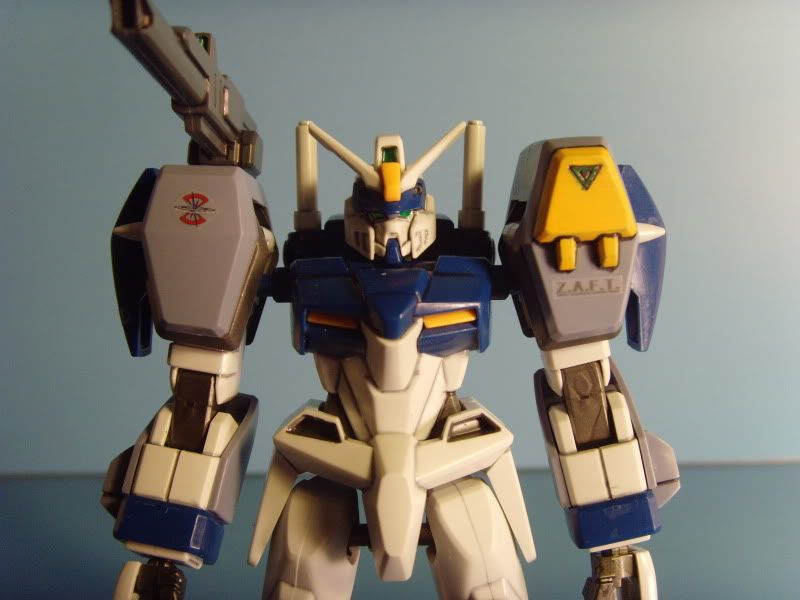
Arms get a nice block of armor.
Same on each side, just mirrored. The part is attached from the bottom.
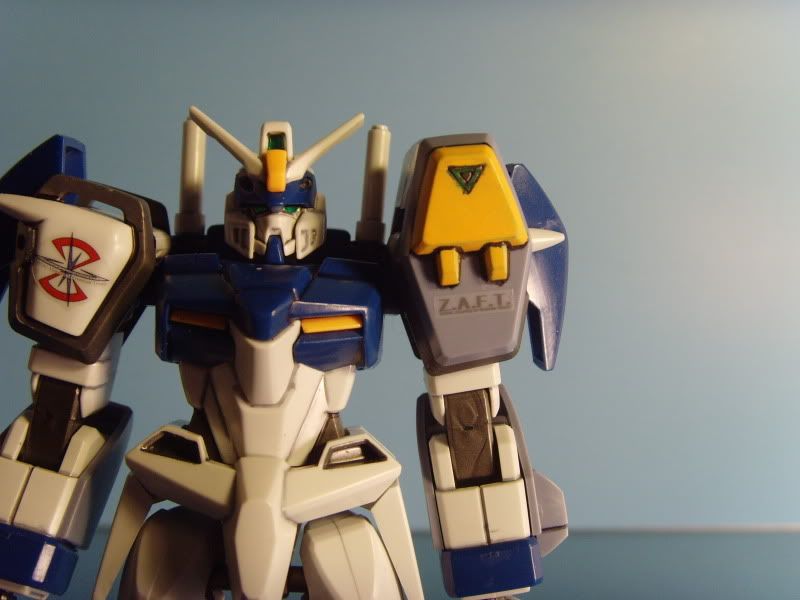
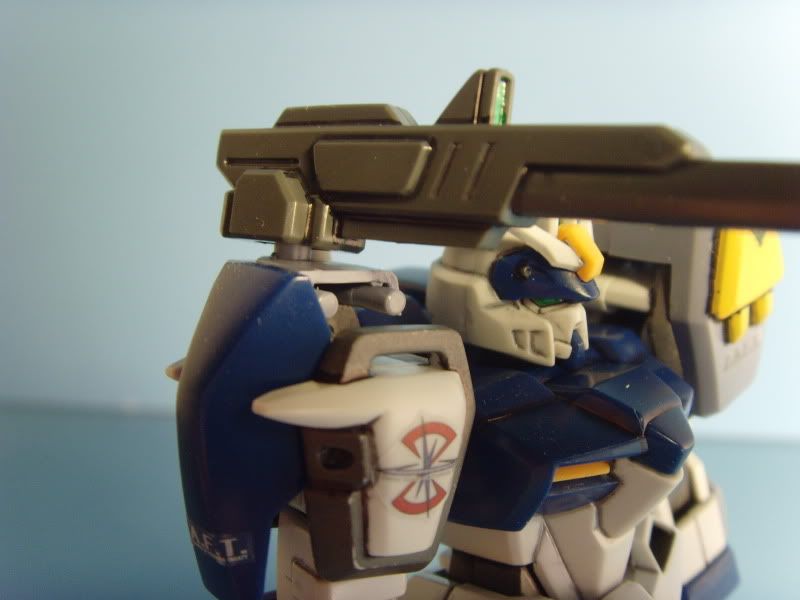
Left Shoulder gets a missile pod (that does not open).
The left side...
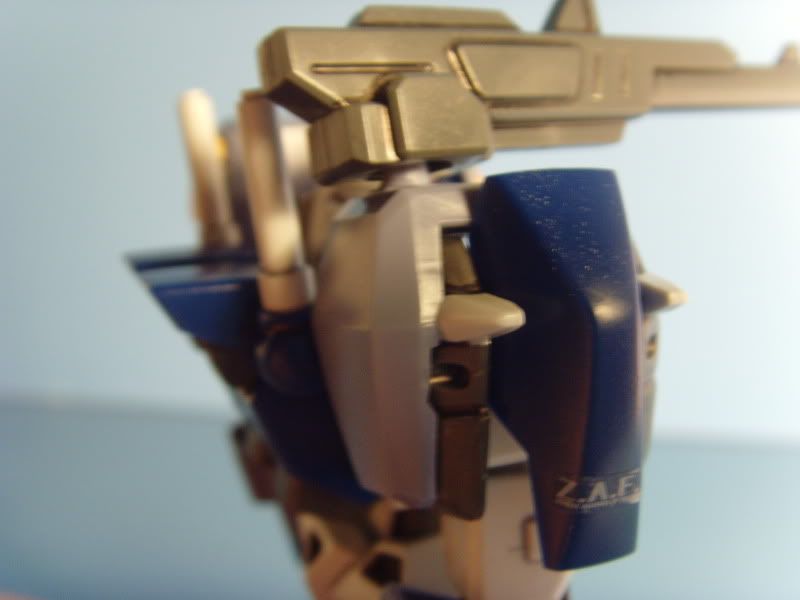
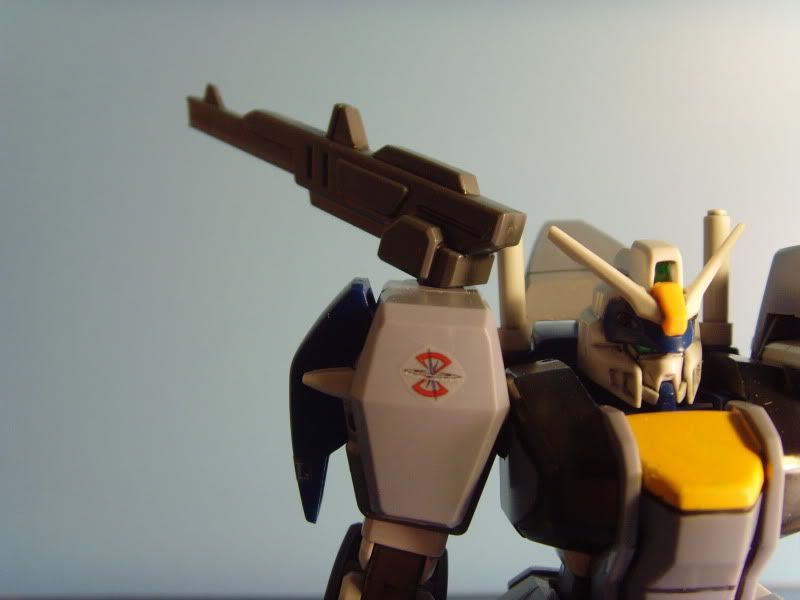
Gets a giant blaster!
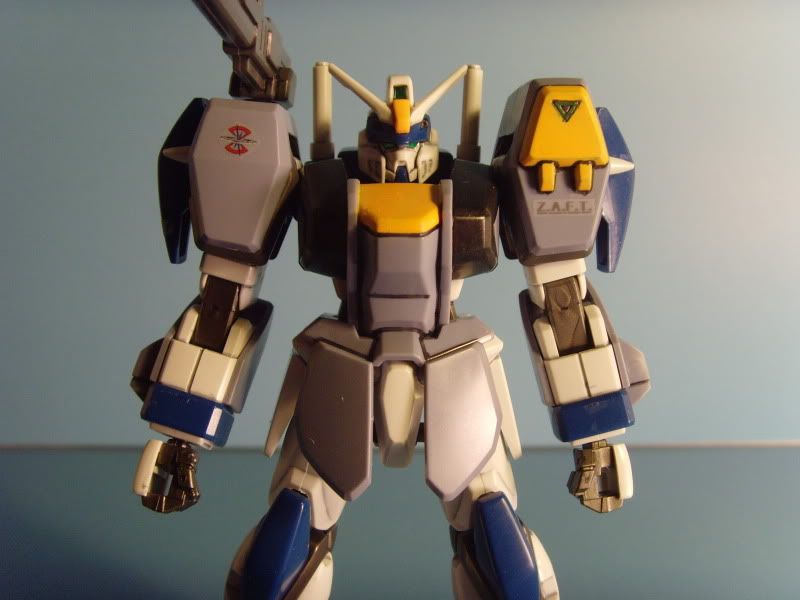
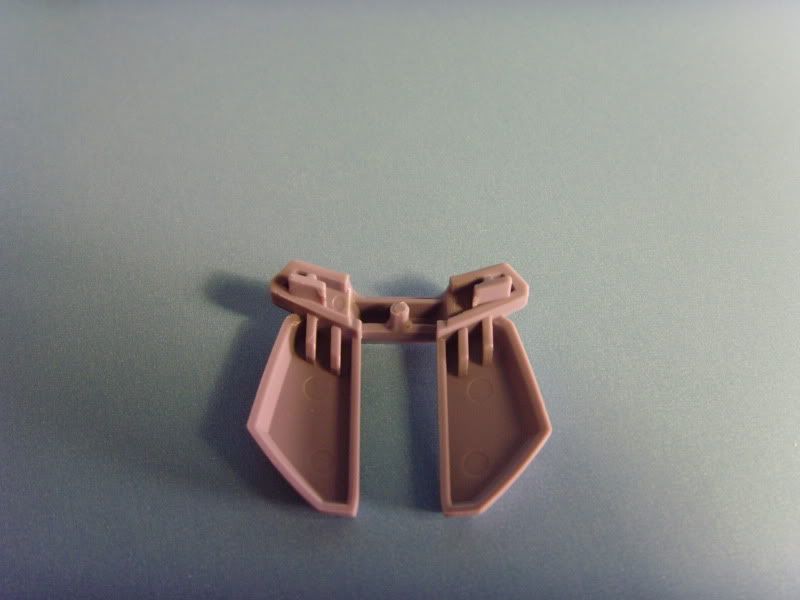
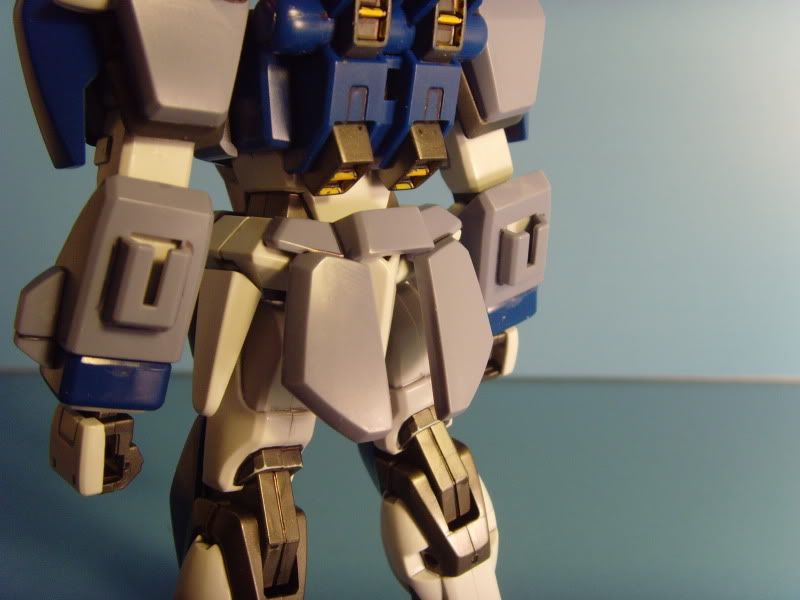
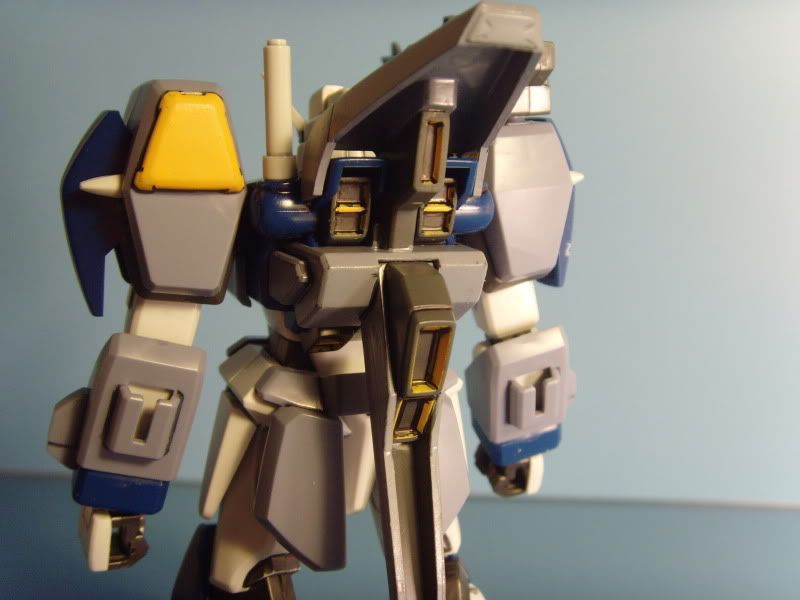
The front armor is all one piece. Good thing he never had very much waist articulation to begin with...
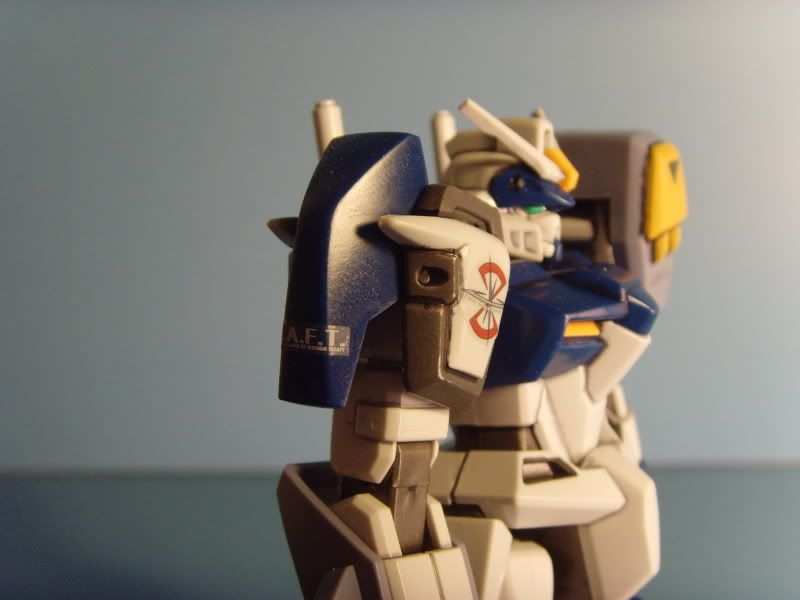
The back armor part just plugs into the hips.
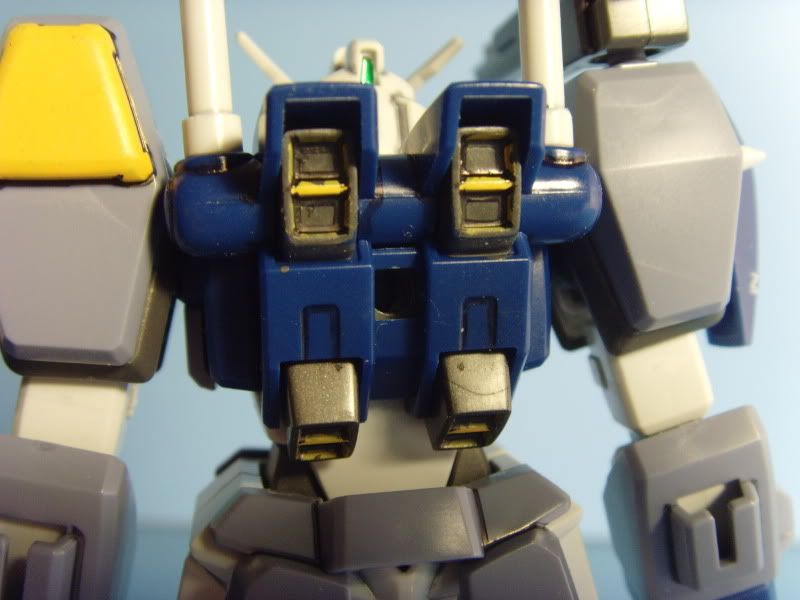
The backpack plugs into... the backpack...
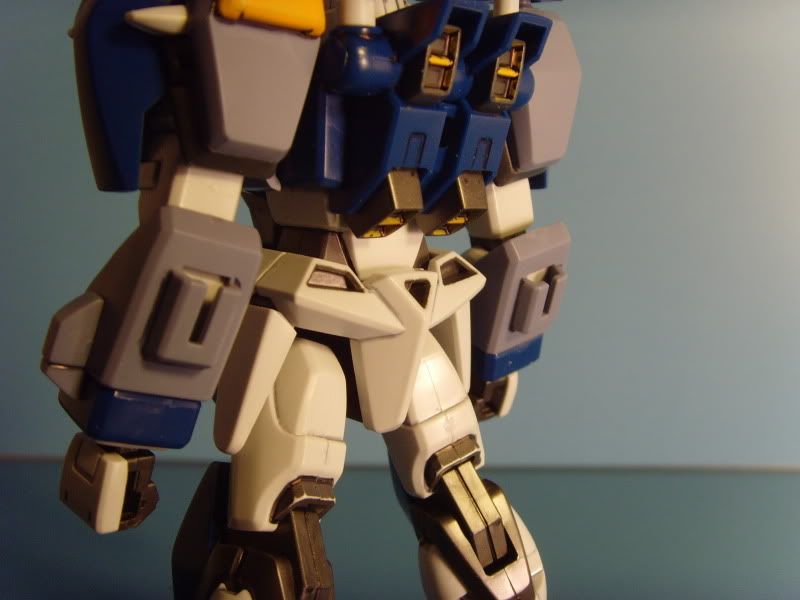
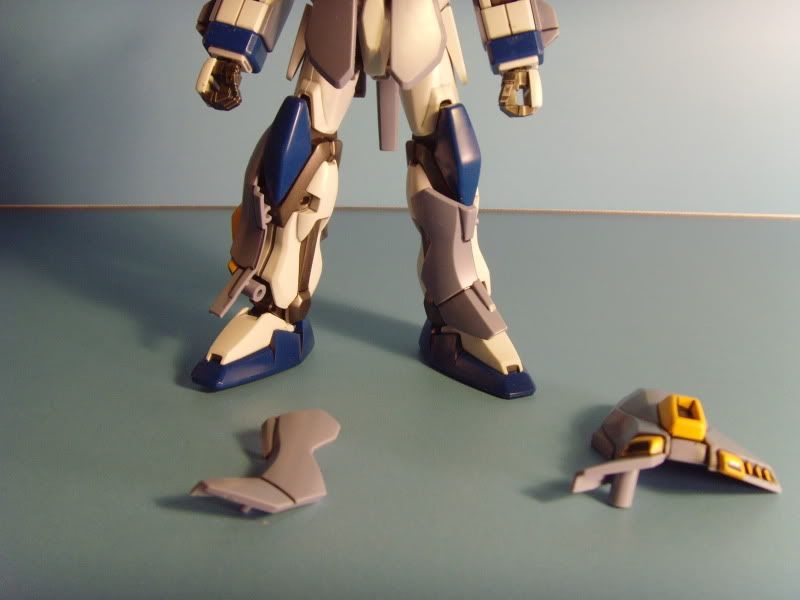
Each leg gets a two part deal.
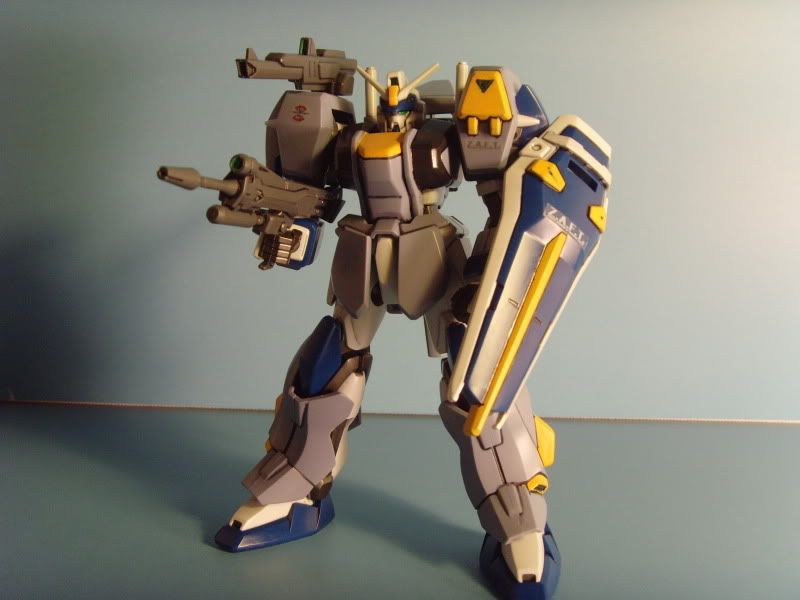
Armored up!
Just letting the pictures do the talking.
As you can imagine, the armor really hinders the articulation.
Except that gun! It can spin around anywhere you want!
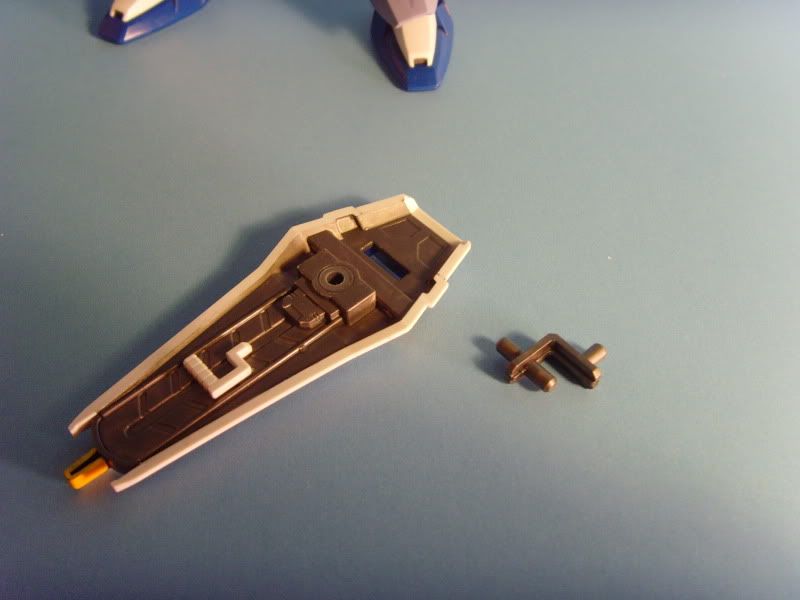
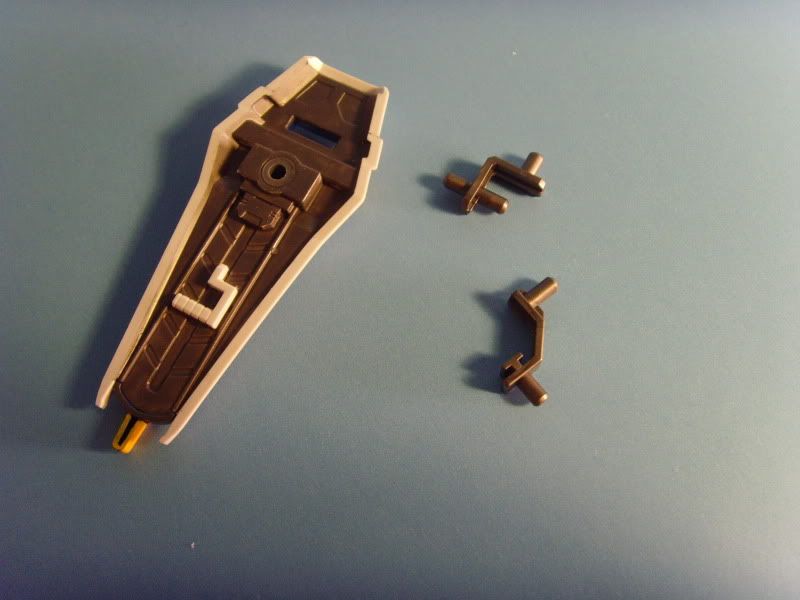
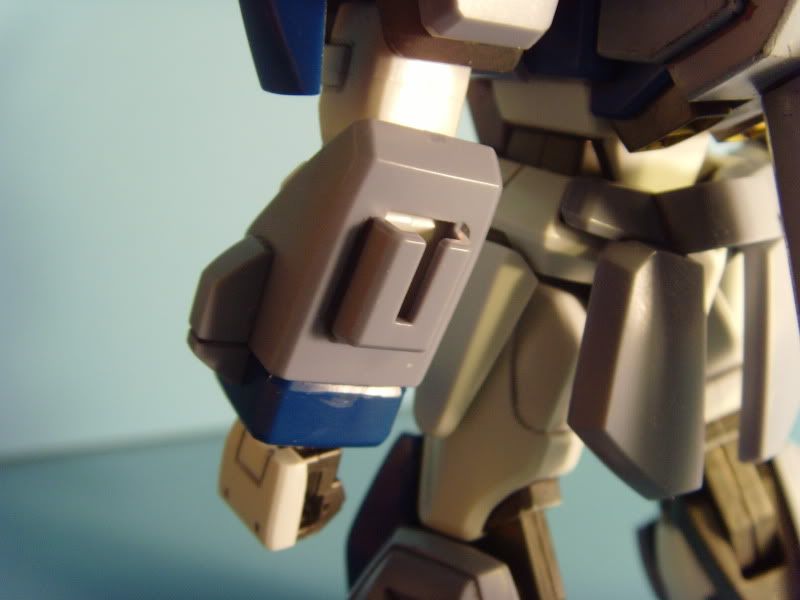
The shield...
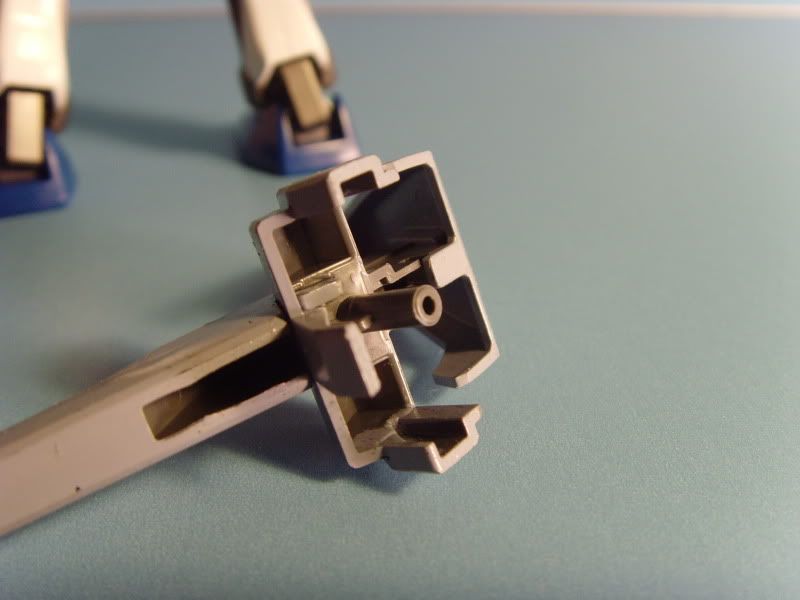
Uses a different connector now. It has a slot connection instead of a peg.
Airborne!
Pose stolen from Strike...
Just can't do much with that armor on...
Yup, he's been turned into a brick... Not a bad kit, looks good anyway. I like the looks of this kit, he looks very ANIME. Not necessarily Anime accurate, but he just has that drawn look. He does need a lot of painting, but I like that sort of thing.
Until Next Time: Happy Building!

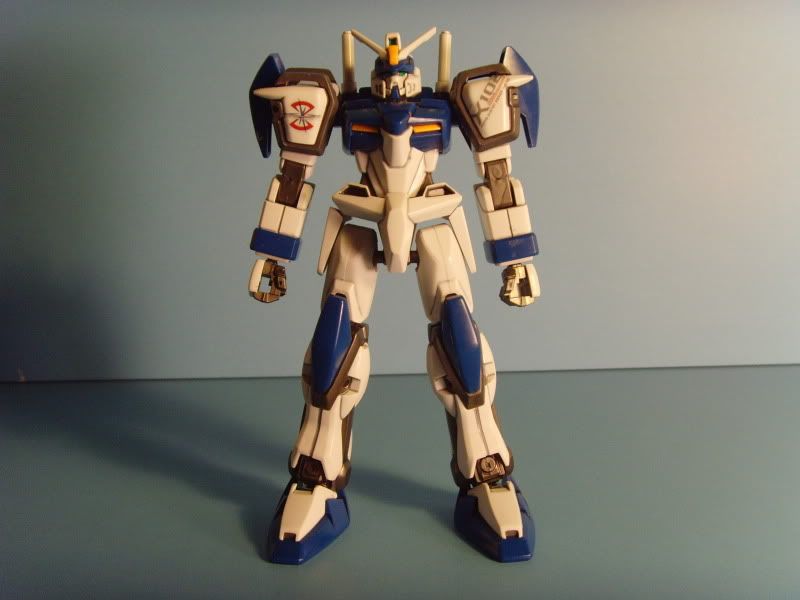
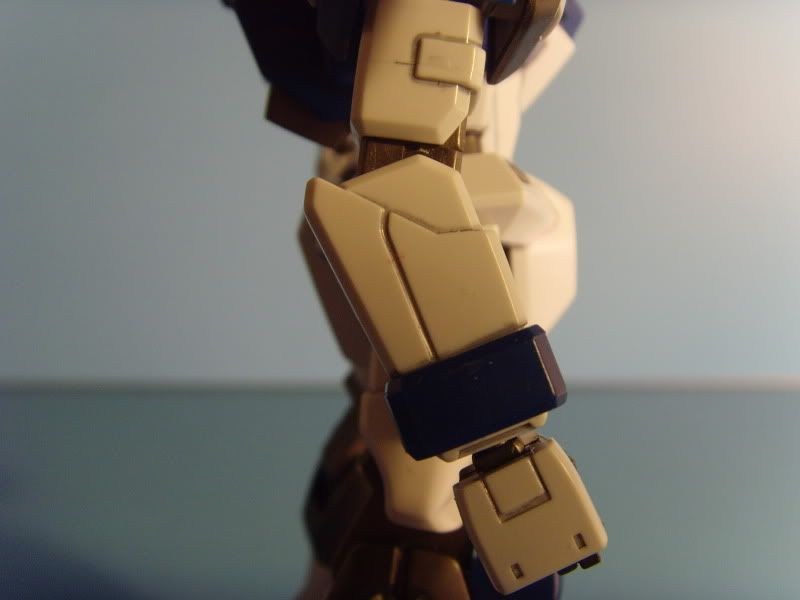
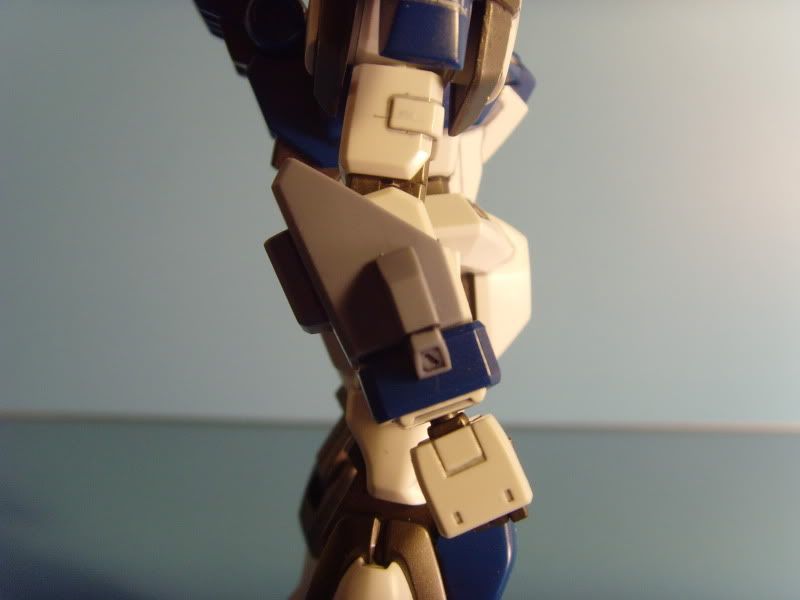
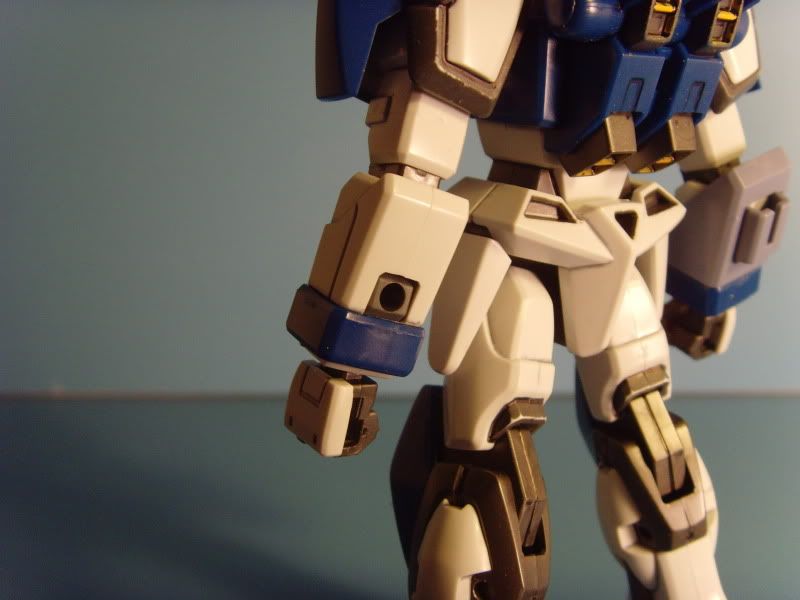
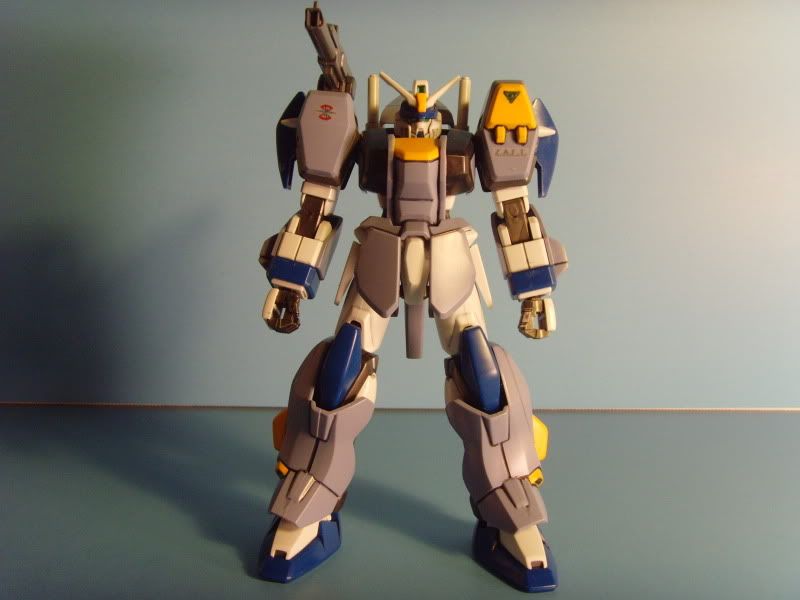
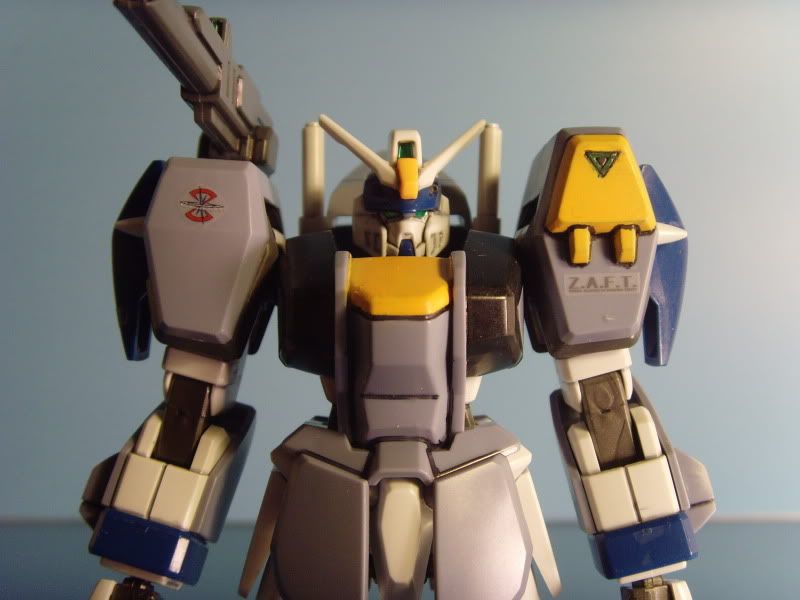
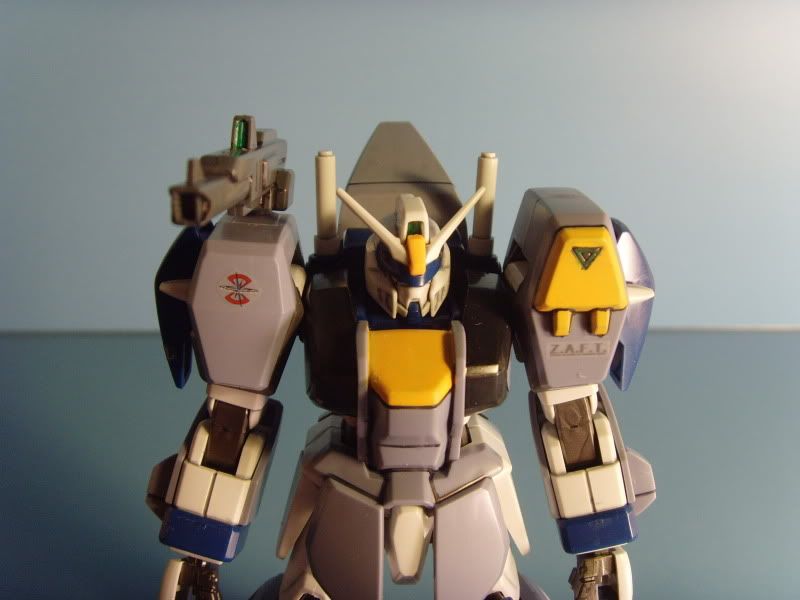
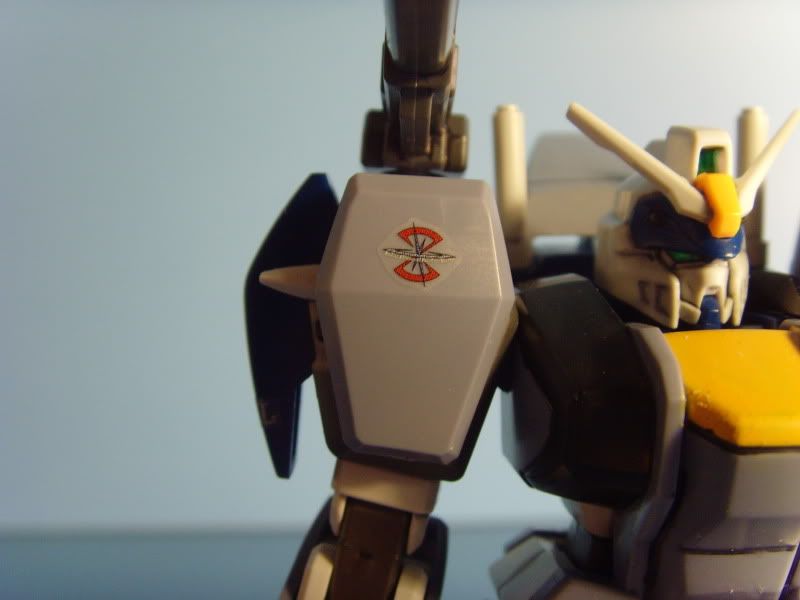
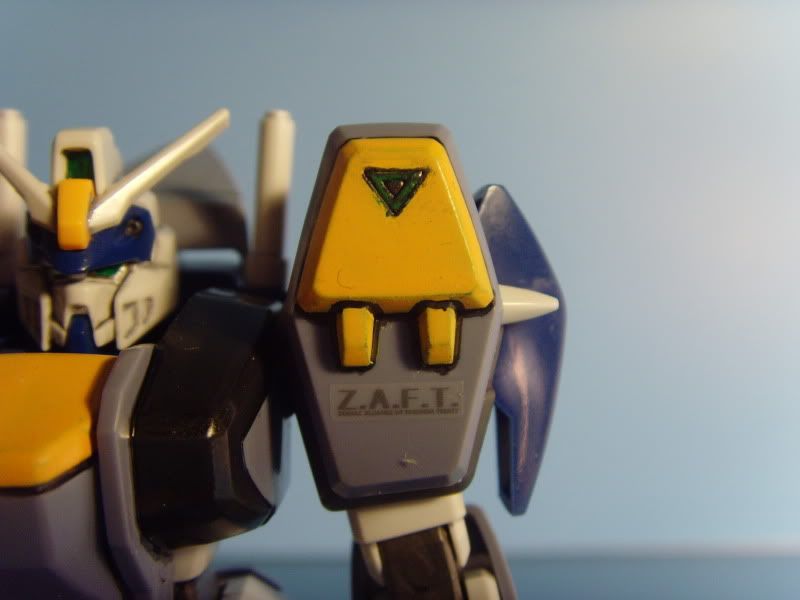
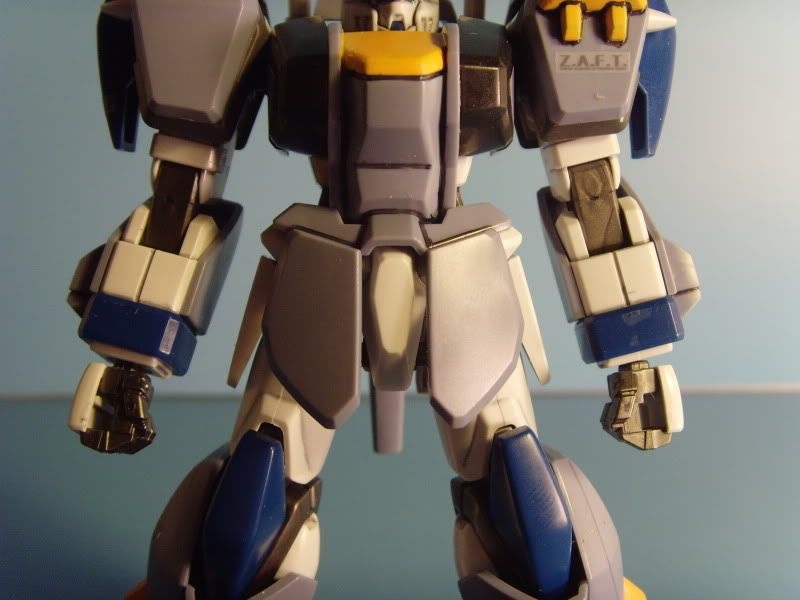
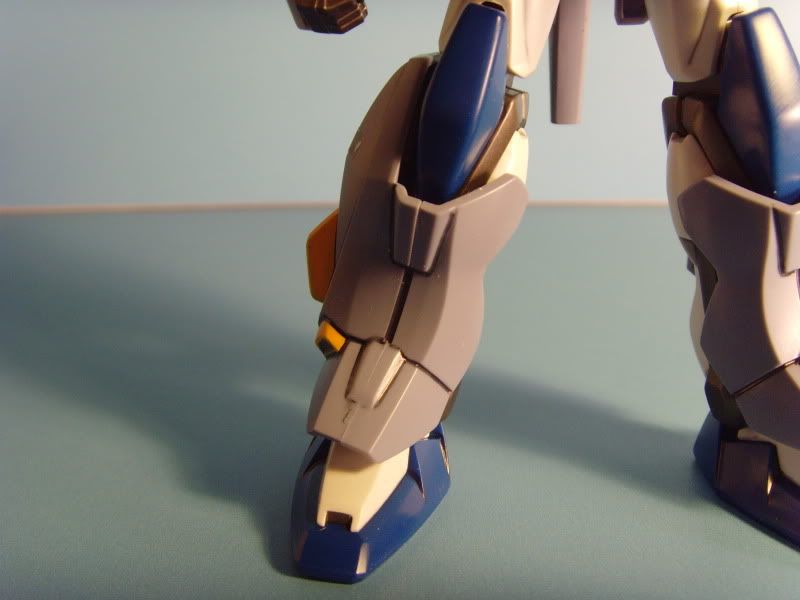
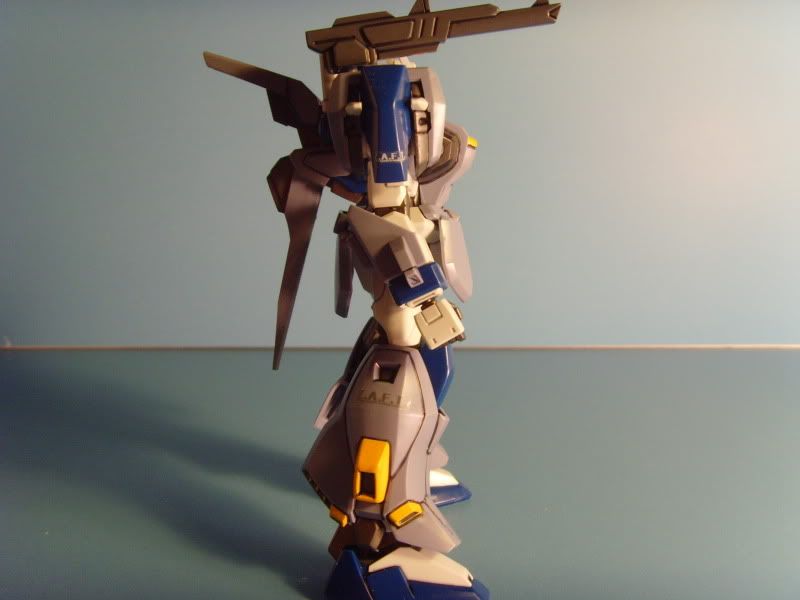
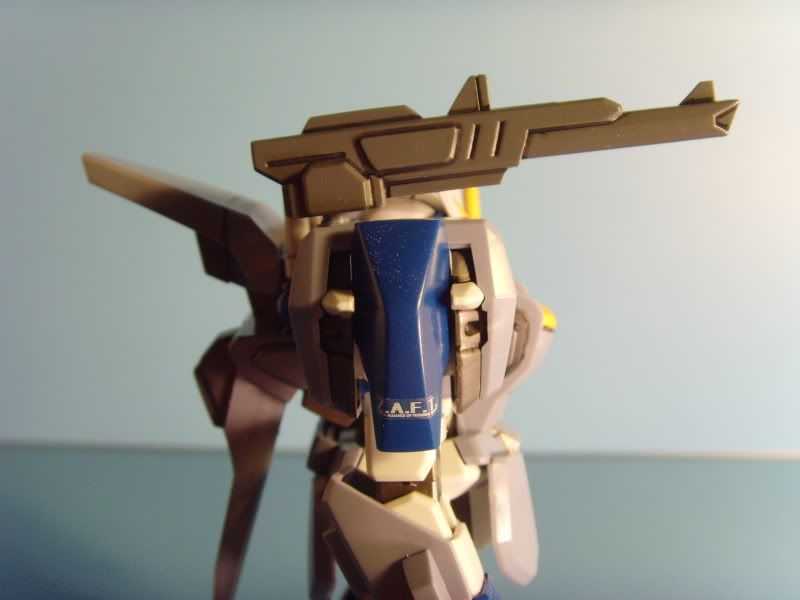
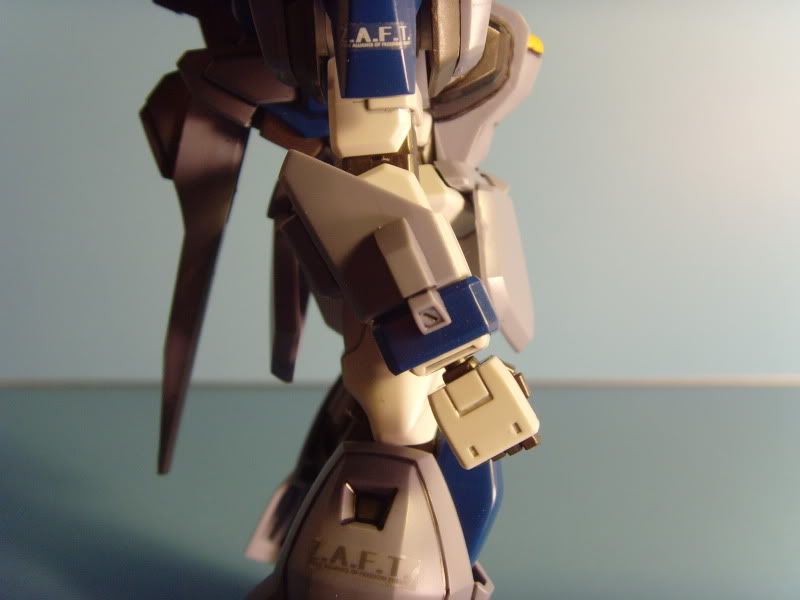
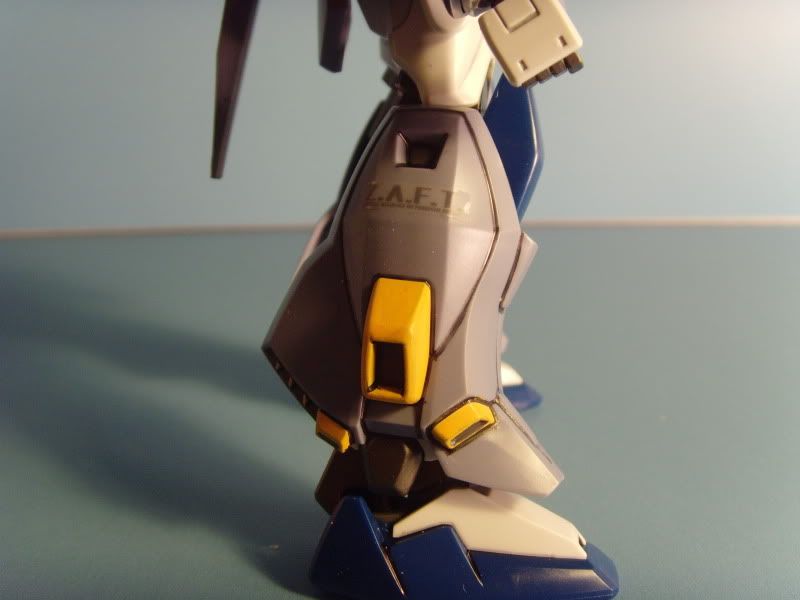
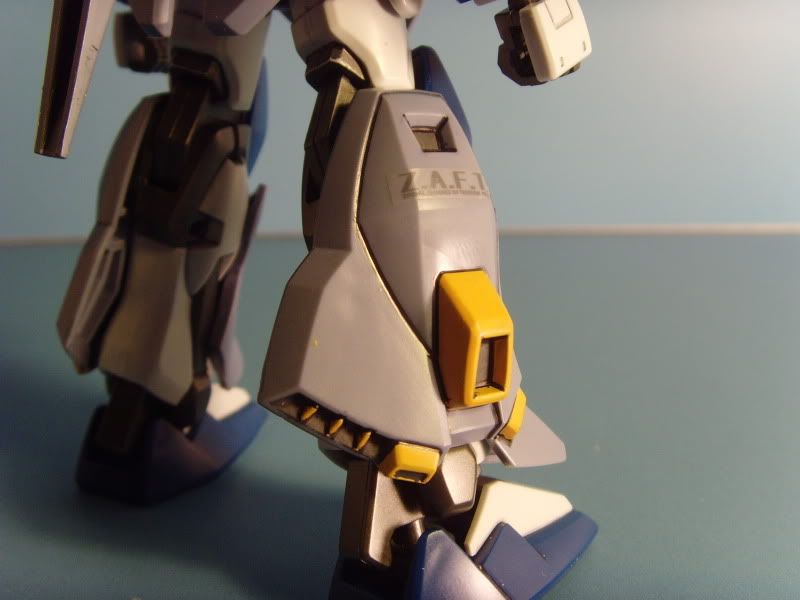
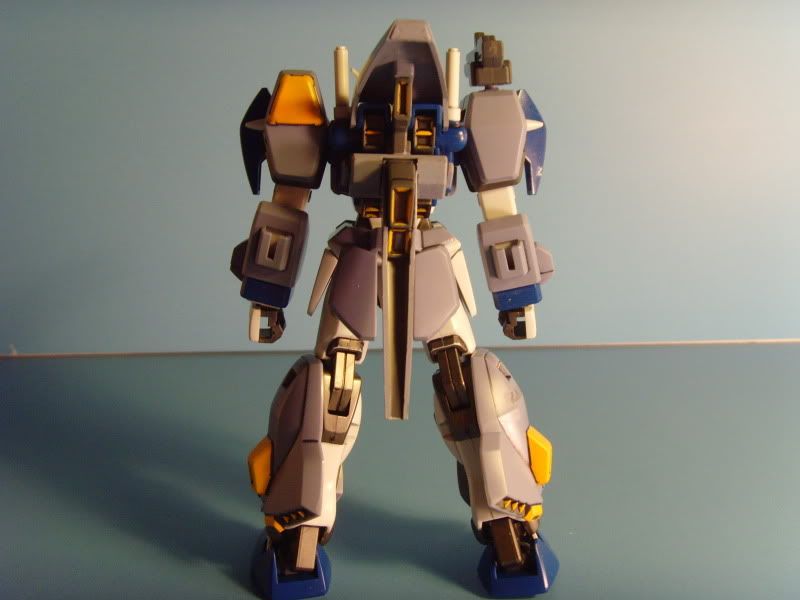
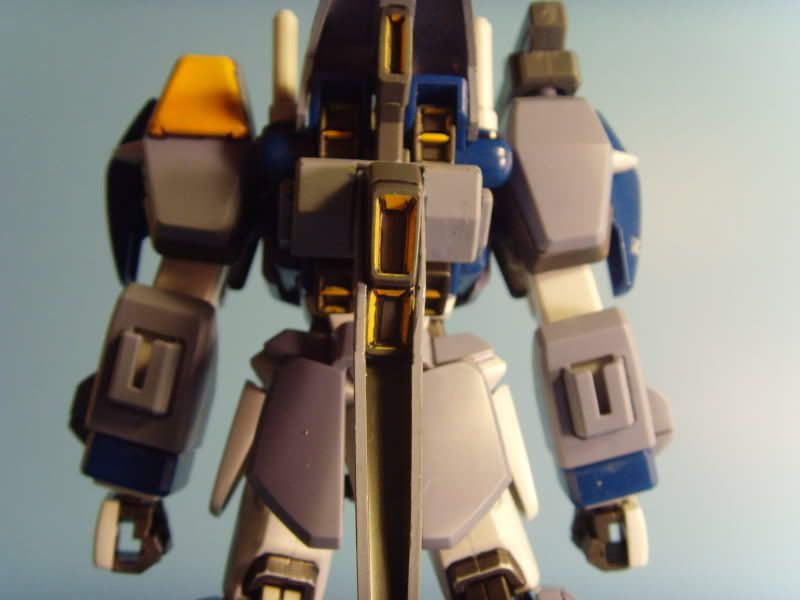
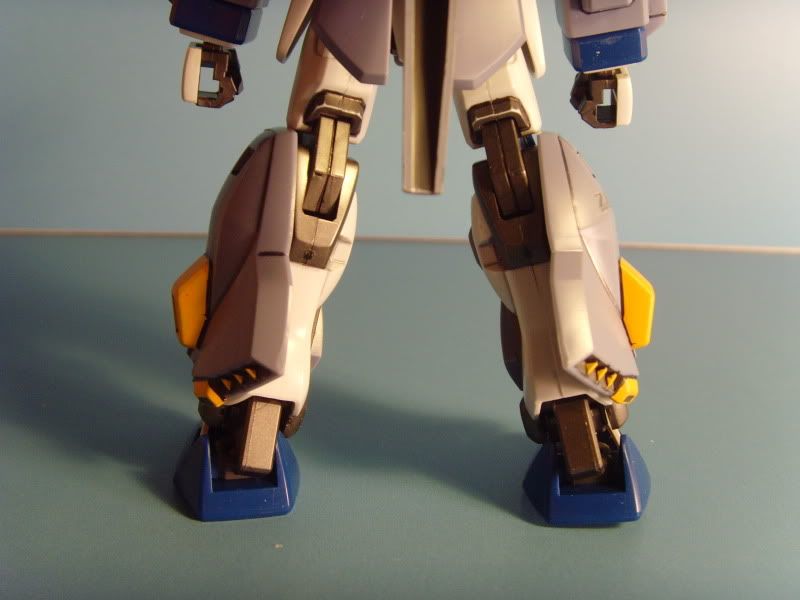
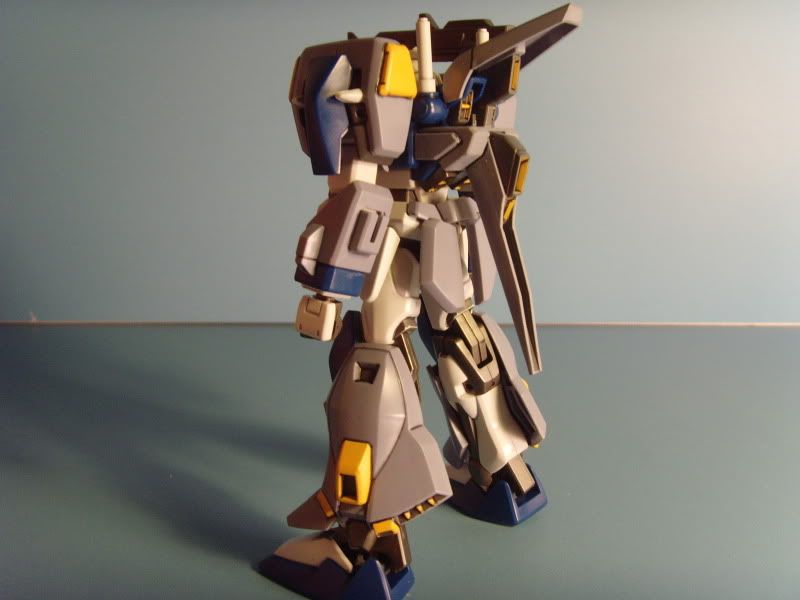
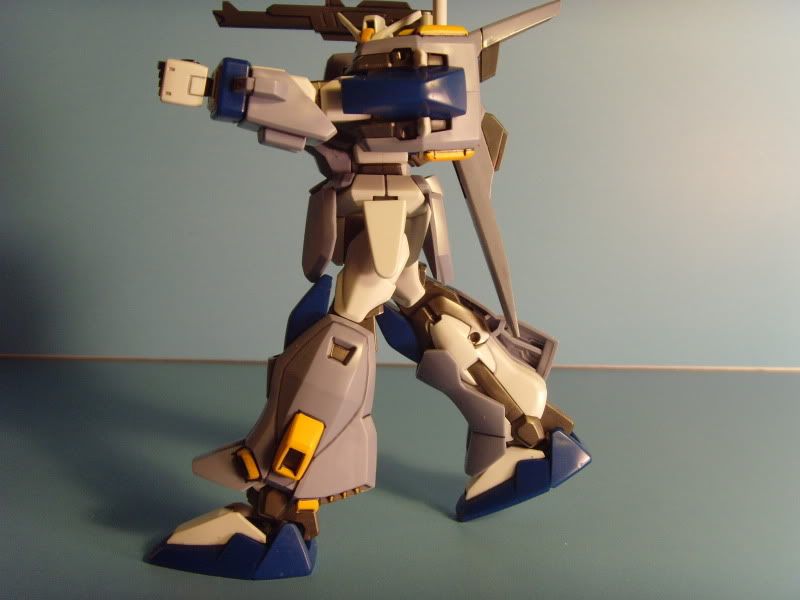
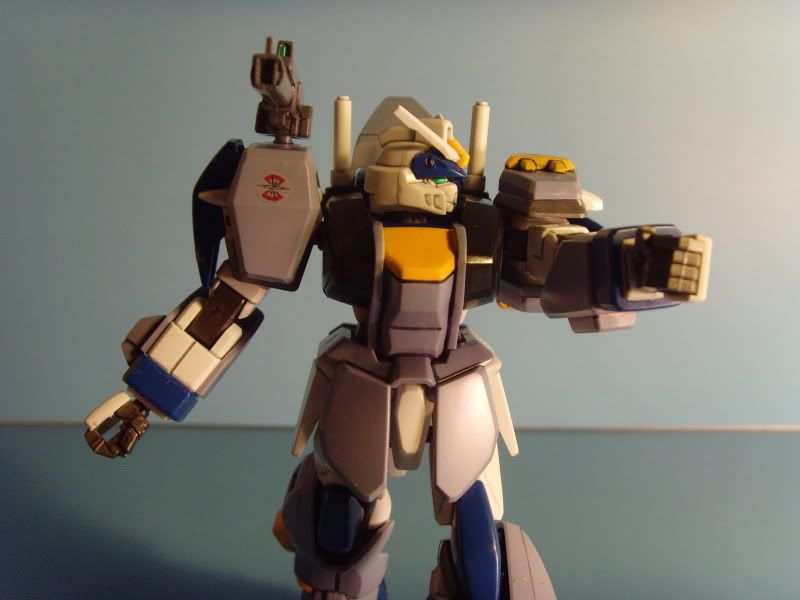
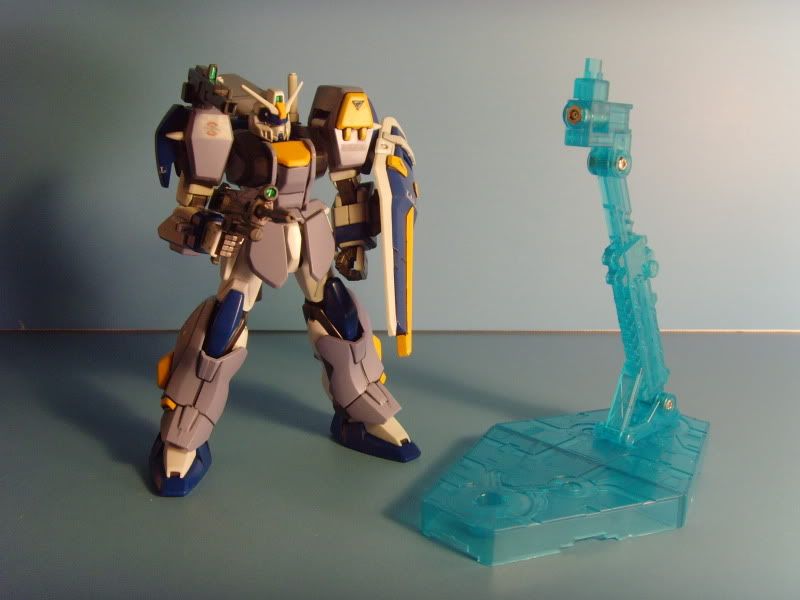
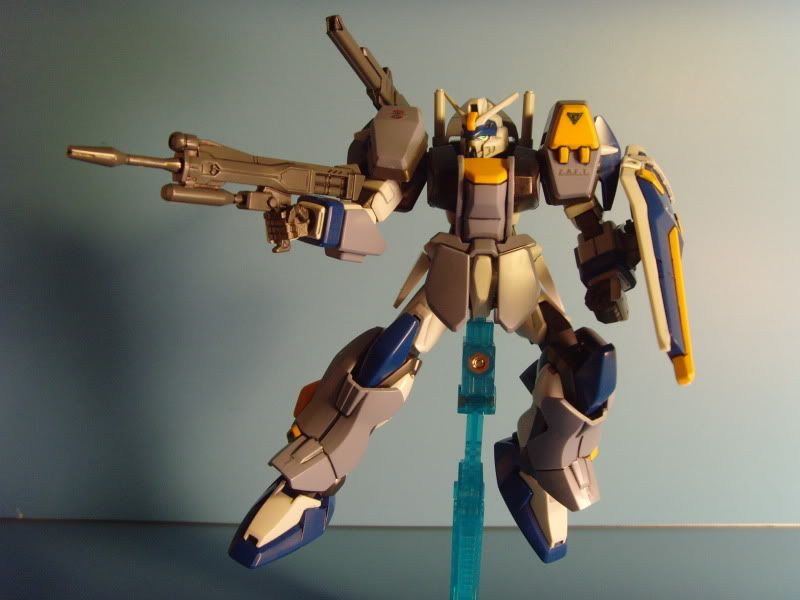
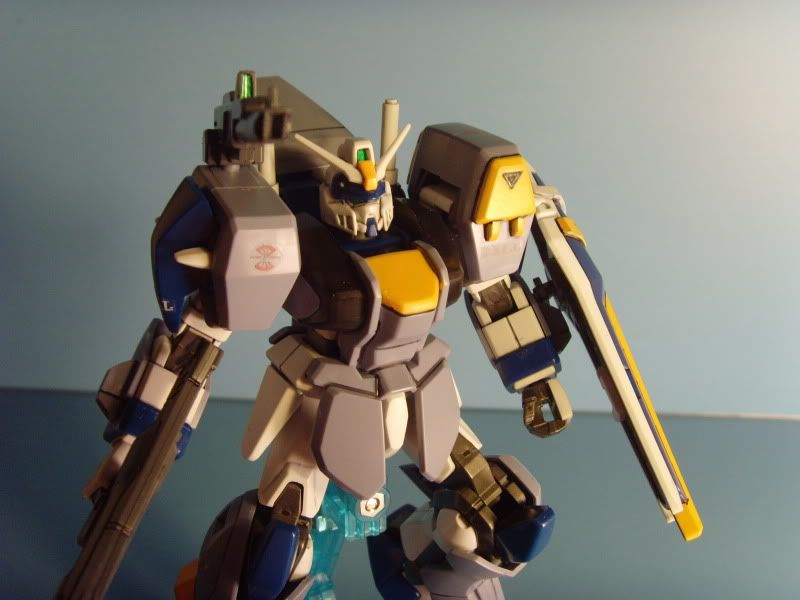
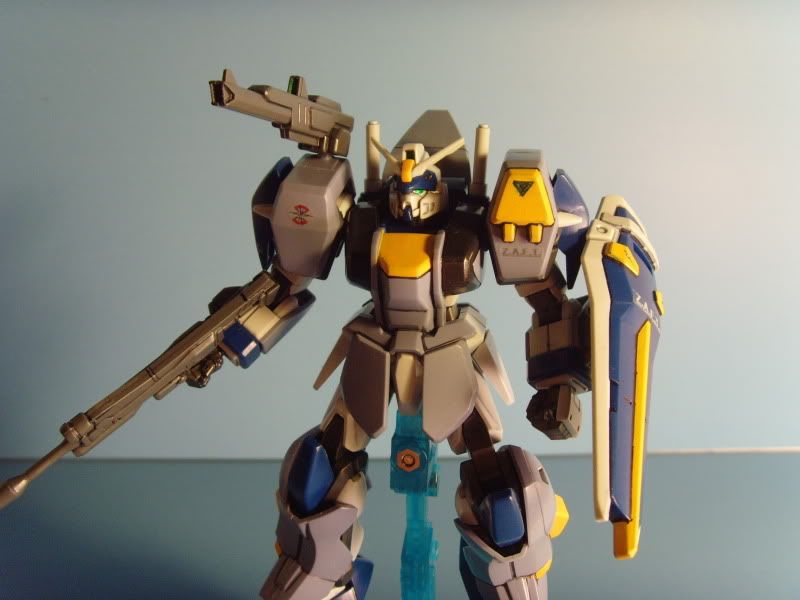
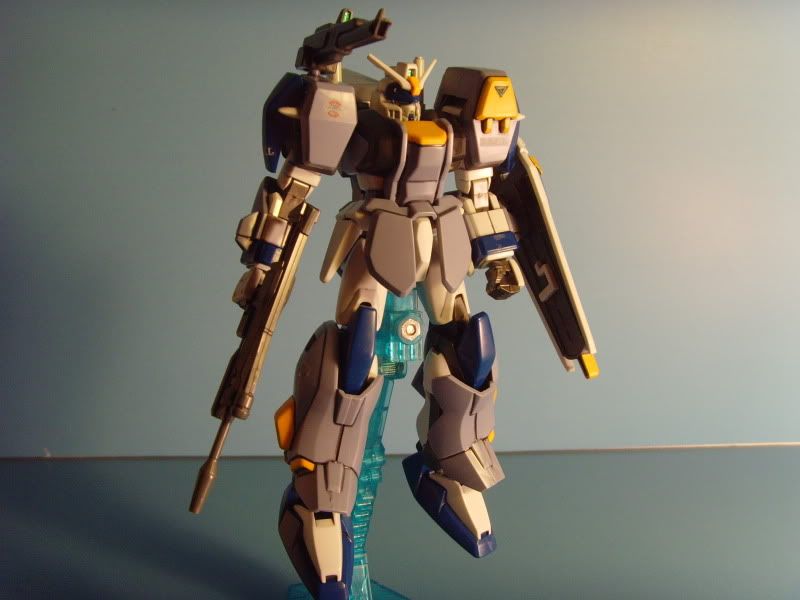
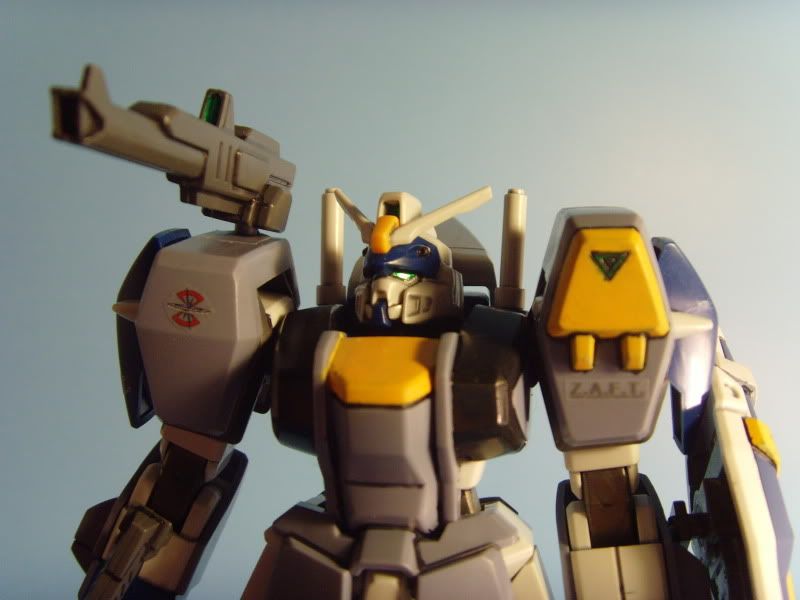
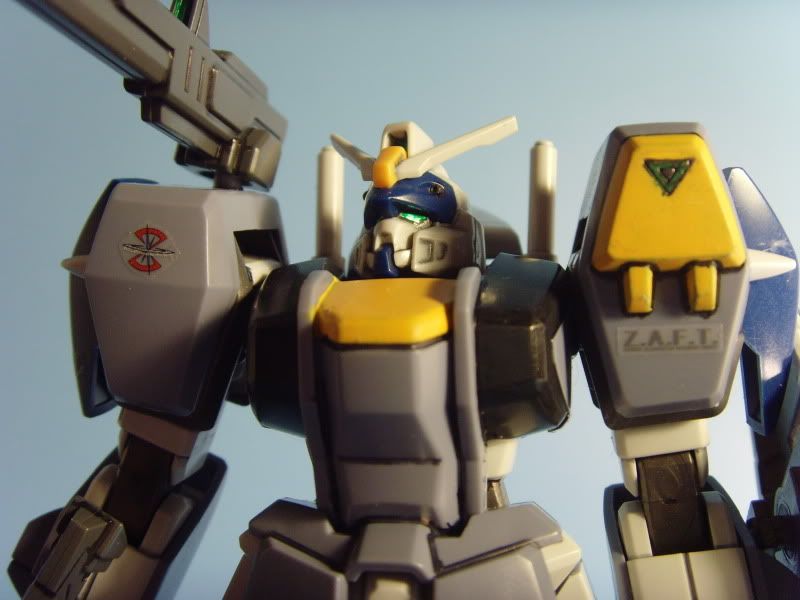
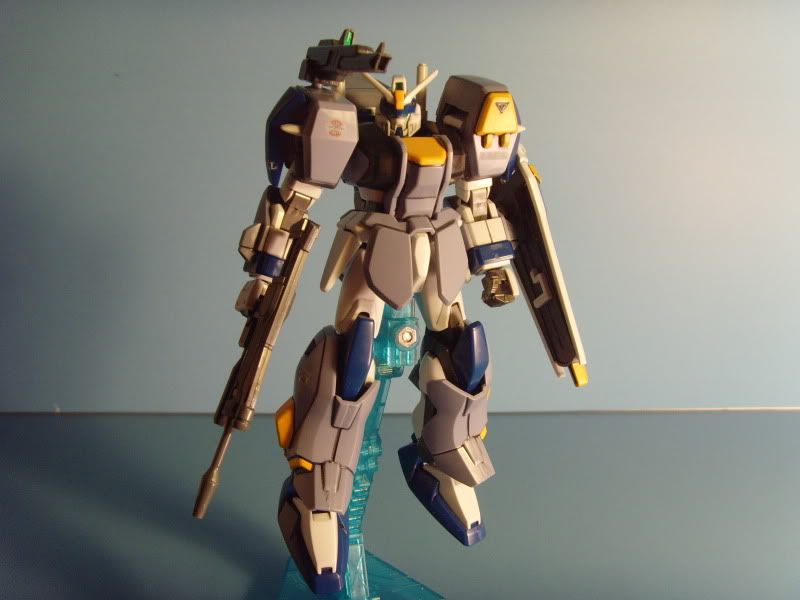
Nice "Strike" pose, even with the hinderances of the armor. I think that when a kit loses articulation, if its head can move decently it can make up for a lot.
ReplyDeleteHow did the shoulder decals UNDER the armor fare? Any damage? Also, how much of the yellow on the leg armor needed painting?
WOW! Shelf Life posting on my blog! *blush*
ReplyDeleteI agree with your point on articulation. If a kit can at least stand up and look intimidating and turn it's head a little, that's all you need. this is especially true when you have little shelf space. Case in point will be the Advanced Grade kits from AGE (my next review). They're in just the right standing pose as is, a smart move on Bandai's part.
Anyway, I have since removed the armor and replaced it again a couple of times. The decals under the armor have fared very well. I don't think the armor really even touches them. Everything on the leg armor that is not the light blue grey was painted. I meant to add links to the couple of WIPs, I'll do that shortly.
Thanks for commenting!
joe, im planning to color the darker blue colors with desert yellow and the lighter blue colors with light sand. I think that's a good scheme but what would you suggest for the yellow part in the shields/armor
DeleteWhat about a dusty rose/sand red or if that's not your taste a sandy grey? It sounds like you're going for a desert theme. I like that idea.
ReplyDeleteHi, I was just wondering how hard it would be to kitbash this with the hg Heavyarms Custom. I got this idea from reddit and thought it'd look pretty cool.
ReplyDeleteIt'll depend on what parts you want to use from each kit. Most of the joint should be similar, but don't let difficulty sway you from your goals. I say get both kits and start working on it, man. With some cutting, glue, and putty, you could make a really cool kitbash, dude!
DeleteIt'll depend on what parts you want to use from each kit. Most of the joint should be similar, but don't let difficulty sway you from your goals. I say get both kits and start working on it, man. With some cutting, glue, and putty, you could make a really cool kitbash, dude!
Delete