A Firm Footing in Your Destiny?
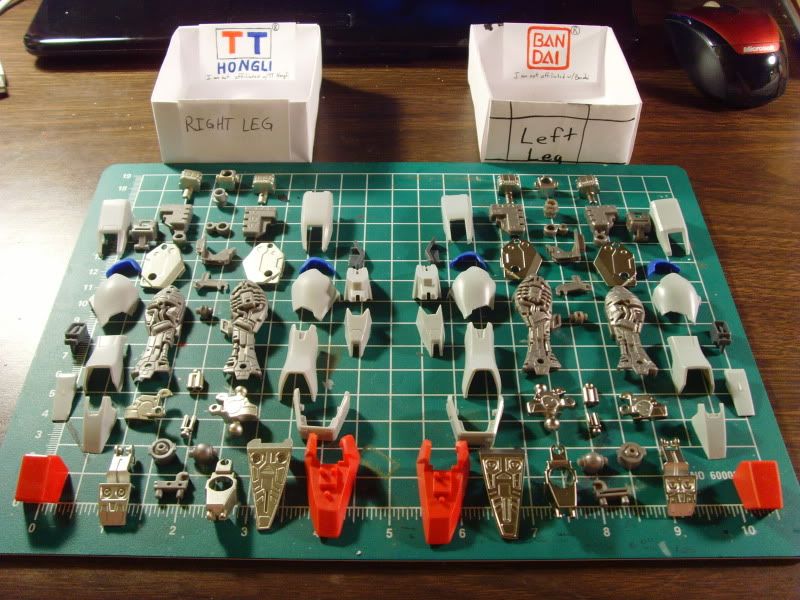
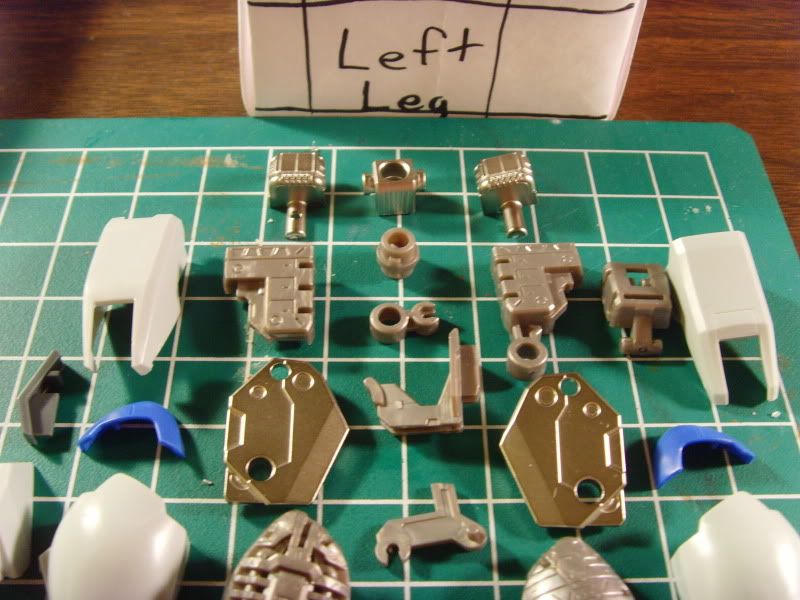
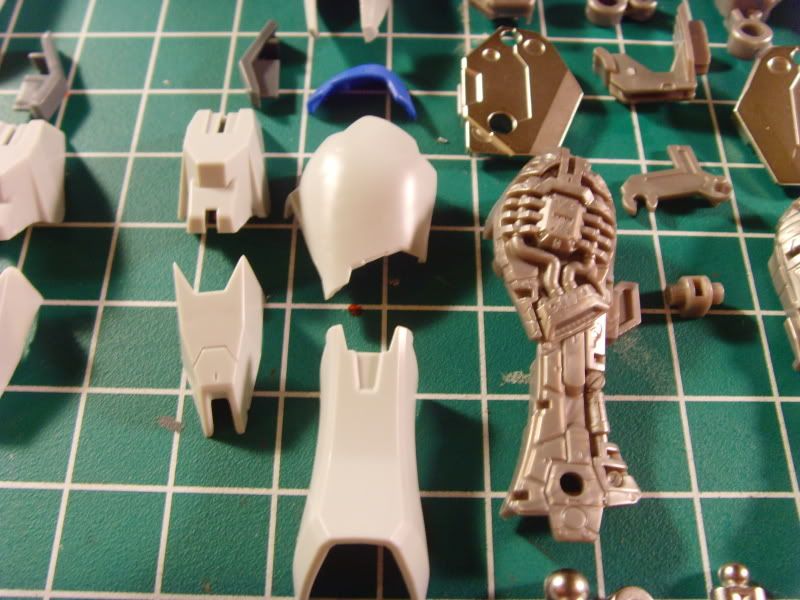
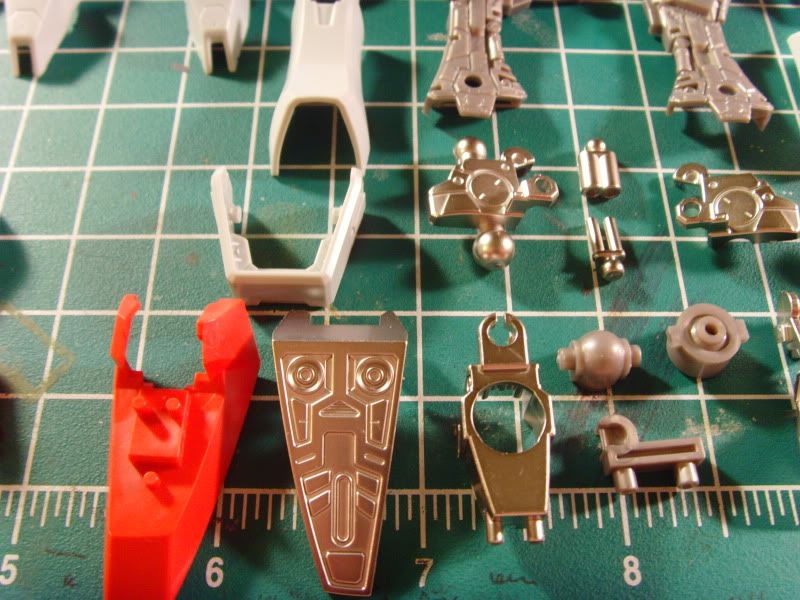
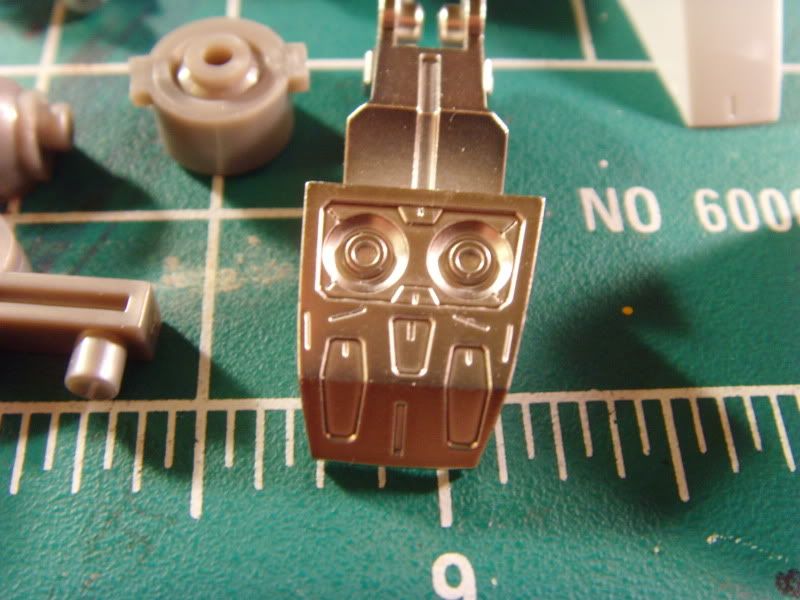
From the arms to the legs! Once again, Bandai has made a great effort to create a good deal of detail for this MG kit. The chrome silver is of course done on the parts of the internal frame to be exposed upon completion. Here, though we begin to see some major differences in the way TT Hongli has molded their copies of the parts.
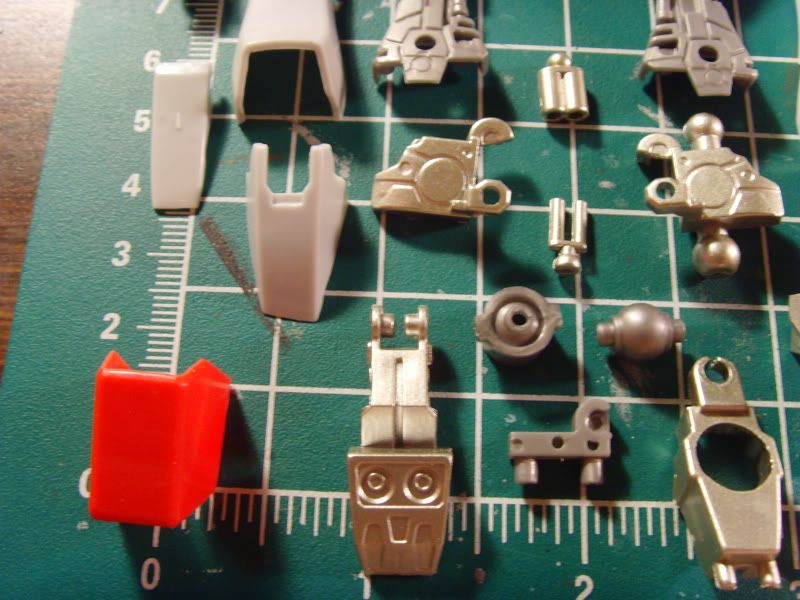
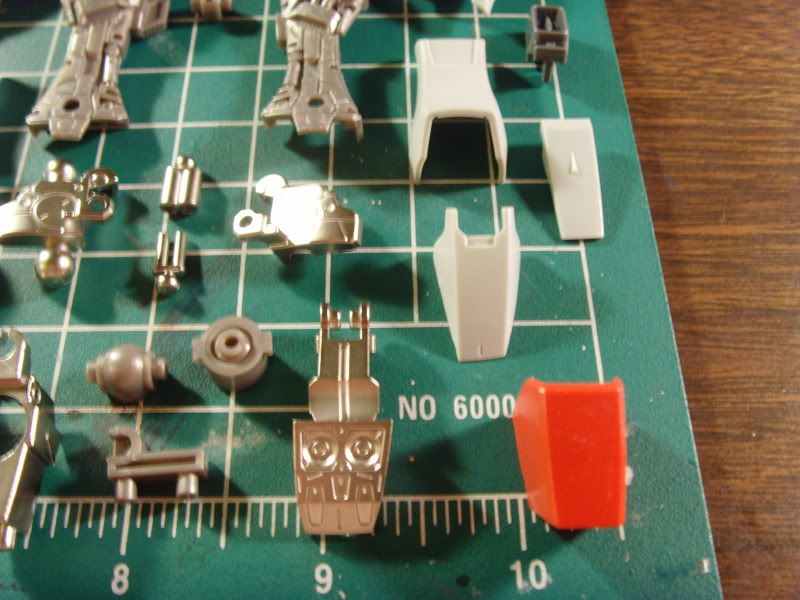
All of the parts for a leg for each brand. As I have mentioned, Bandai will be on the RIGHT and TT Hongli on the LEFT side of the blog.
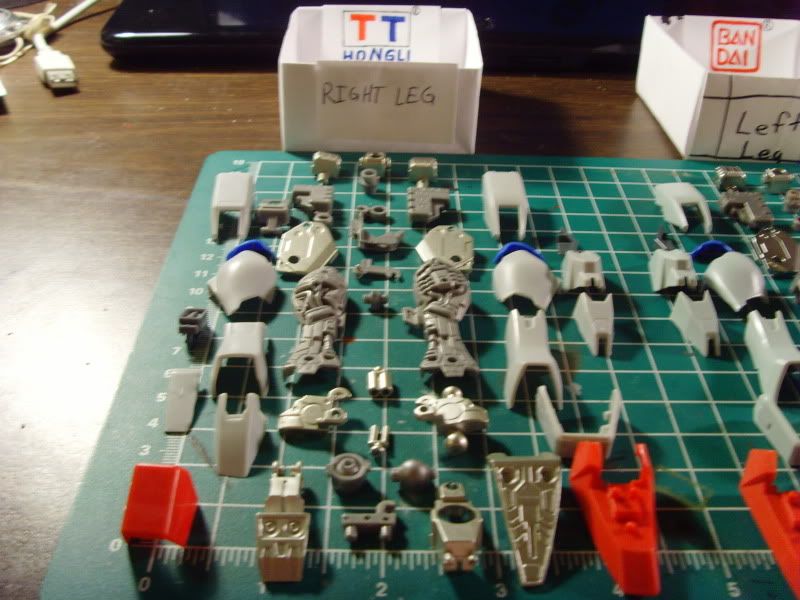
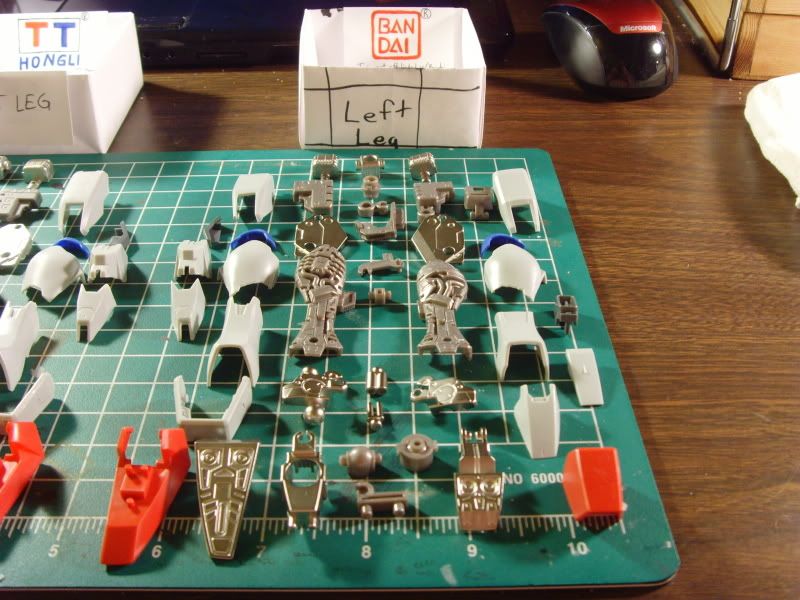
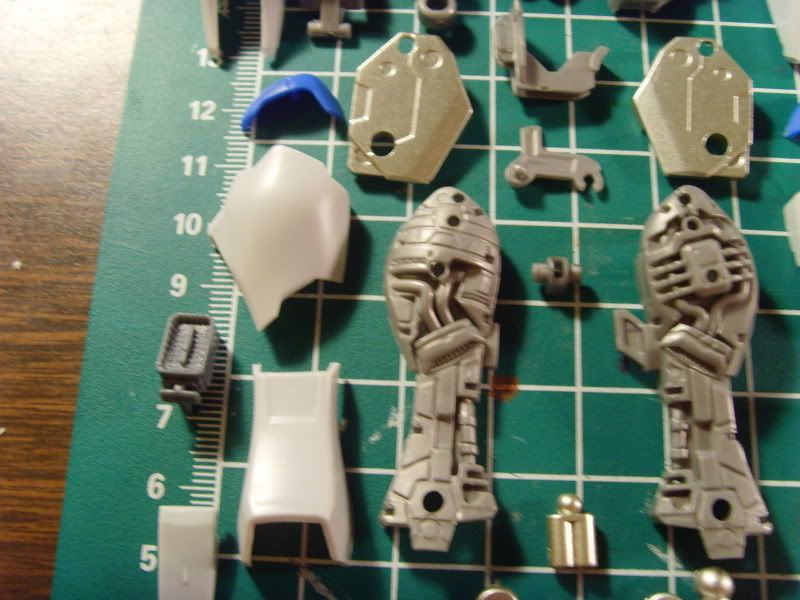
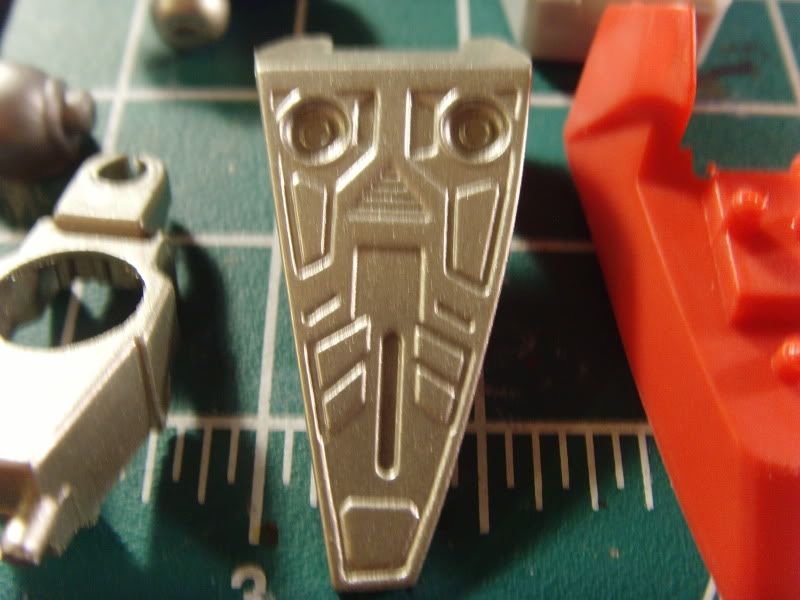
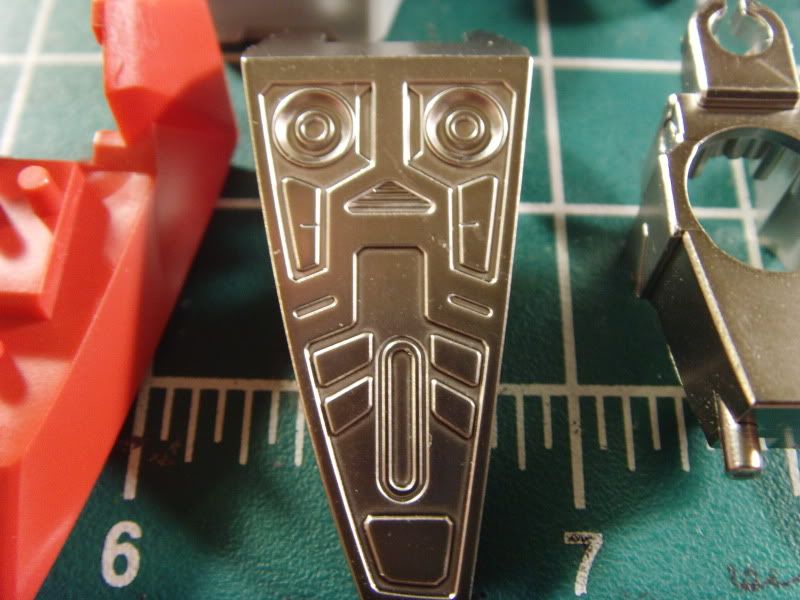
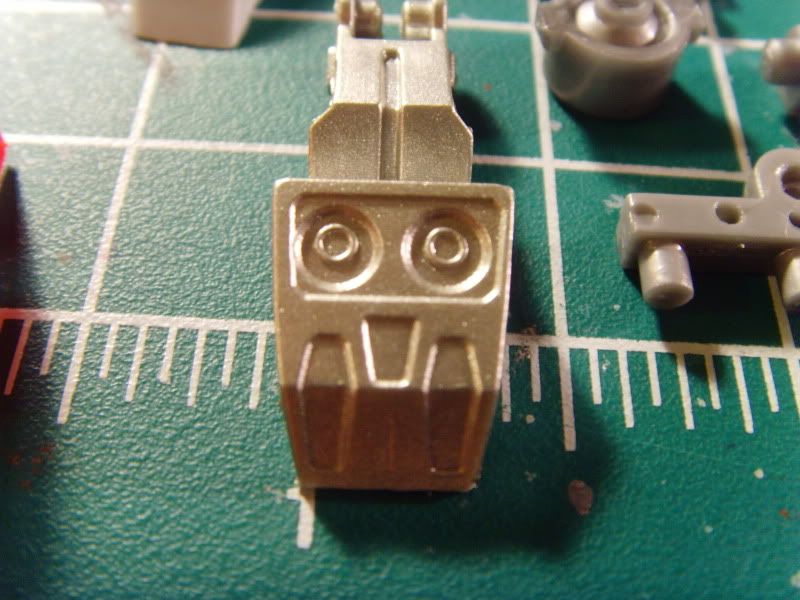
Notice the differences in the details on the bottom of the foot
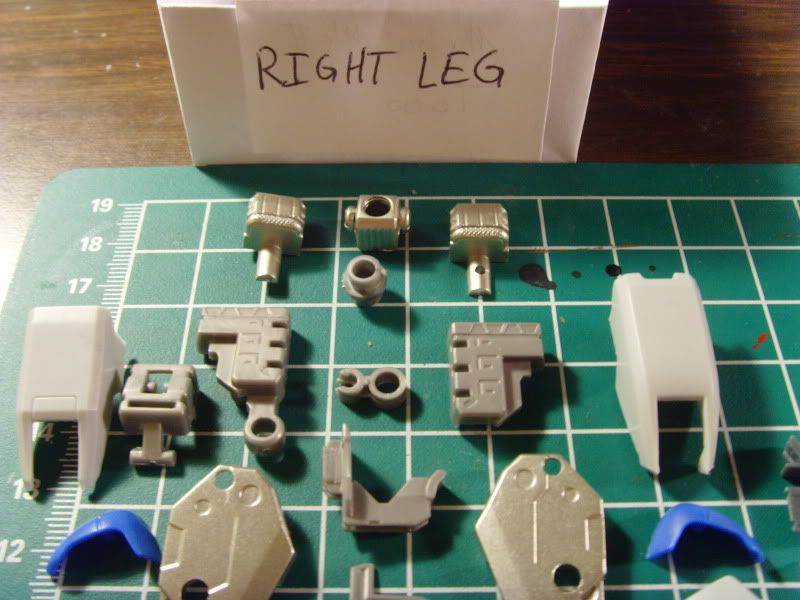
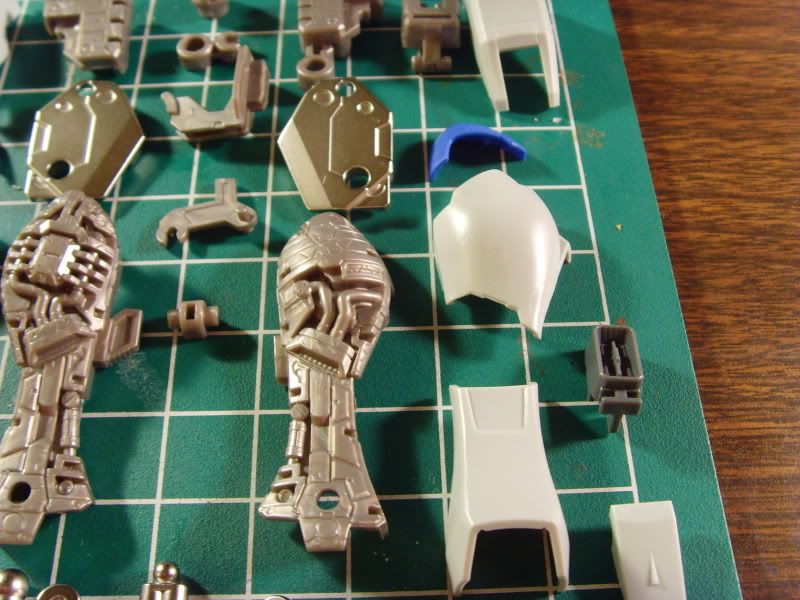
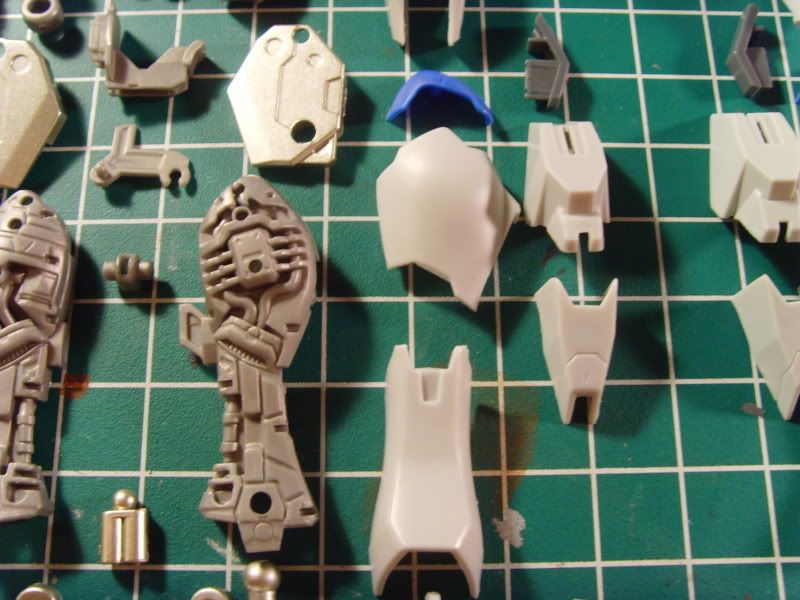
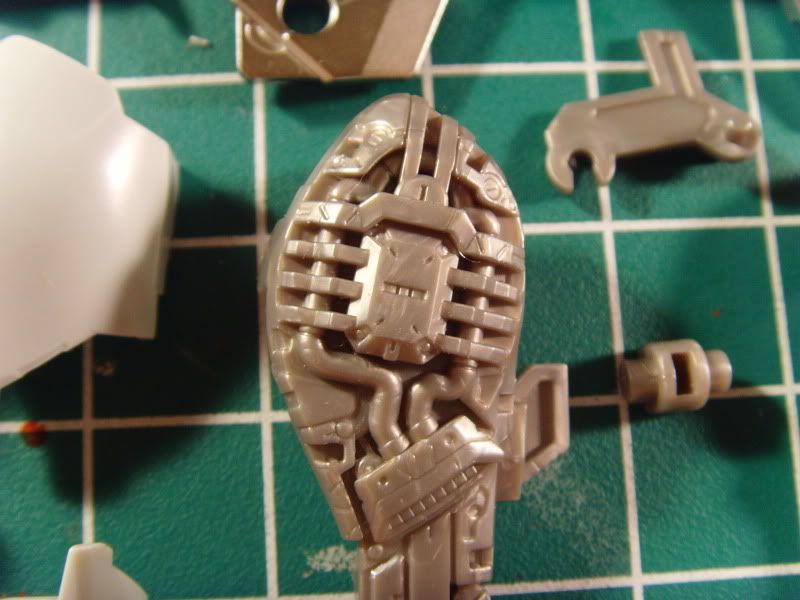
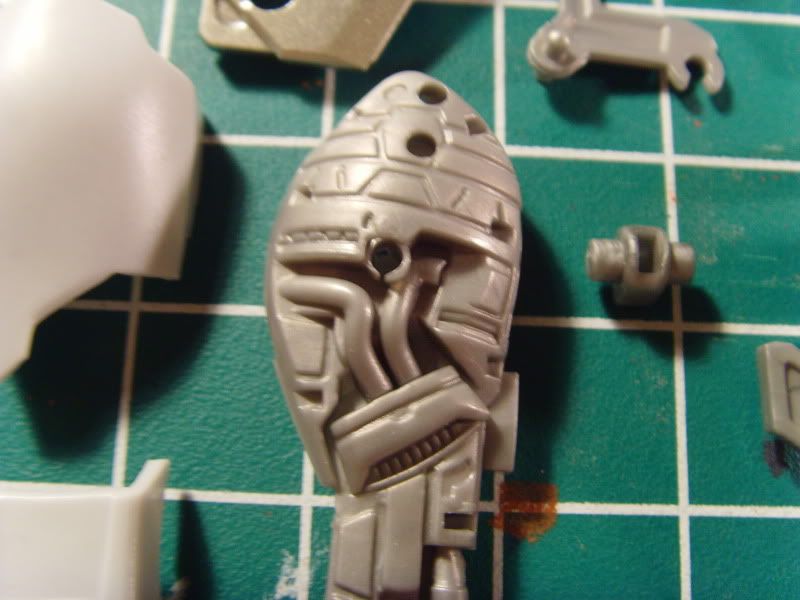
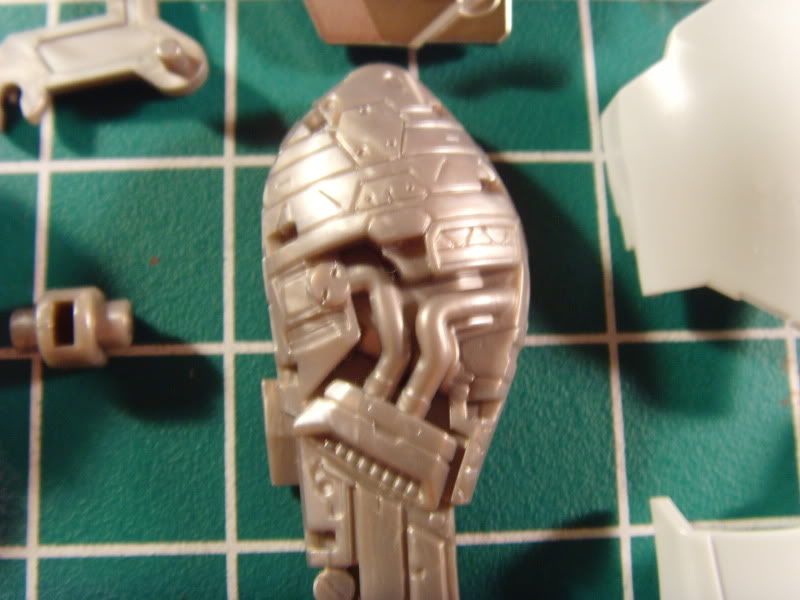
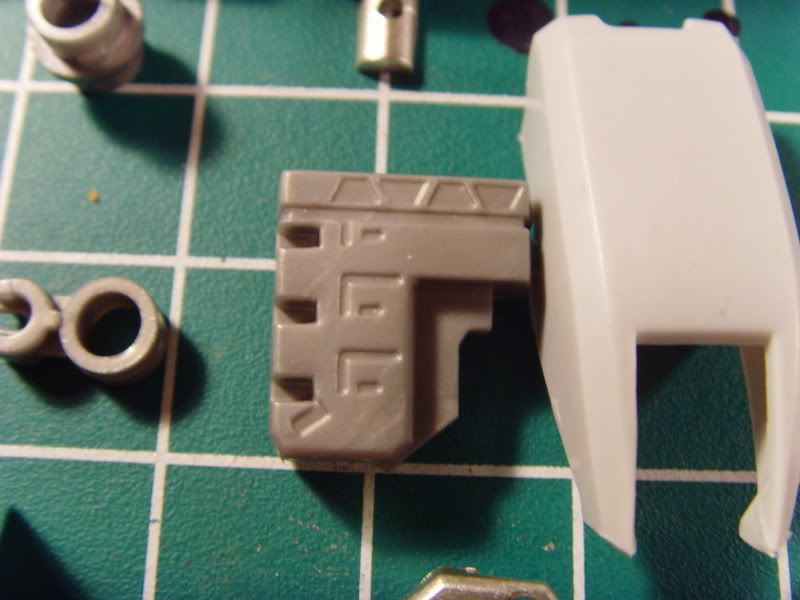
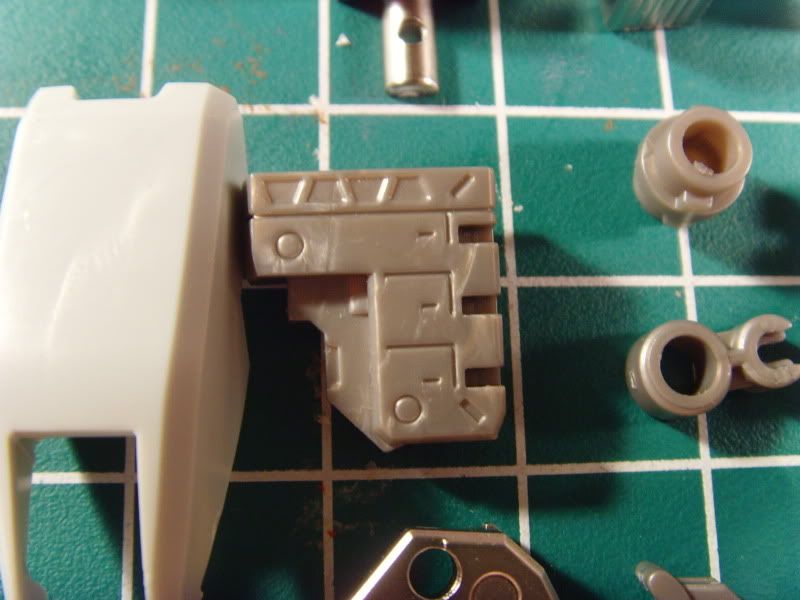
Here you can see a big difference in construction. On the TT Hongli kit the have added holes on the inner frame and pegs on the inside of the armor to allow the parts to better stay together. The Bandai kits use a series of slots to keep armor on with friction. When the TT Hi-Nu tried to use the same slots than Bandai uses without added pegs and holes, the armor just could not stay on and even was forced to pop off from the pressure of the slots.
Again, you can see the added holes in the side of the leg.
The feet, again, illustrate the muted details in the TT kit compared to the Bandai.
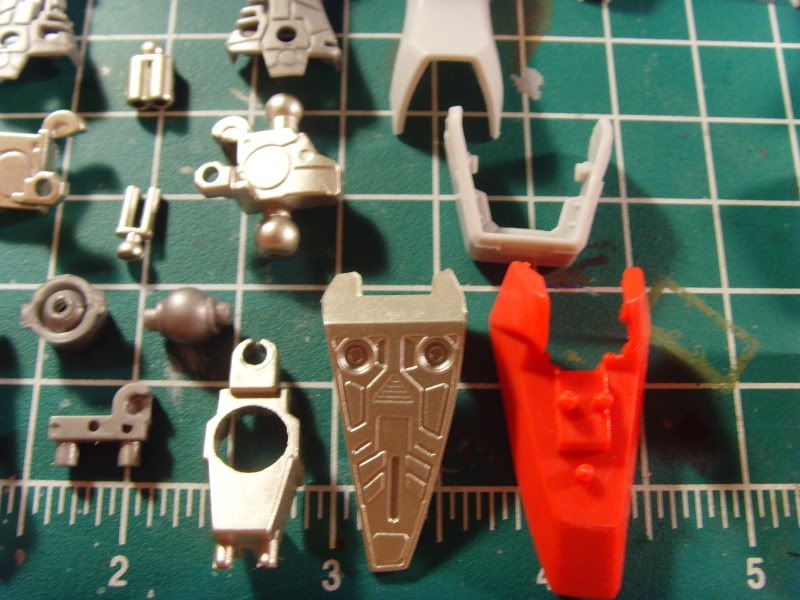
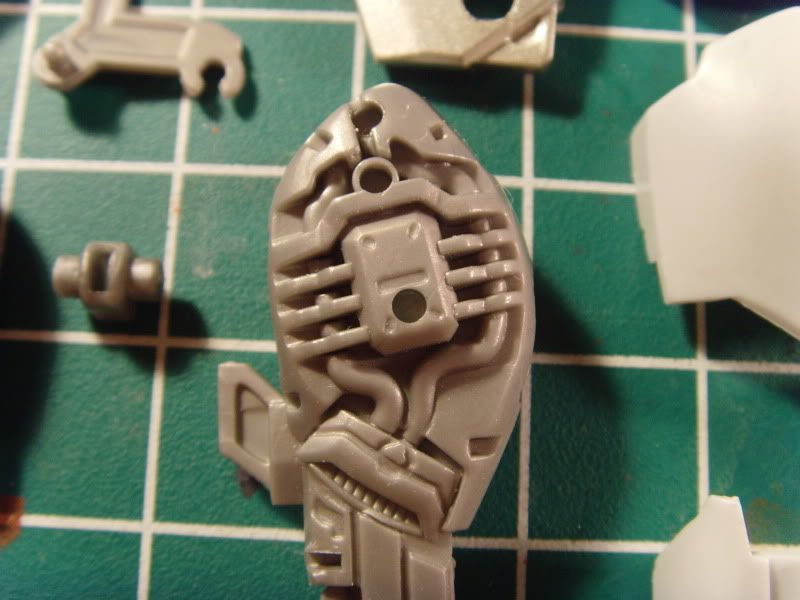
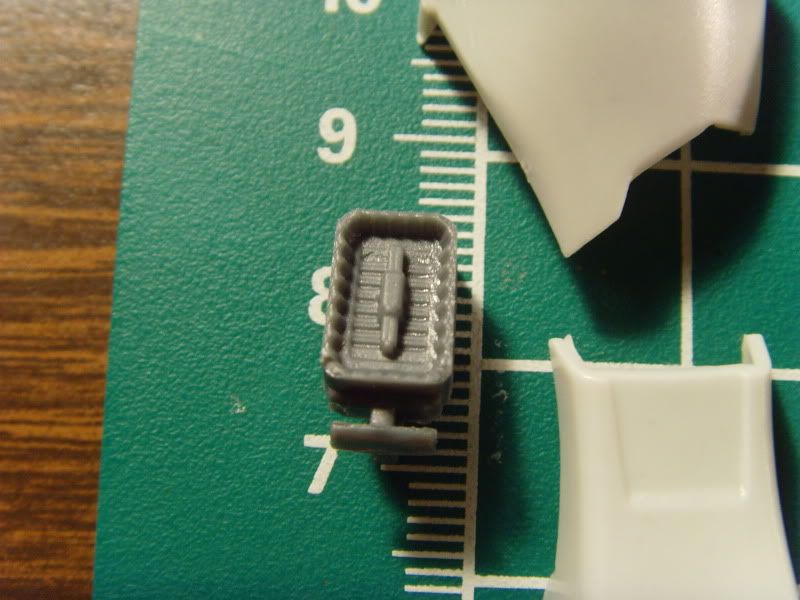
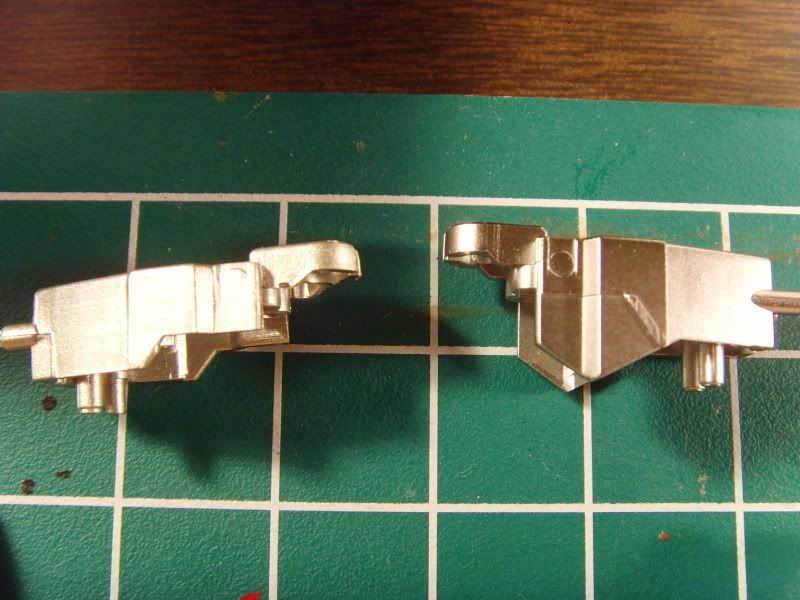
The thruster on the back of the leg is completely different between the two kits
And here is the biggest difference. This part is the main internal piece for the foot. The TT Hongli part is missing a large section from the core of the unit! I am worried about the structural integrity of the foot and whether or not they can maintain under the weight of the kit.
I guess we will have to wait and see about that one.
Until Next Time: Happy Building!

I've been reluctant to ask this, but how do you group your pics into columns of 2?
ReplyDeleteI load all my pictures from my photobucket account. So this is how I do it:
ReplyDelete1. copy html code from photobucket
2. paste html code into the post editor with "Edit html" selected instead of "compose"
3. hit the enter button a couple of times to leave space and copy and past another picture
4. re-select "compose"
5. select the first pic and click "left" for alignment, then "center" (for whatever reson the pictures are always aligned left but are labeled center when I upload pics this way)
6. change the size of the picture to "small"
7. repeat alignment and size change for second picture.
8. to set the pictures side by side, in the compose window, click and drag the bottom small picture up and to the right of the top picture, then slowly move that same picture toward the first until they align in the center.
I have only been able to get small pictures to align properly, so I'm not sure about medium size or larger...
I hope this makes sense!