Saturday, May 21, 2011

1/100 MG Deathscythe Hell EW Two Joes Build - Part 3

DEATHSCYTHE HELL... ASSEMMMMMBBBLLLLLEEE!!!!
 
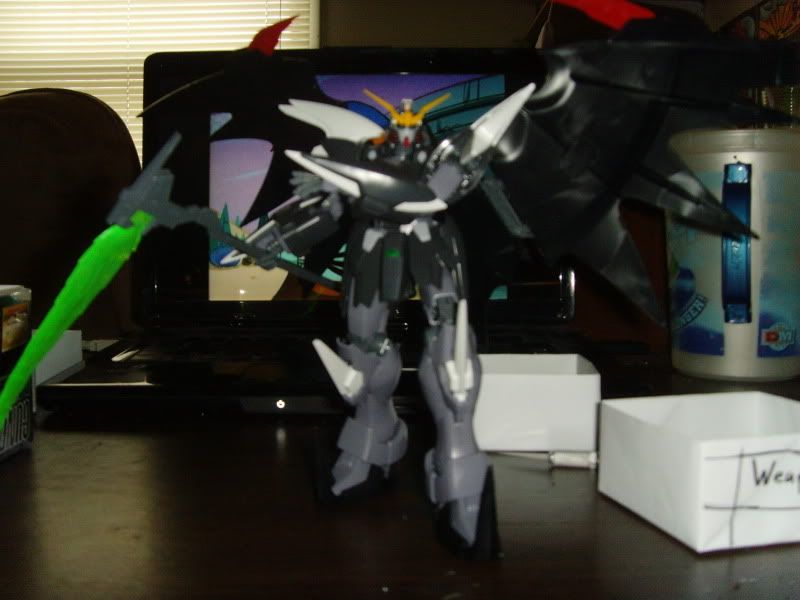
Ehem...  I mean, the Deathscythe is pretty much done at this point.  Well, the actual kit has been done for quite some time.  I'll keep going with a few more in progress posts and hopefully, I can get all my pictures taken of finished kits over Memorial Day weekend.


Photobucket

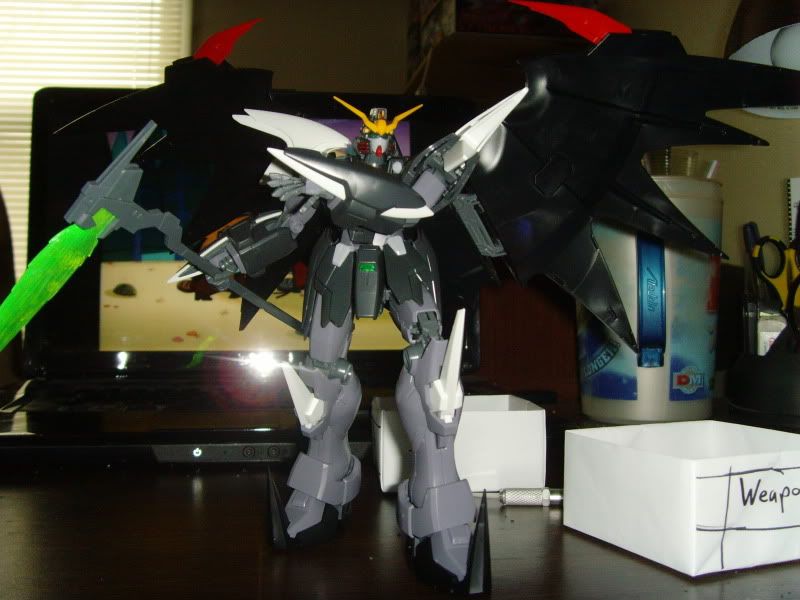
Strike a pose!

Photobucket

Same pose, basically the same picture, but whatevs. :-P

Photobucket

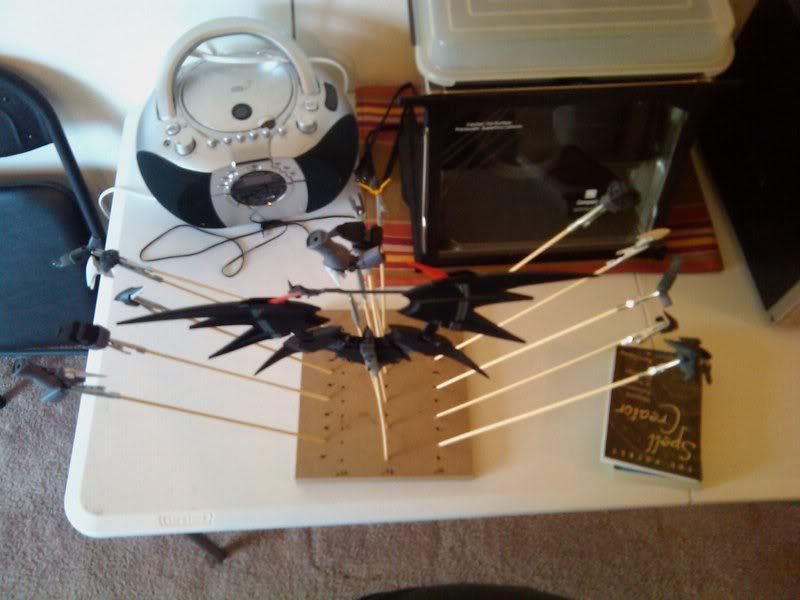
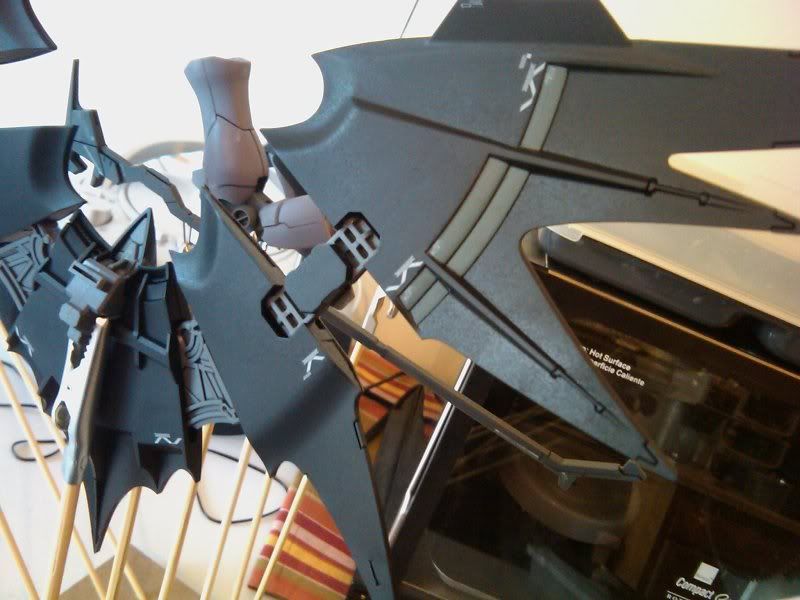
Here are all of the parts drying on my custom made drying board.

Photobucket

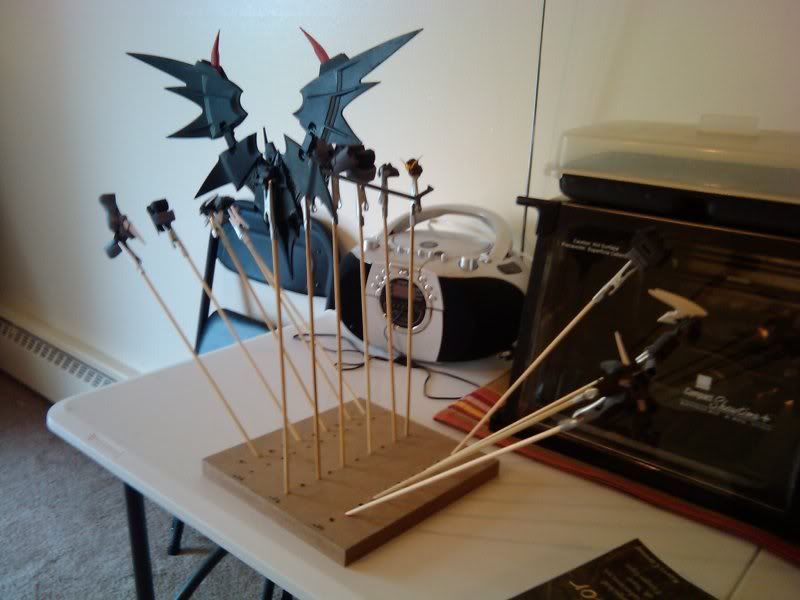
I can never seem to find Styrofoam when I need it, so I took a couple different boards of that compressed cardboard wood-like material and drilled holes in them for sticking the bamboo rods into.

Photobucket

These last three pictures were taken from my cell phone, so please forgive the less that usual quality (not that my camera is all that great either though).

Anywho, this was my first ever successful attempt at a top coat that didn't end up breaking something *knocks on wood and crosses fingers*.  that last one was a HG Zaku II Char's Custom that I had painted in olive drab before the production type was released and, like an idiot, I soaked the plastic, and the ball joints and the hip peg broke because of too much friction in the ball joint.

Up next will be an update on the GP-02a as soon as I get anouth few minute free to post.  Then an un-announced treat for you Gundam 00 fans.

Sunday, May 15, 2011

1/100 TT Hongli MG Hi-Nu Gundam Couple's Build - Part 3

Fixing Some Things...

All righty, all right.  It's been too long, but just when I got all set to finally update, Google has the blogger down...  Oh well.

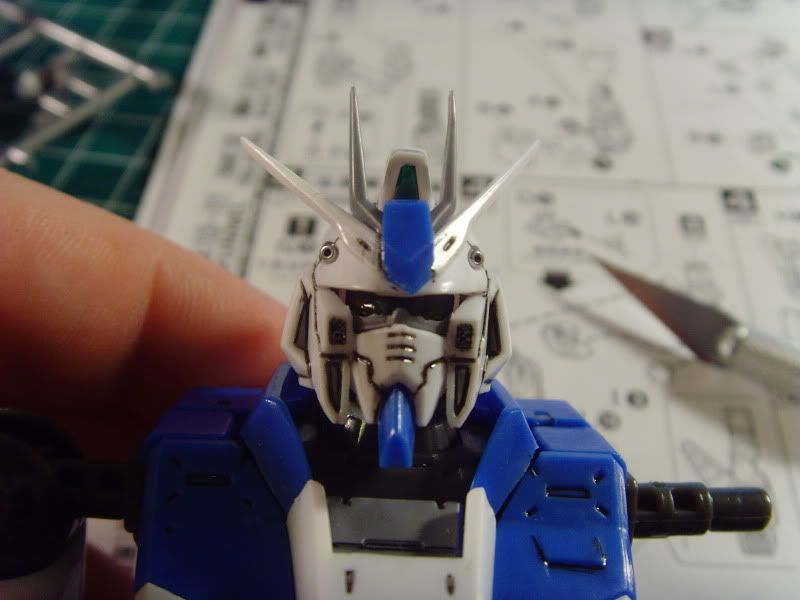
So, I talked about the issue with the head last time, I think.  The eyes sit too low in the head and the head camera doesn't go all the way up into the mohawk.

Photobucket
I took the top off... ;-)...


Photobucket
I decided instead of trying to make that piece fit all the way in there...


Photobucket
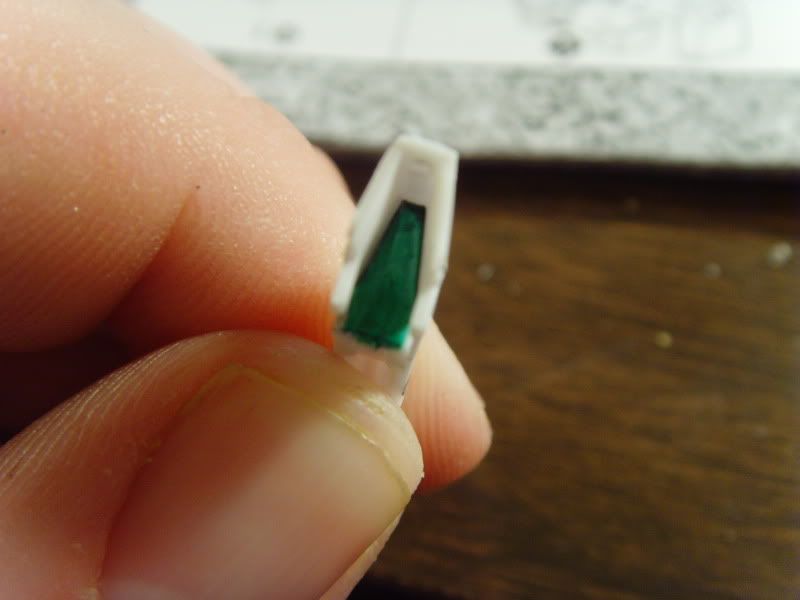
I painted it silver in the hollow...


Photobucket
Then clear green to match the camera.


Photobucket
Not perfect, but it works and look a hell of a lot better now.


Photobucket
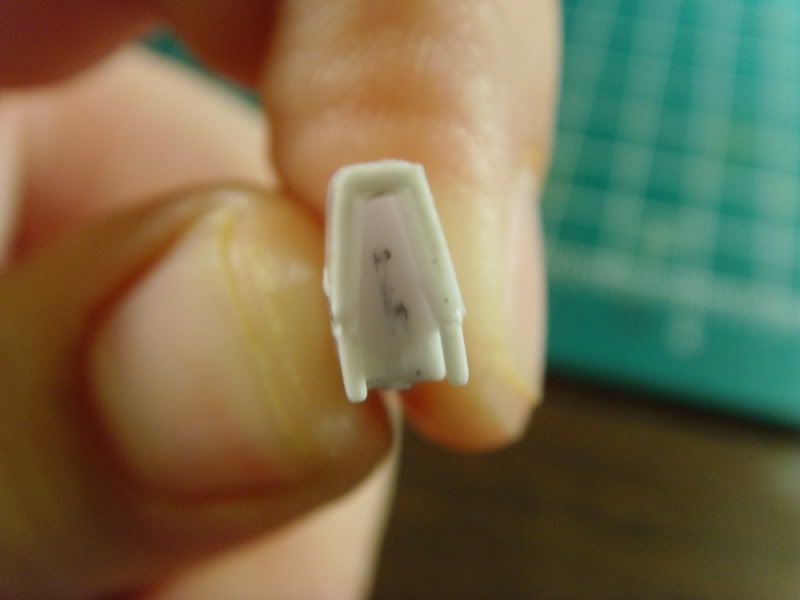
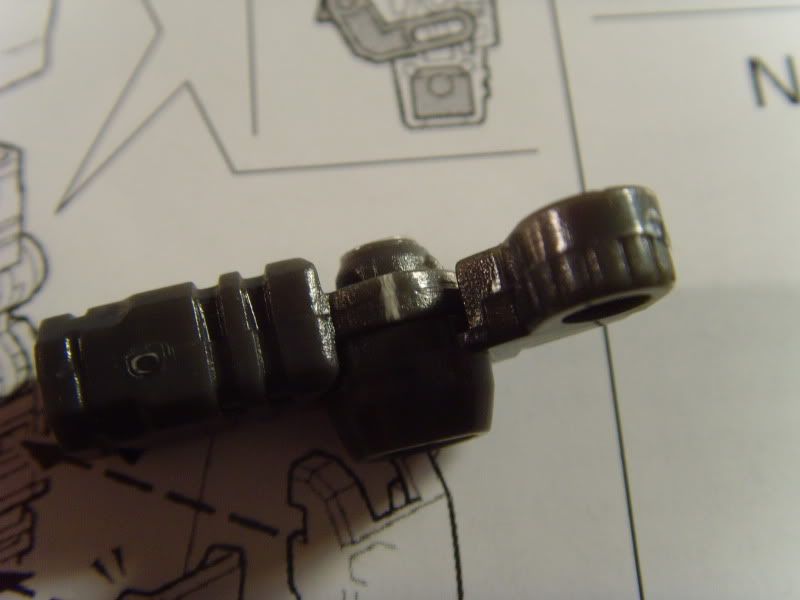
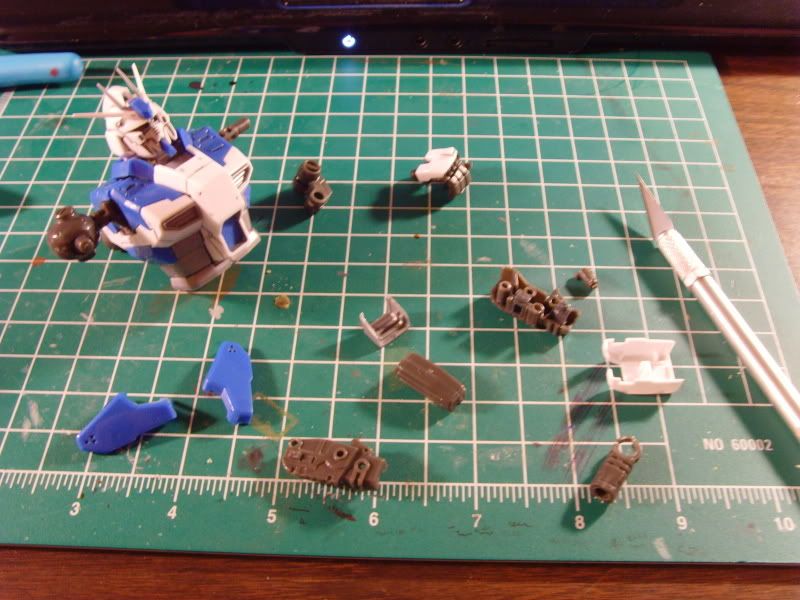
Then, when building the arm... WEAK PLASTIC WHITENING!


Photobucket
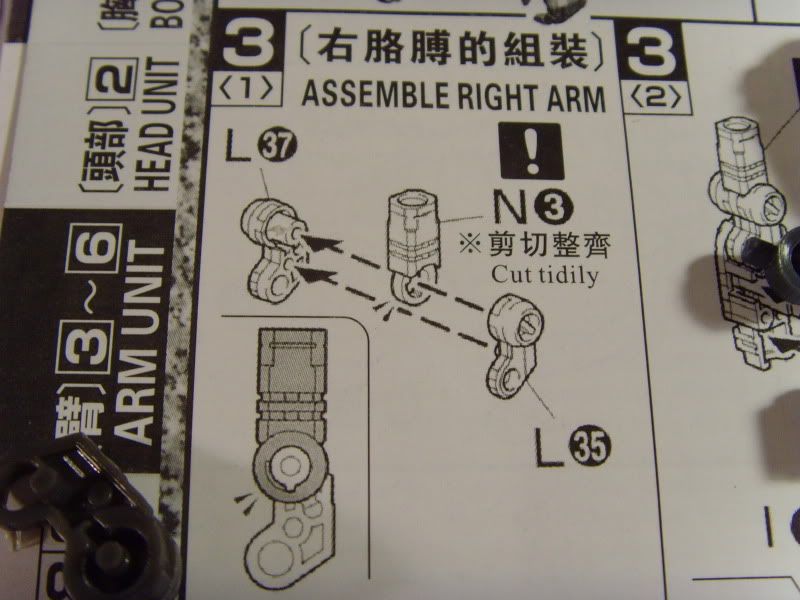
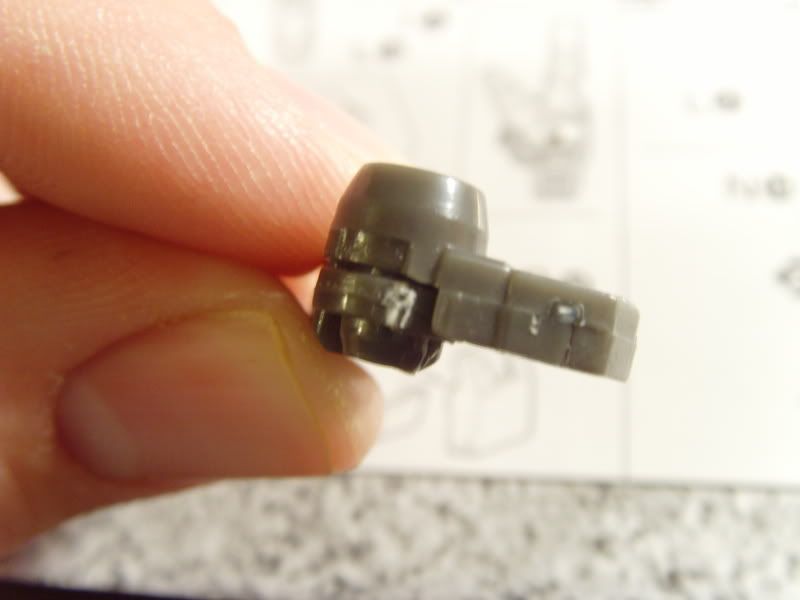
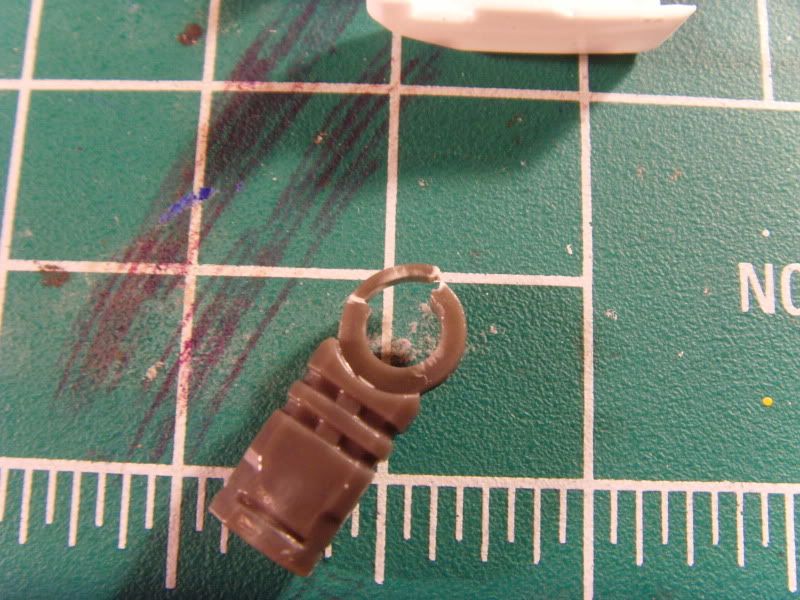
As you can see, part N3 has a rather unique shape to it.  A section of the circular part has another cut into the wall so that the peg of part L37 (which has a stopper block on the bottom side of the peg) won't allow the elbow to bend backwards.  Well, that thin plastic of the elbow just couldn't handle the stress of having the peg inserted.


Photobucket
And it stretched and stressed in two spots.


Photobucket
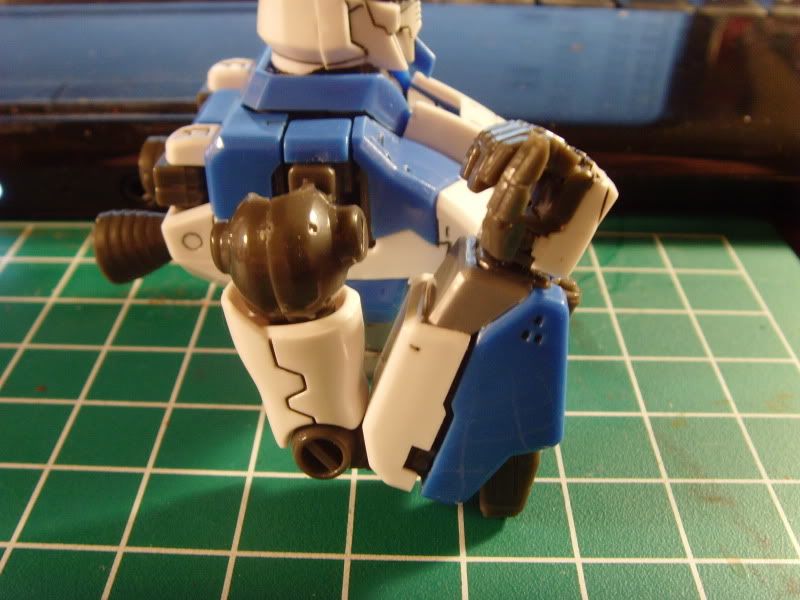
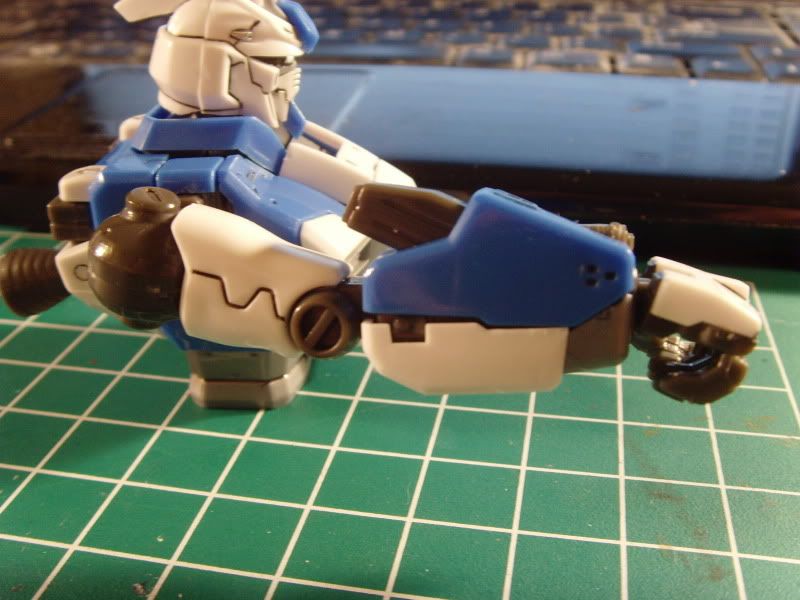
The elbow bends really far.


Photobucket
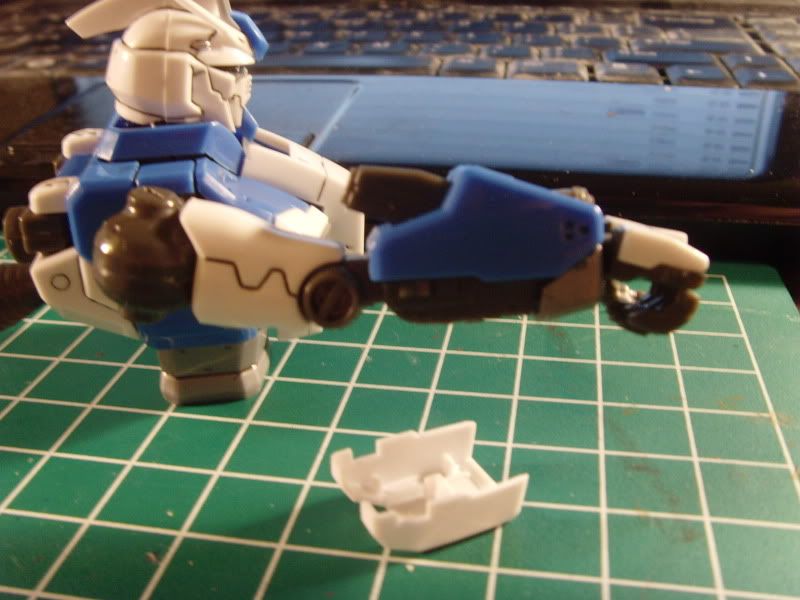
This is when a few things happened all at once.  I straightened the arm so it could use the gatling gun, the elbow joint made an awful click... and...


Photobucket
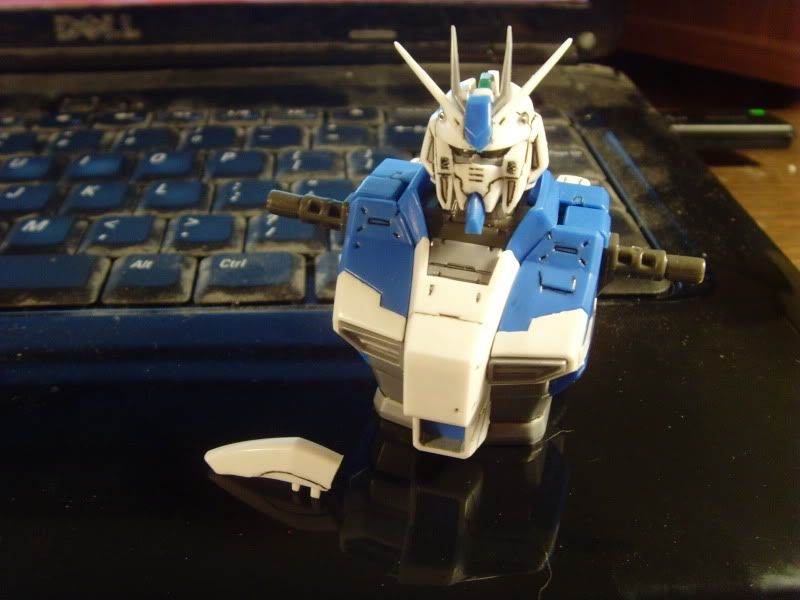
This armor piece decided it HATES the arm and never wants to be a part of it again...  no really, nothing is broke, the white piece just doesn't like being there.


Photobucket
Oh, also...


Photobucket
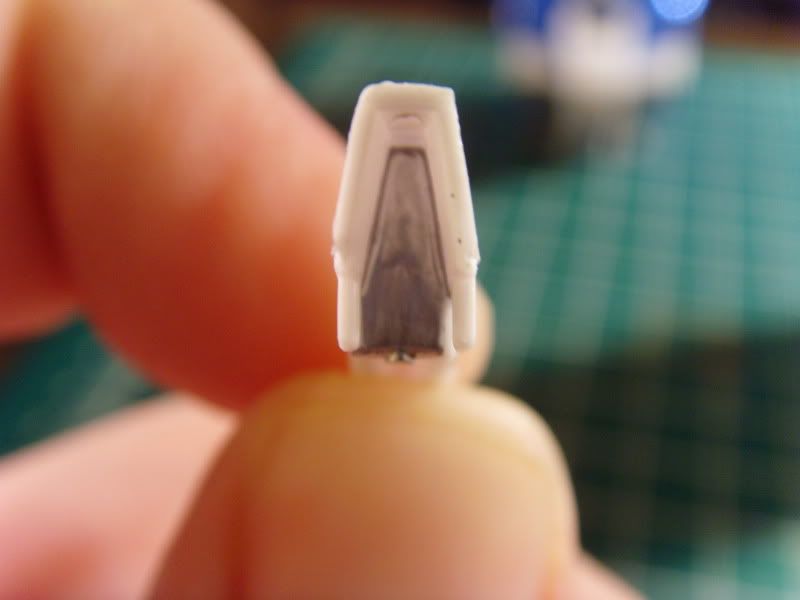
N3 broke...

I was by no means expecting this kit to turn out well, I wasn't expecting even 80% Bandai quality...  I'm glad my expectations were so low...